centos 6.5安裝zabbix 4.4
- 2020 年 3 月 6 日
- 筆記
一、安裝環境
本環境,使用單機部署。
作業系統:centos 7.5 x64 zabbix-server,Mysql,php,nginx都在同一台伺服器。都是使用Yum安裝的!
官方安裝文檔:
https://www.zabbix.com/download?zabbix=4.4&os_distribution=centos&os_version=7&db=mysql
這裡,主要使用Nginx來發布前端頁面
二、安裝Mysql
安裝並且啟動mysql5.6及初始化資料庫資訊
# rpm -ivh http://repo.mysql.com/yum/mysql-5.6-community/el/6/x86_64/mysql-community-release-el6-5.noarch.rpm # yum install -y mysql-community-server # systemctl start mysqld # /sbin/chkconfig mysqld on #開機啟動 # service mysqld start # 啟動資料庫
初始化資料庫資訊
# mysql_secure_installation #初始化資料庫資訊
輸出:

NOTE: RUNNING ALL PARTS OF THIS SCRIPT IS RECOMMENDED FOR ALL MySQL SERVERS IN PRODUCTION USE! PLEASE READ EACH STEP CAREFULLY!In order to log into MySQL to secure it, we'll need the currentpassword for the root user. If you've just installed MySQL, andyou haven't set the root password yet, the password will be blank,so you should just press enter here. Enter current password for root (enter for none): #初次運行直接回車OK, successfully used password, moving on... Setting the root password ensures that nobody can log into the MySQL root user without the proper authorisation. Set root password? [Y/n] #是否設置root用戶密碼,輸入y並回車或直接回車New password: #設置root用戶的密碼Re-enter new password: #再輸入一次你設置的密碼Password updated successfully!Reloading privilege tables.. ... Success!By default, a MySQL installation has an anonymous user, allowing anyone to log into MySQL without having to have a user account created forthem. This is intended only for testing, and to make the installation go a bit smoother. You should remove them before moving into a production environment. Remove anonymous users? [Y/n] #是否刪除匿名用戶,生產環境建議刪除,所以直接回車 ... Success!Normally, root should only be allowed to connect from 'localhost'. This ensures that someone cannot guess at the root password from the network. Disallow root login remotely? [Y/n] #是否禁止root遠程登錄,根據自己的需求選擇Y/n並回車,建議禁止 ... Success!By default, MySQL comes with a database named 'test' that anyone can access. This is also intended only for testing, and should be removed before moving into a production environment. Remove test database and access to it? [Y/n] #是否刪除test資料庫,直接回車 - Dropping test database... ERROR 1008 (HY000) at line 1: Can't drop database 'test'; database doesn't exist ... Failed! Not critical, keep moving... - Removing privileges on test database... ... Success!Reloading the privilege tables will ensure that all changes made so far will take effect immediately. Reload privilege tables now? [Y/n] #是否重新載入許可權表,直接回車 ... Success!All done! If you've completed all of the above steps, your MySQLinstallation should now be secure. Thanks for using MySQL!
三、安裝和配置zabbix伺服器
安裝Zabbix存儲庫
# rpm -Uvh https://repo.zabbix.com/zabbix/4.4/rhel/7/x86_64/zabbix-release-4.4-1.el7.noarch.rpm # yum clean all
安裝Zabbix伺服器,前端,代理
# yum -y install epel-release # yum -y install zabbix-server-mysql zabbix-web-mysql zabbix-agent zabbix-nginx-conf # yum clean all
創建初始資料庫
# mysql -uroot -p password mysql> create database zabbix character set utf8 collate utf8_bin; mysql> grant all privileges on zabbix.* to zabbix@localhost identified by 'password'; mysql> quit;
注意:這裡指定的zabbix用戶密碼為password,請根據實際情況修改。
導入初始架構和數據。系統將提示您輸入新創建的密碼。
# zcat /usr/share/doc/zabbix-server-mysql*/create.sql.gz | mysql -uzabbix -p zabbix
配置資料庫
編輯文件 /etc/zabbix/zabbix_server.conf
DBPassword=password
配置php
編輯文件/etc/php.ini
date.timezone = Asia/Shanghai
配置nginx
編輯配置文件 /etc/nginx/nginx.conf 注釋掉默認的配置
#server { # listen 80 default_server; # listen [::]:80 default_server; # server_name _; # root /usr/share/nginx/html; # # Load configuration files for the default server block. # include /etc/nginx/default.d/*.conf; # location / { # } # error_page 404 /404.html; # location = /40x.html { # } # error_page 500 502 503 504 /50x.html; # location = /50x.html { # } #}
啟動zabbix伺服器和代理進程
啟動zabbix伺服器和代理進程,並使其在系統啟動時啟動:
# systemctl restart zabbix-server zabbix-agent nginx php-fpm # systemctl enable zabbix-server zabbix-agent nginx php-fpm
現在您的zabbix伺服器已經啟動並運行了!
四、配置Zabbix前端
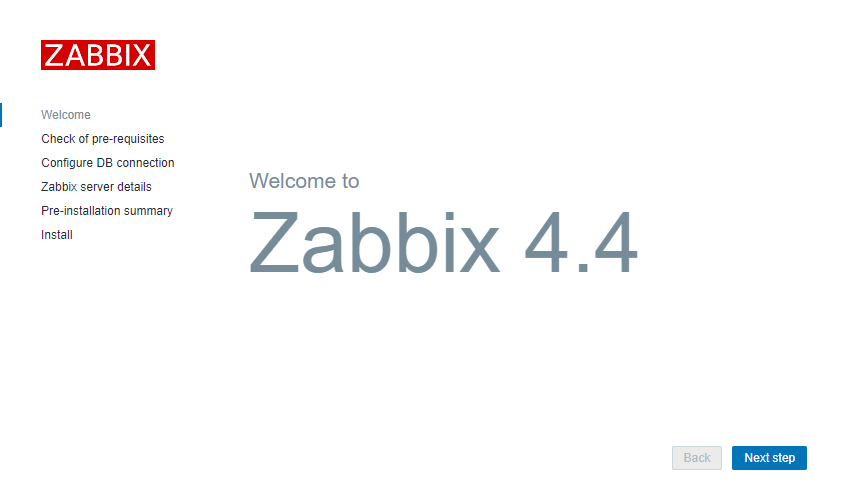
連接到新安裝的zabbix前端:http://server ip
遵循zabbix文檔中描述的步驟:安裝前端
確保配置都通過了

輸入zabbix用戶的資料庫密碼

保持默認

五、開始使用zabbix
默認的用戶名:Admin,密碼:zabbix

登錄之後,效果如下:

點擊右側的小人圖標,設置語言為中文

效果如下:

六、監控圖表中文亂碼的解決辦法
# yum -y install wqy-microhei-fonts # cp /usr/share/fonts/wqy-microhei/wqy-microhei.ttc /usr/share/fonts/dejavu/DejaVuSans.ttf
重啟zabbix-server和nginx
# systemctl restart zabbix-server # systemctl restart nginx
查看圖表,中文是否正常

本文參考鏈接: https://www.zabbix.com/download?zabbix=4.4&os_distribution=centos&os_version=7&db=mysql https://blog.csdn.net/qq_32786873/article/details/78846008 https://blog.csdn.net/solaraceboy/article/details/84974363


