微項目:一步一步帶你使用SpringBoot入門(二)
- 2019 年 10 月 3 日
- 筆記
今天我們來使用JPA做分頁項目並且做講解
如果是新來的朋友請回上一篇
上一篇:微項目(一)
maven整合
在pom文件的dependencies依賴中導入以下依賴
<dependency> <groupId>org.springframework.boot</groupId> <artifactId>spring-boot-starter-web</artifactId> </dependency>然後重啟項目

我們可以看到項目跑起來後運行出來一個tomcat
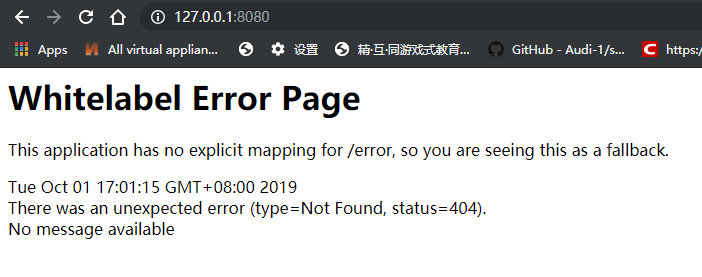
我們可以看到這裡出現了404錯誤。雖然是錯誤但是出來這個就對了。
下面我們來配置對項目的增和查
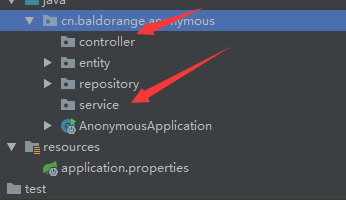
在做增查之前,我們需要新建倆個包。
下面我們逐一填東西。
service
service是邏輯層,包括數據處理的方向,和過程。
這裡第一個方法好理解,就是向資料庫內添加文章。
第二個方法查代表的含義是將資料庫分頁,
為什麼這麼做呢?很簡單,如果數據過多無法展示我們只能這麼做。按照ID倒序排列。
package cn.baldorange.anonymous.service; import cn.baldorange.anonymous.entity.Wall; import cn.baldorange.anonymous.repository.WallRepo; import org.springframework.beans.factory.annotation.Autowired; import org.springframework.data.domain.Page; import org.springframework.data.domain.PageRequest; import org.springframework.data.domain.Sort; import org.springframework.stereotype.Service; import java.util.Date; @Service public class WallService { @Autowired WallRepo wallRepo; /** * 增加吐槽 * @param title * @param content * @return */ public Boolean saveNewWall(String title,String content){ try { String summary = ""; if (content.length() > 100) summary = content.substring(0, 99); else summary = content; Wall wall = new Wall(title, content, new Date(), summary, "0"); wallRepo.save(wall); return true; }catch (Exception e){ return false; } } /** * 獲得匿名牆的所有文章 * @return */ public Page<Wall> findAllWalls(Integer page,Integer size){ if(page == null) page = 0; if(size == null) size =10; PageRequest pageable = PageRequest.of(page, size, Sort.Direction.DESC, "id"); return wallRepo.findAll(pageable); } } controller
至於Controller層就比較簡單了,
但是從servlet過來的同學要注意了,@PutMapping這裡可能會給你們帶來疑惑,實際上現在http請求常用的不僅僅是get和post 還有 put delete 等等我們沒見過的,規定是人定的,人也能改。
package cn.baldorange.anonymous.controller; import cn.baldorange.anonymous.entity.Wall; import cn.baldorange.anonymous.service.WallService; import org.springframework.beans.factory.annotation.Autowired; import org.springframework.data.domain.Page; import org.springframework.web.bind.annotation.*; @RestController @RequestMapping("/walls") public class Controller { @Autowired WallService wallService; @PutMapping("/saveNewWall") public Boolean saveNewWall(@RequestParam String title,@RequestParam String content){ return wallService.saveNewWall(title,content); } @GetMapping("/findAllWalls") public Page<Wall> findAllWalls(Integer page, Integer size){ return wallService.findAllWalls(page,size); } } 配置好後我們啟動後訪問這裡:
http://127.0.0.1:8080/walls/findAllWalls
這就是我們所見到的json數據

雖然很亂,但是我們不難發現這裡面有我們資料庫中的內容。還有一些其他的東西。
我們下面就需要配置介面文件了。
swagger
相信無論是前端還是後端開發,都或多或少地被介面文檔折磨過。前端經常抱怨後端給的介面文檔與實際情況不一致。後端又覺得編寫及維護介面文檔會耗費不少精力,經常來不及更新。其實無論是前端調用後端,還是後端調用後端,都期望有一個好的介面文檔。但是這個介面文檔對於程式設計師來說,就跟注釋一樣,經常會抱怨別人寫的程式碼沒有寫注釋,然而自己寫起程式碼起來,最討厭的,也是寫注釋。所以僅僅只通過強制來規範大家是不夠的,隨著時間推移,版本迭代,介面文檔往往很容易就跟不上程式碼了。
首先將maven中引入swagger
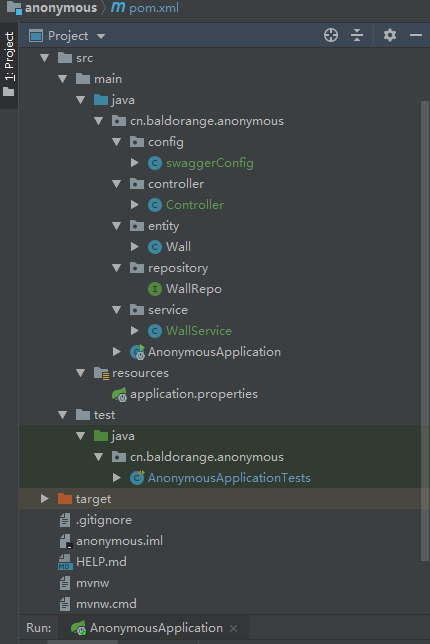
<dependency> <groupId>io.springfox</groupId> <artifactId>springfox-swagger2</artifactId> <version>2.9.2</version> </dependency> <dependency> <groupId>io.springfox</groupId> <artifactId>springfox-swagger-ui</artifactId> <version>2.9.2</version> </dependency>然後我們新建個包最終目錄如下:
swaggerConfig配置文件如下:
package cn.baldorange.anonymous.config; import org.springframework.context.annotation.Bean; import org.springframework.context.annotation.Configuration; import springfox.documentation.builders.ApiInfoBuilder; import springfox.documentation.builders.PathSelectors; import springfox.documentation.builders.RequestHandlerSelectors; import springfox.documentation.spi.DocumentationType; import springfox.documentation.spring.web.plugins.Docket; import springfox.documentation.swagger2.annotations.EnableSwagger2; @Configuration @EnableSwagger2 public class swaggerConfig { @Bean Docket docket(){ return new Docket(DocumentationType.SWAGGER_2) .select() .apis(RequestHandlerSelectors.any()) .paths(PathSelectors.any()) .build() .apiInfo(new ApiInfoBuilder().description("項目").build()); } }OK我們現在重啟項目:
並訪問這裡

OK我們現在可以使用swagger進行介面測試了,炒雞棒。
分頁技術
資料庫分頁也是在資料庫里寫查詢語句,不同的是查詢的都是指定條數到指定條數的數據,不是一次性把數據全查出來。
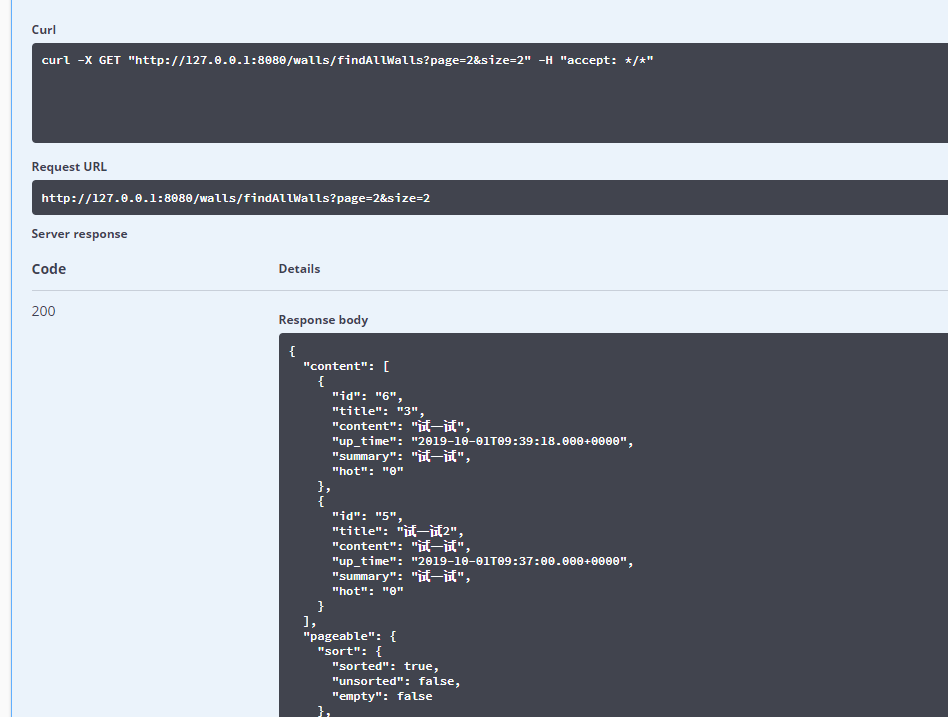
當size=2時,返回如下

當size=2,page=2時,返回如下
當size或者page越界時,返回如下

這裡的分頁後的欄位描述如下:
{ "content": [{}], // 數據列表 "last": true, // 是否最後一頁 "totalPages": 1, // 總頁數 "totalElements": 1, // 數據總數 "sort": null, // 排序 "first": true, // 是否首頁 "numberOfElements": 1, // 本頁數據條數 "size": 10, // 每頁長度 "number": 0 // 當前頁序號 }不難看出,JPA的分頁機制特別好用,簡直不要太爽。
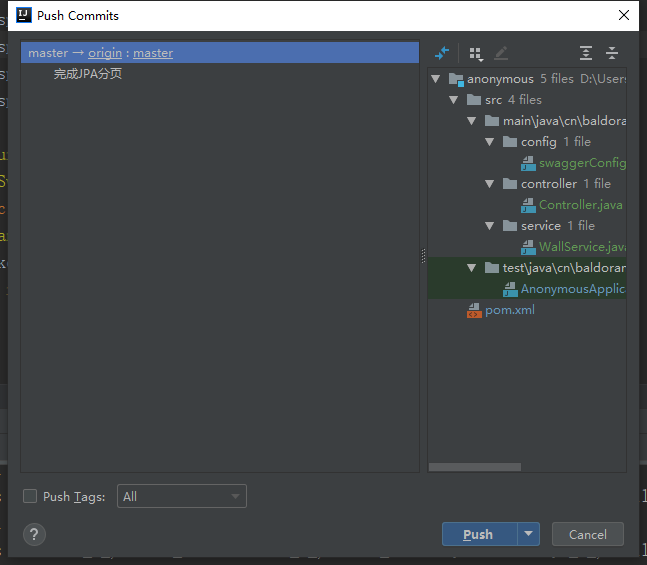
git推上去

OK今天的活就完工了。
