vue開發:前端項目模板
簡介
- vue-cli創建vue項目,整合vuex、vue-router、axios、element-ui
- 項目模板下載地址
創建項目
- 使用vue-cli創建項目,功能選擇:Babel、Router、vuex、Linter/Formatter、使用配置文件
點擊查看詳細步驟


- 插件選擇vue-cli-plugin-element
點擊查看詳細步驟

- 安裝運行依賴axios
點擊查看詳細步驟

- 使用命令安裝開發依賴:less、less-loader
npm install less
npm install [email protected]
預期效果
-
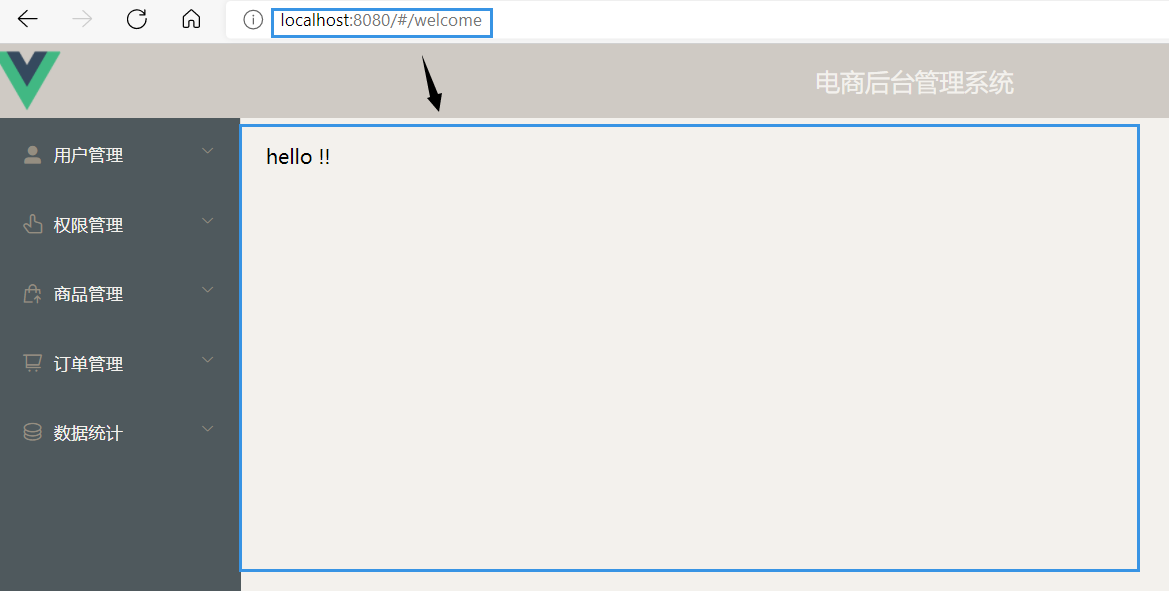
訪問根路徑//localhost:8080時重定向到歡迎頁面
-
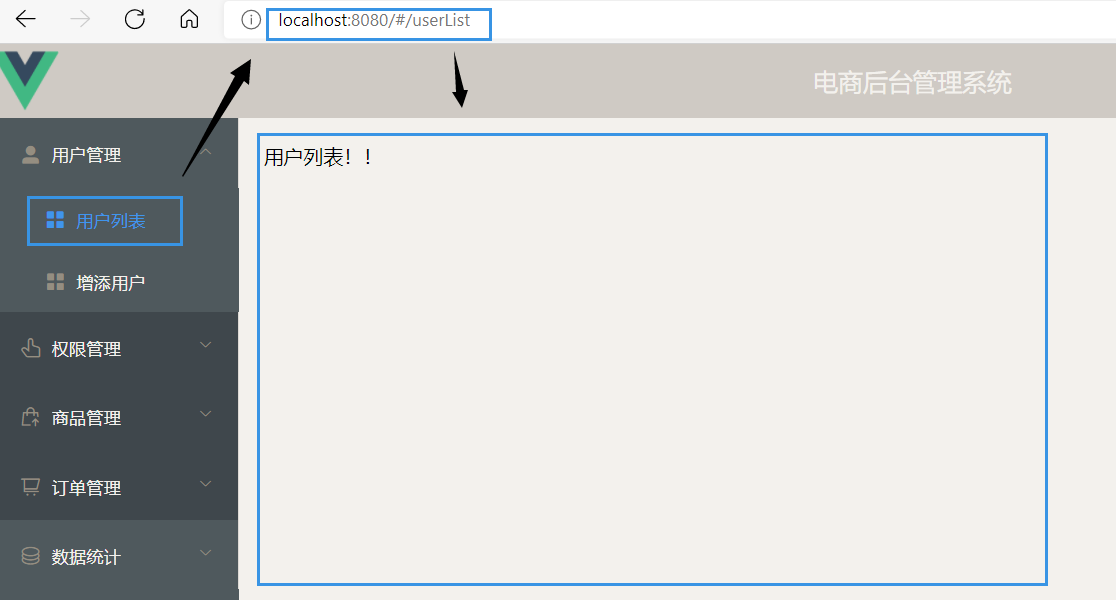
點擊側邊欄子節點時,路由自動發生改變,且跳轉到不同的子組件
-
點擊【書籍信息】,跳轉到bookList.vue,向後端服務器發送axios請求,獲取數據,遍歷到頁面


初始化項目
- 查看package.json中dependencies表示安裝的運行依賴,devDependencies表示安裝的開發依賴
- plugins文件夾下的element.js表示element-ui插件配置成
- 刪除router文件夾中index.js中默認生成的代碼,同時刪除views文件夾及子組件
import Vue from 'vue'
import VueRouter from 'vue-router'
Vue.use(VueRouter)
const routes = [
]
const router = new VueRouter({
  routes
})
export default router
- store文件夾表示vuex配置成功,用於共享數據
- 刪除根組件App.vue中默認生成的代碼,同時刪除components文件夾中的子組件
<template>
  <div id="app">
    app根組件
  </div>
</template>
<script>
export default {
  name: 'app'
}
</script>
<style>
</style>
-
編寫全局樣式global.css,在main.js中導入
-
最後在終端中輸入命令,啟動項目,瀏覽器訪問該項目,查看是否報錯,報錯可參考我另一篇博客
element-ui
-
element-ui使用步驟參考
-
使用element-ui布局
// 在當前項目element.js中已將所有element-ui組件全部引入了,直接使用即可
import Element from 'element-ui'
import 'element-ui/lib/theme-chalk/index.css'
Vue.use(Element)
- 容器布局
<!-- 默認展開的子節點 -->
<el-menu :default-openeds="['1', '3']">
<!-- 默認選中的子節點 -->
<el-menu :default-active="['1-1']">
<!-- 圖標 -->
<i class="el-icon-coin"></i>
<!-- 一級菜單-->
index="4"
<!-- 二級菜單 -->
index="5-1"
<!-- 三級菜單 -->
<el-menu-item index="4-1-2">
<!-- 默認選中顏色 -->
<el-menu active-text-color="#409EFF"

<!-- 默認只展開一個子節點 -->
<el-menu unique-opened>
Router
-
路由使用步驟:1.構建項目時已經打開了router功能;2.新建子組件;3.router/index.js中配置路由規則;4.路由出口
;5.main.js中router作為vue實例的屬性 -
編寫歡迎頁面
- 訪問根路徑時,顯示歡迎頁面
- 新建一個welcome.vue
- router/index.js中引入子組件welcome.vue,配置路由規則
-
側邊欄開啟路由
<!-- 1. App.vue中開啟側邊欄路由 -->
<el-menu router>

<!-- 2. 子節點中設置path -->
<el-menu-item :index="'/userList'">

<!-- 3. 新建子組件,如userList.vue等,並在router中配置路由規則 -->
axios
- axios使用:main.js中引入axios,默認配置,註冊為vue實例的屬性
- 新建一個bookList.vue組件,發送axios請求,將返回的數據遍歷到頁面
<script>
export default {
    data() {
        return {
            books: []
        }
    },
    created(){
        // 將vue對象賦值給_this
        const _this = this;
        _this.$http.get("book/findAll/3/4").then(function(response){
            // then方法中的this表示response
            console.log(response.data.content)
            _this.books = response.data.content;
        });
    }
}
</script>
vuex
- 使用步驟
// 1. 構建項目時已經打開了vuex功能

// store/index.js
import Vuex from 'vuex'      // 2. 引入
Vue.use(Vuex)            // 3. 註冊為vue實例的組件
export default new Vuex.Store({
  state: {
    count: 0      // 4. store中皴法共享數據
  },
  mutations: {
  },
  actions: {
  },
  modules: {
  }
})

// 入口文件main.js
import store from './store'
new Vue({
  store,                 // 5. 將store掛載到vue實例
  render: h => h(App)
}).$mount('#app')

// 在bookList.vue中使用
<span>vuex使用:{{ $store.state.count }}</span>

