微服務實戰——高可用的SpringCloudConfig
- 2020 年 3 月 31 日
- 筆記
管理微服務配置
對於單體應用架構來說,會使用配置文件管理我們的配置,這就是之前項目中的application.properties或application.yml。如果需要在多環境下使用,傳統的做法是複製這些文件命名為application-xxx.properties,並且在啟動時配置spring.profiles.active={profile}來指定環境。
在微服務架構下我們可能會有很多的微服務,所以要求的不只是在各自微服務中進行配置,我們需要將所有的配置放在統一平台上進行操作,不同的環境進行不同的配置,運行期間動態調整參數等等。總之一句話,使用集中管理配置是很有必要的。
Spring Cloud Config
- 官方地址
- 為分散式系統外部配置提供了伺服器端和客戶端的支援,它包括config server端和 config client端兩部分
- Config server端是一個可以橫向擴展、集中式的配置伺服器,它用於集中管理應用程式各個環境下的配置,默認 使用Git存儲配置內容
- Config client 是config server的客戶端,用於操作存儲在server中的配置屬性
- 優勢
- 集中管理配置
- 不同環境不同配置
- 運行期間可以動態調整
- 配置修改後可以自動更新
本章源碼
架構圖

引入spring cloud config步驟
可基於之前SpringCloudDemo項目改造,也可以創建為新的項目
一、在GitHub創建一個git倉庫用來存放git配置
- 創建倉庫名字為spring-cloud-config-repo的私有倉庫
- 增加其他模組(後面config client會詳細說,可先跳過)的配置文件,格式為
{application}-{profile}.properties並將配置項粘貼到新建的文件中,如:創建zuul-dev.properties,並將原來的zuul模組中的application.properties全部配置粘貼進來
- {application}-{profile}.properties,{application}表示微服務的名稱,{label}表示Git對應的分支,默認為master,{profile}表示配置文件的profile
訪問時就 /{application}/{profile}[/{label}]或/{label}/{application}-{profile}.properties
二、 創建config server端
-
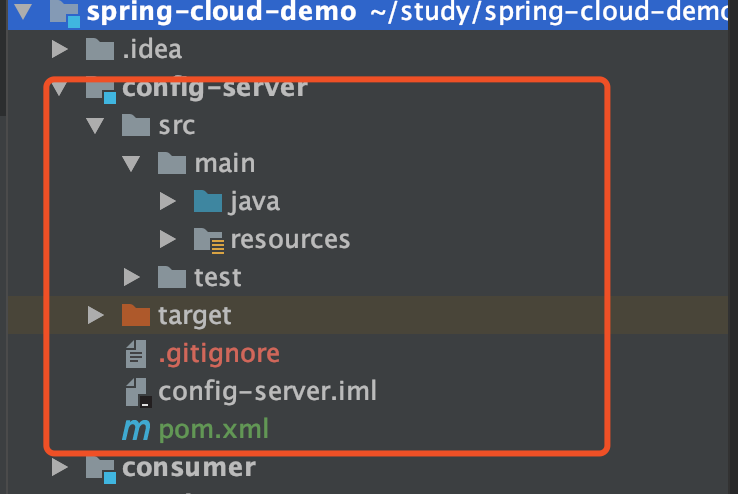
創建maven項目,可在原項目中創建Module
-
引入pom依賴
<dependency> <groupId>org.springframework.cloud</groupId> <artifactId>spring-cloud-config-server</artifactId> </dependency> -
創建啟動類
package cn.kxtop.blog.configserver; import org.springframework.boot.SpringApplication; import org.springframework.boot.autoconfigure.SpringBootApplication; import org.springframework.cloud.client.discovery.EnableDiscoveryClient; import org.springframework.cloud.config.server.EnableConfigServer; // 注入到Eureka中,使高可用 @EnableDiscoveryClient @SpringBootApplication @EnableConfigServer public class ConfigServerApplication { public static void main(String[] args) { SpringApplication.run(ConfigServerApplication.class); } } -
配置配置文件application.properties
server.port=9999 # 配置git倉庫的地址(修改為你自己的git倉庫地址) spring.cloud.config.server.git.uri=https://github.com/qupengkun/spring-cloud-config-repo.git # git倉庫帳號 spring.cloud.config.server.git.username=YOU_NAME # git倉庫秘密 spring.cloud.config.server.git.password=YOU_PASSWORD #eureka,確保Spring cloud config 高可用 eureka.client.serviceUrl.defaultZone = http://localhost:8761/eureka/ -
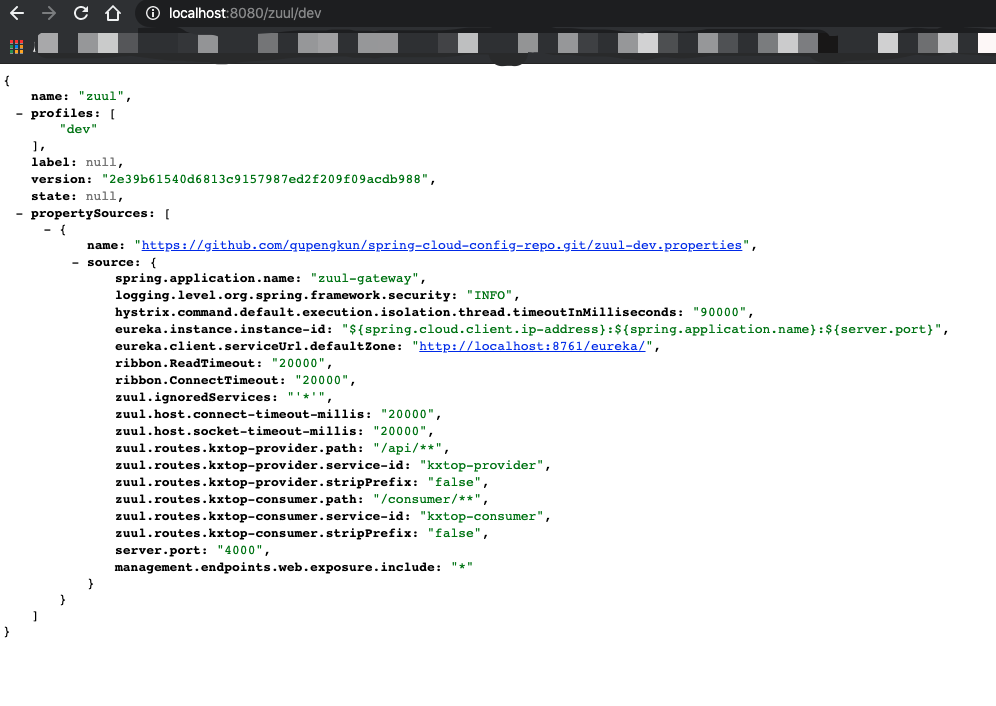
啟動項目並訪問測試
http請求localhost:9999/zuul/dev
三、創建config client端
- 引入依賴
<dependency> <groupId>org.springframework.cloud</groupId> <artifactId>spring-cloud-config-client</artifactId> </dependency> - 創建bootstrap.properties
#對應之前git倉庫的文件名,如zuul-dev.properties spring.application.name=zuul #config server 地址 spring.cloud.config.uri=http://localhost:9999 #{profile}名(環境) spring.cloud.config.profile=dev #{label}名,git倉庫分支 spring.cloud.config.label=master - 刪除原來的application.properties,如沒有,則不用操作直接下一步
- 啟動client端可見連接到了config-server端

- 查看eureka發現已經註冊到eureka中

- 測試在線參數修改
可在Controller上加註解 @RefreshScope 請求server:port/refresh手動刷新
總結及後續
以上基本演示了Spring Cloud Config的用法,還是比較簡單的,我們引入了Eureka使Config Server能保證高可用,還可以增加@RefreshScope手動刷新配置文件,如果配置對安全要求較高,也可以引入JCE(Java Cryptography Extension)進行加解密操作。
其實每次都去手動刷新配置還是比較麻煩且有很大的局限性的,那麼如何修改配置後自動感知並刷新呢?請關注下一章基於Spring Cloud Bus實現自動刷新配置。
持續學習,記錄點滴。更多文章請訪問 文章首發