Django——模板應用
一、前言
前提:已經用命令提前創建好了項目DjangoTest,以下是基於該項目進行實戰演練。
二、項目下創建templates文件夾
1、創建templates文件夾
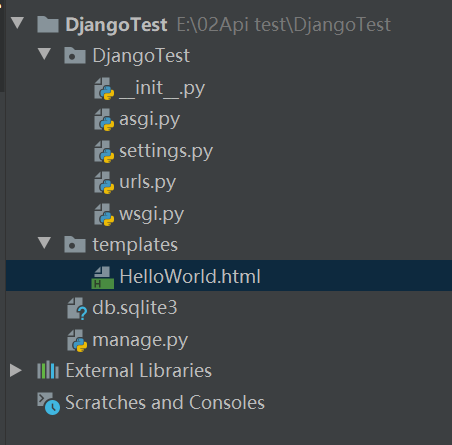
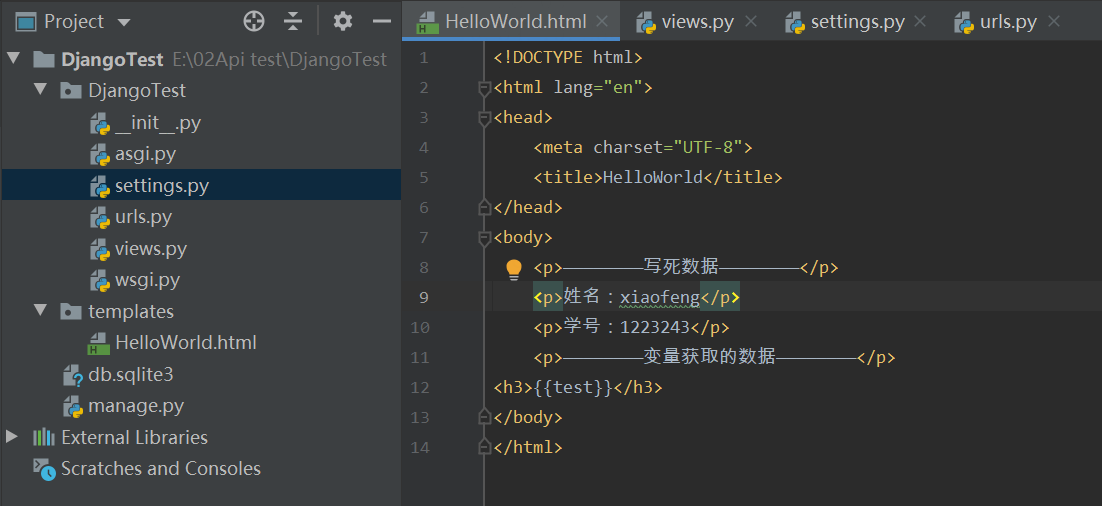
2、創建HelloWorld.html,並寫入相應資訊
註:{{test}}是變數
<!DOCTYPE html>
<html lang="en">
<head>
    <meta charset="UTF-8">
    <title>HelloWorld</title>
</head>
<body>
    <p>————————寫死數據————————</p>
    <p>姓名:xiaofeng</p>
    <p>學號:1223243</p>
    <p>————————變數獲取的數據————————</p>
<h3>{{test}}</h3>
</body>
</html>
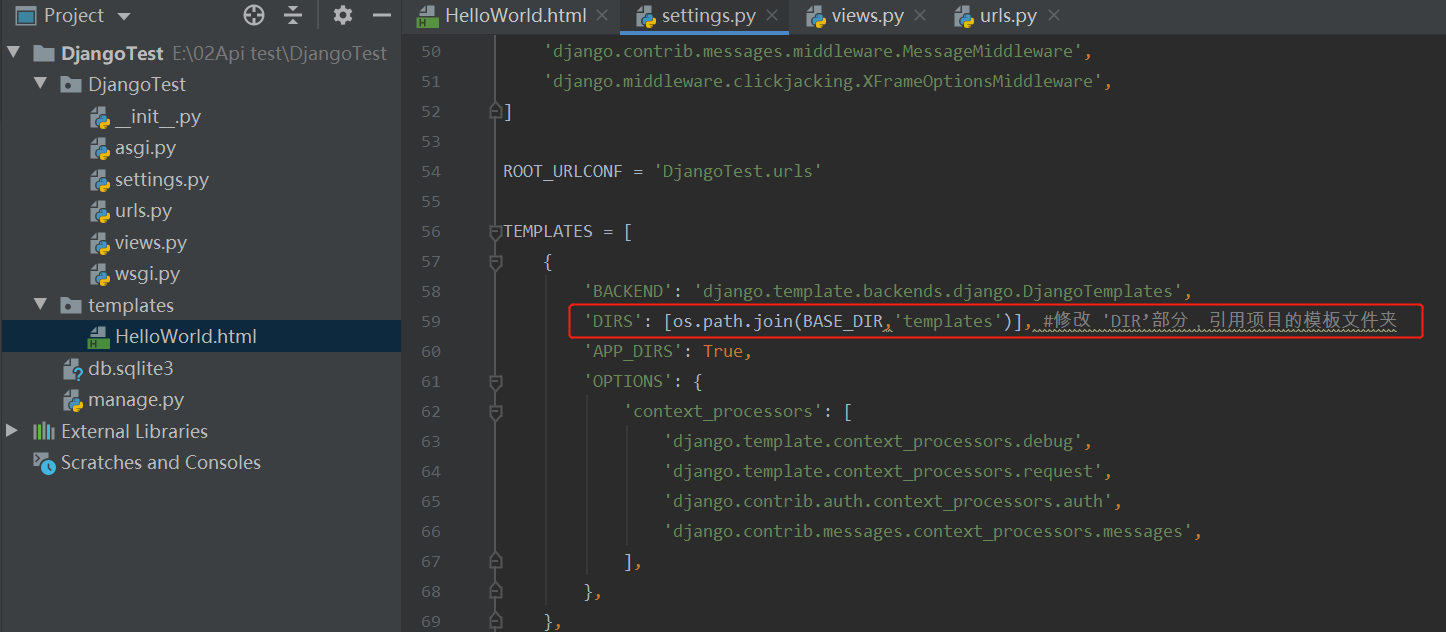
三、修改setting.py
向Django說明模板文件的路徑,修改DjangoTest/settings.py,修改 TEMPLATES 中的 DIRS
'DIRS': [os.path.join(BASE_DIR,'templates')]
四、(視圖)在DjangoTest目錄下新建views.py
1、視圖views.py
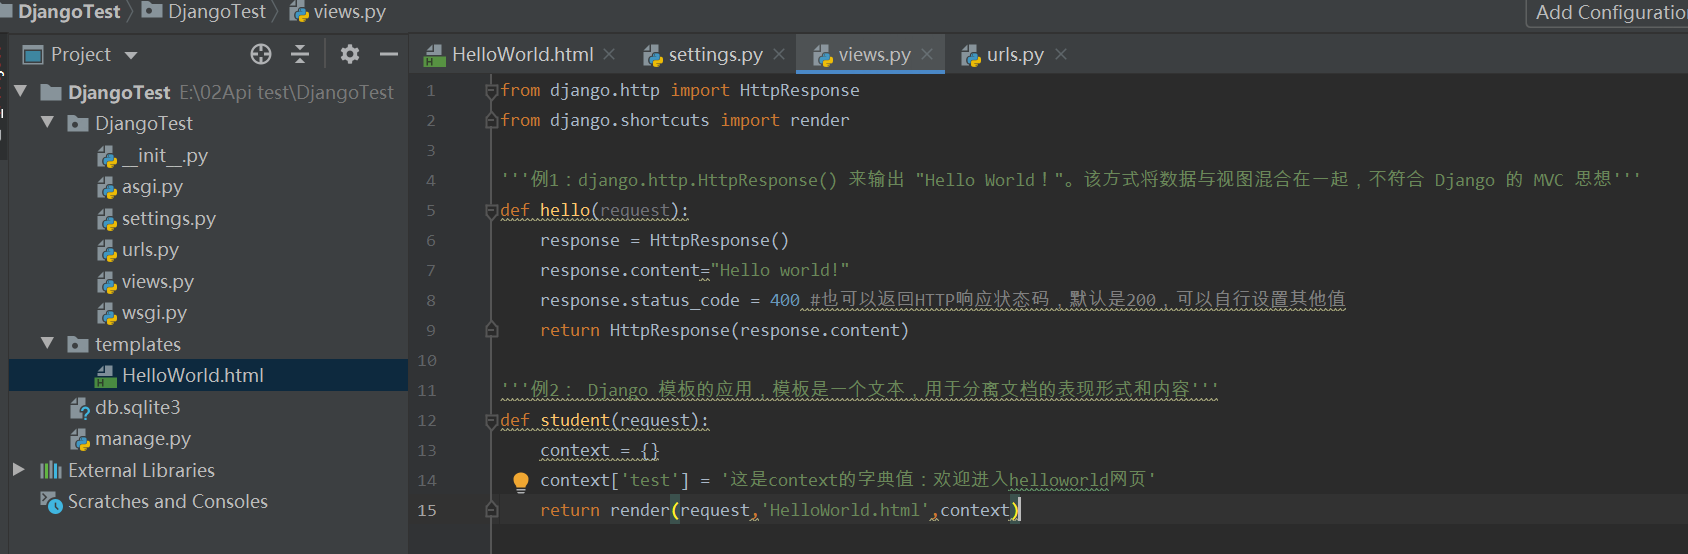
student對象使用 render 來替代之前使用的 HttpResponse。render 還使用了一個字典 context 作為參數。
context 字典中元素的鍵值 test 對應了模板中的變數 {{ test }}
from django.http import HttpResponse
from django.shortcuts import render

'''例1:django.http.HttpResponse() 來輸出 "Hello World!"。該方式將數據與視圖混合在一起,不符合 Django 的 MVC 思想'''
def hello(request):
    response = HttpResponse()
    response.content="Hello world!"
    response.status_code = 400 #也可以返回HTTP響應狀態碼,默認是200,可以自行設置其他值
    return HttpResponse(response.content)

'''例2: Django 模板的應用,模板是一個文本,用於分離文檔的表現形式和內容'''
def student(request):
    context = {}
    context['test'] = '這是context的字典值:歡迎進入helloworld網頁'
    return render(request,'HelloWorld.html',context)
2、視圖views.py——HttpResponst函數
Django伺服器接收到客戶端發送過來的請求後,會將提交上來的這些數據封裝成一個HttpRequest對象傳給視圖函數。那麼視圖函數在處理完相關的邏輯後,也需要返回一個響應給瀏覽器。而這個響應,我們必須返回HttpResponseBase或者他的子類的對象。而HttpResponse則是HttpResponseBase用得最多的子類。
常用的屬性:
content:返回的內容
status_code:返回的HTTP響應狀態碼。默認是200,也可以自行設置
3、視圖views.py——render函數
1)必選參數:
request:用於生成此響應的請求對象。
template_name:要使用的模板的全名或模板名稱的序列。如果給定一個序列,則將使用存在的第一個模板。
2)可選參數:
context:要添加到模板上下文的值的字典。 默認情況下,這是一個空的字典。 如果字典中的值是可調用的,則視圖將在渲染模板之前調用它。
content_type:用於結果文檔的MIME類型默認為:設置:setting:DEFAULT_CONTENT_TYPE 設置的值。
status:響應的狀態程式碼默認為「200」。
using:用於載入模板的模板引擎的 :setting:`NAME `
五、(URL配置)修改urls.py
1、網頁文件寫完就需要我們將網頁傳到django伺服器中
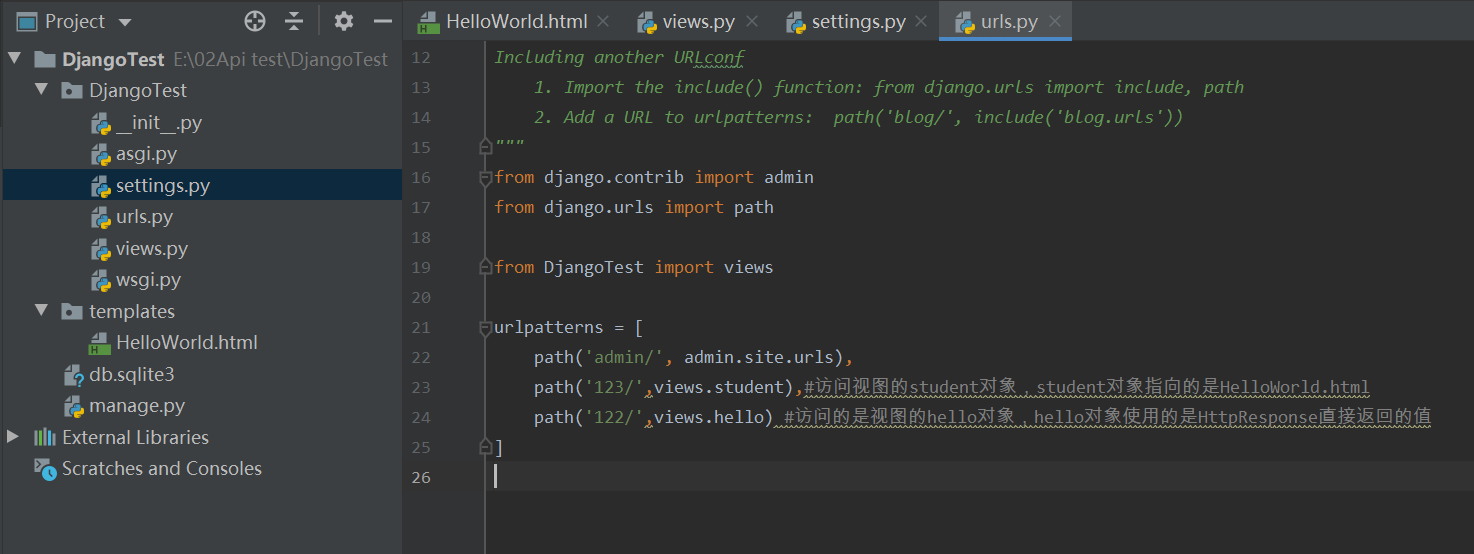
2、打開urls.py文件,這裡有一個內置的admin/路徑,這是django自帶的管理後台,我們在下面新建一個路徑,用來訪問我們寫的網頁,如下圖
"""DjangoTest URL Configuration

The `urlpatterns` list routes URLs to views. For more information please see:
    //docs.djangoproject.com/en/3.2/topics/http/urls/
Examples:
Function views
    1. Add an import:  from my_app import views
    2. Add a URL to urlpatterns:  path('', views.home, name='home')
Class-based views
    1. Add an import:  from other_app.views import Home
    2. Add a URL to urlpatterns:  path('', Home.as_view(), name='home')
Including another URLconf
    1. Import the include() function: from django.urls import include, path
    2. Add a URL to urlpatterns:  path('blog/', include('blog.urls'))
"""
from django.contrib import admin
from django.urls import path

from DjangoTest import views

urlpatterns = [
    path('admin/', admin.site.urls),
    path('123/',views.student),#訪問視圖的student對象,student對象指向的是HelloWorld.html
    path('122/',views.hello) #訪問的是視圖的hello對象,hello對象使用的是HttpResponse直接返回的值
]
六、啟動伺服器後,瀏覽器訪問
啟動伺服器命令:python manage.py runserver 8000
1、//127.0.0.1:8000/122/,訪問視圖的hello對象

2、//127.0.0.1:8000/123/,訪問視圖的student對象

以上student對象的處理就完成了使用模板來輸出數據,從而實現數據與視圖分離。
模板中常用的語法規則,可參考://www.runoob.com/django/django-template.html


