【HarmonyOS】【JS】鴻蒙Js camera怎麼拍照並使用image顯示出來
- 2022 年 1 月 21 日
- 筆記
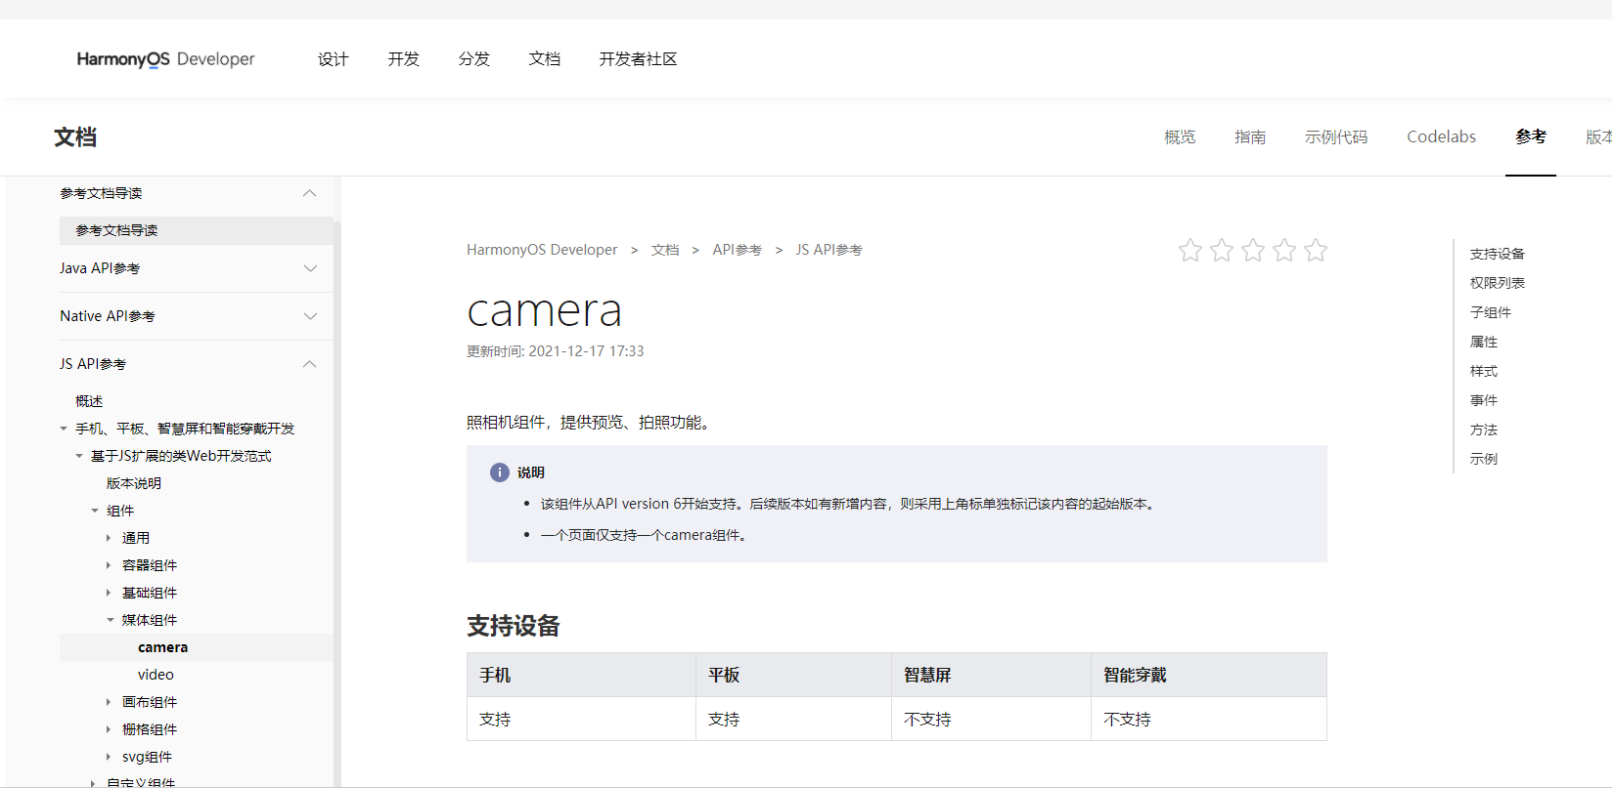
官網中有描述camera組件功能介面屬性介紹,但是官網沒有具體的demo讓我們感受拍照的功能,今天寫一篇demo來完善一下拍照的功能
demo 功能如下
第一步首先進行拍照功能
第二步 進行js頁面跳轉功能
第三步 使用image 顯示拍照的照片
第一步首先進行拍照功能
參考鏈接如下
1.1 html 程式碼
<div class="container">

    <camera   id='camera-id' flash="on"   deviceposition="back" @error="cameraError">

    </camera>

    <text class="textTakePhoto" on:click="takePhoto" > 拍照</text>

</div>
1.2 css 程式碼
···
.container {
display: flex;

justify-content: center;

flex-direction: column;

align-items: center;
}
camera {
width: 100%;

height: 80%;
}
.textTakePhoto{
padding: 10px;

border-width: 2vp;

border-color: black;

border-bottom-style: solid;

border-radius: 90vp;

margin-top: 40px;

text-color: black;

font-family: sans-serif;

font-size: 25px;
}
1.3 js 程式碼
···
export default {
data: {
title: 'World',
src:""
},
cameraError(){
},
takePhoto(){
var _this=this;
console.log('------------------------------>takePhoto')
var camera = this.$element('camera-id')
camera.takePhoto({
quality:'high',
success(result){
_this. src=result.uri
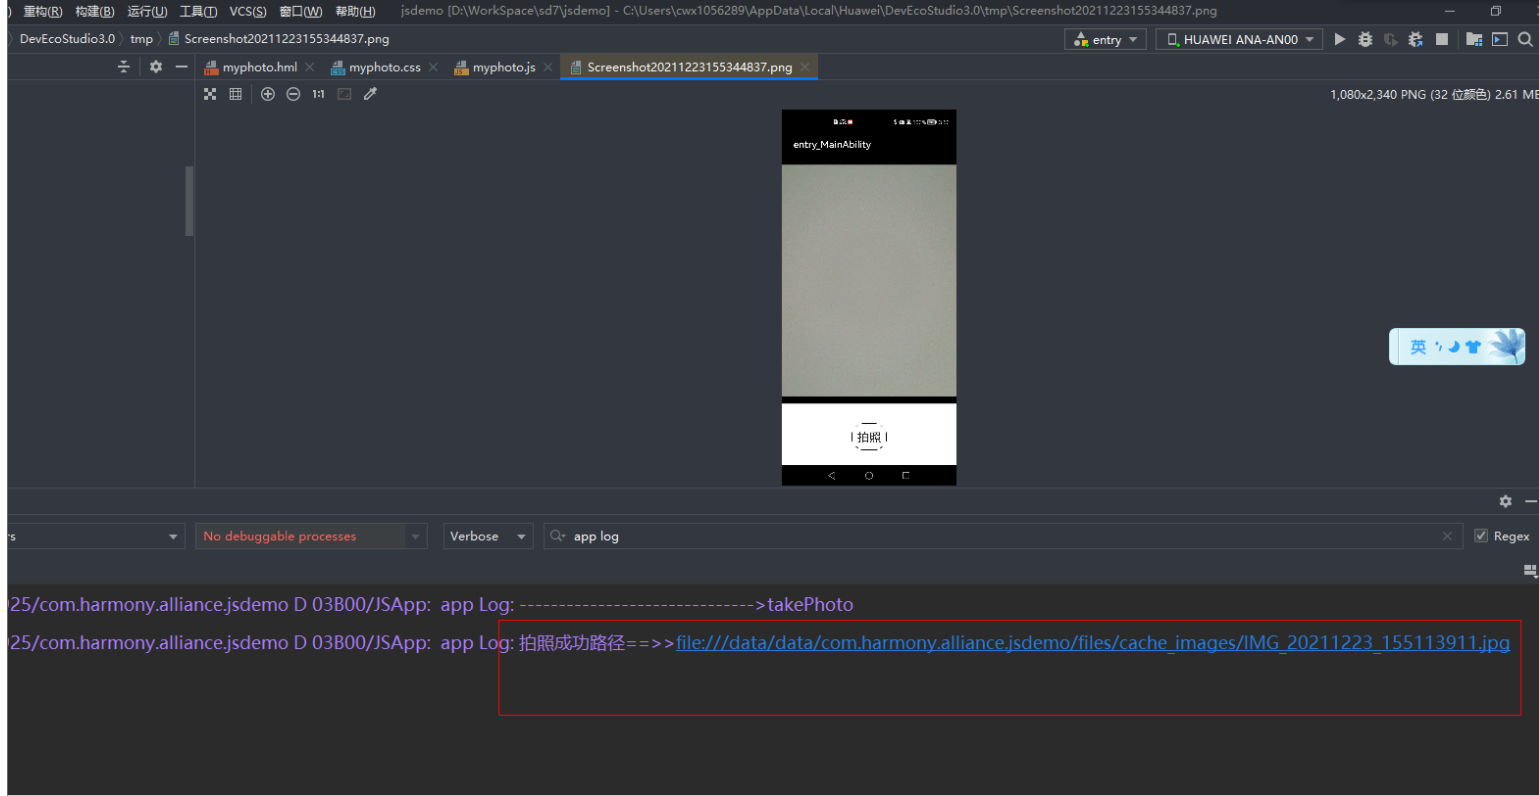
console.log("拍照成功路徑==>>"+_this.src);
//
},
fail(result){
console.info('-------------fail------'+result)
},
complete(result){
// console.info('-------------complete------'+result)
}
})
},
}
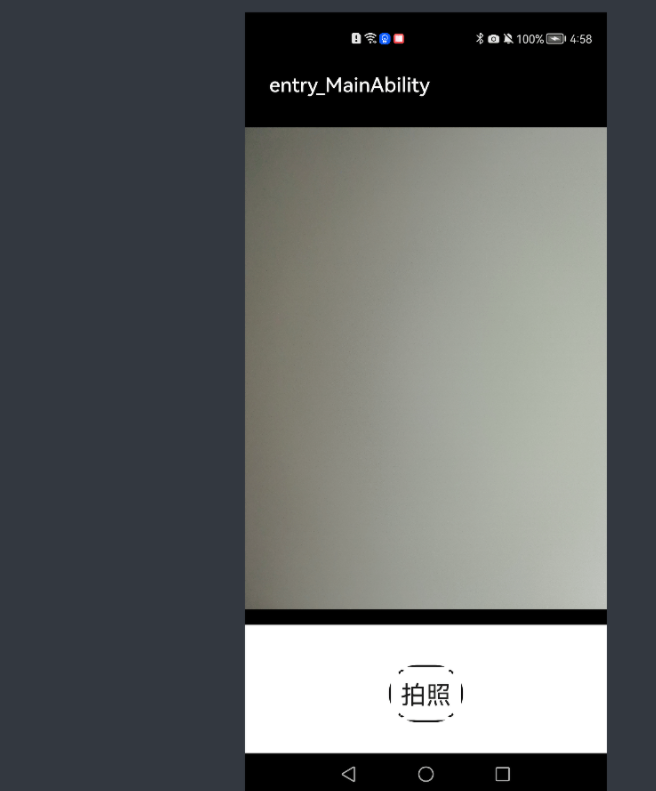
1.4 運行效果
第二步 進行js頁面跳轉功能
我們可以在拍照中完成(complete)的時候進行跳轉另外一個介面,然後對圖片路徑做出相應的處理
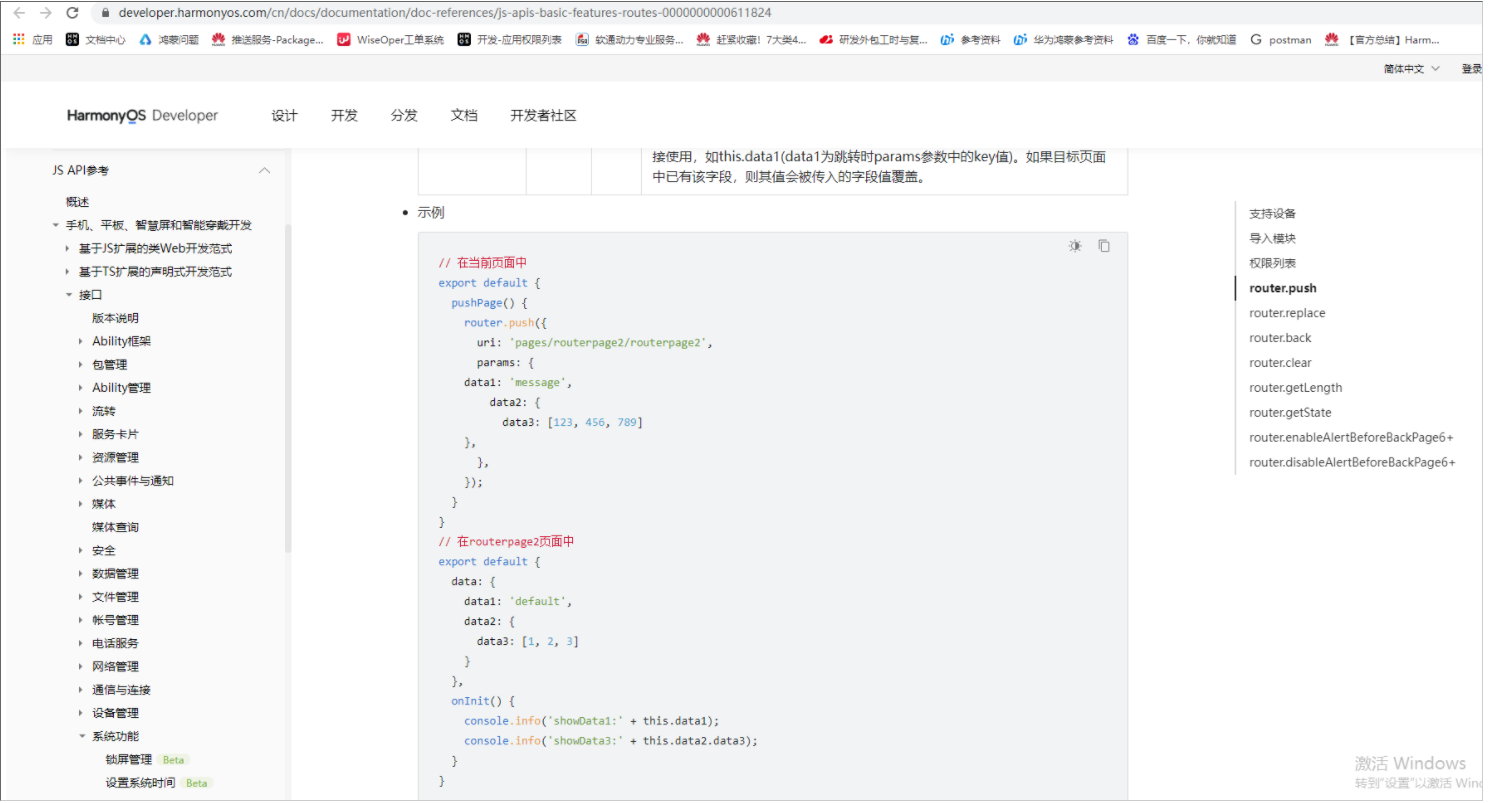
參考資料如下
2.1程式碼如下
    complete(result){

                console.info('-------------complete------'+result)

                var appsrc="file:///data/data/com.harmony.alliance.jsdemo/files/"

                var path="internal://app/"+_this.src.substring(appsrc.length,_this.src.length)

                console.info('-------------success------'+path )

                router.push({

                    uri:              "pages/myImage/myImage",

                    params: {

                        src: path

                    },

                })


            }
第三步 使用image 顯示拍照的照片
3.1 參考資料如下
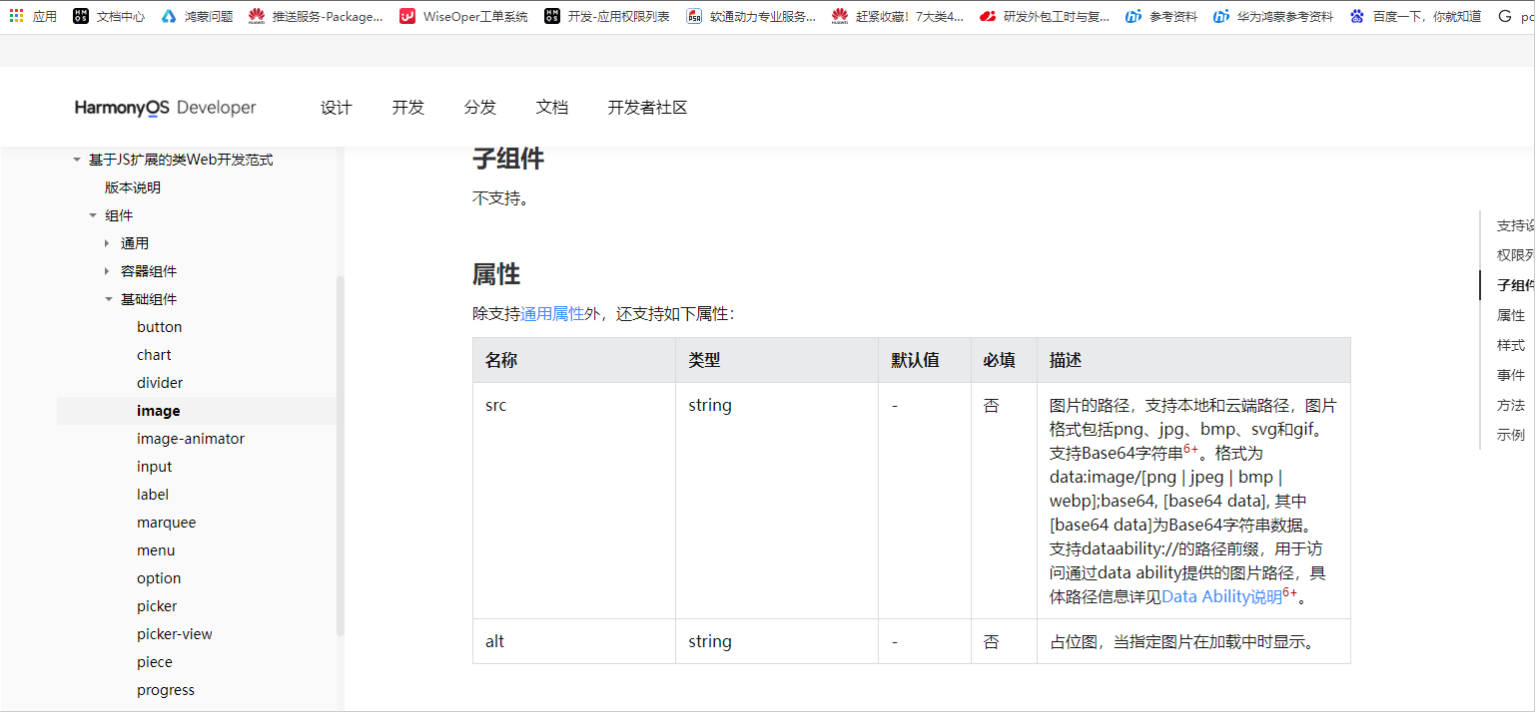
3.2怎麼顯示本地圖片
Image組件存在一個src假設為internal://app/1.png
其真實路徑是file:///data/data/包名 /files/1.png
3.3 hml程式碼
<div class="container">
    <text>{{src}}</text>
    <image src="{{src}}" style="width: 300px; height: 300px;">
    </image>
</div>
CSS程式碼
.container {

    display: flex;

    justify-content: center;

    align-items: center;

    flex-direction: column;

    left: 0px;

    top: 0px;

    width: 454px;

    height: 454px;

}


.title {

    font-size: 30px;

    text-align: center;

    width: 200px;

    height: 100px;

}
Js 程式碼
export default {

   data: {

       title: 'World',

       src:""

   }

}
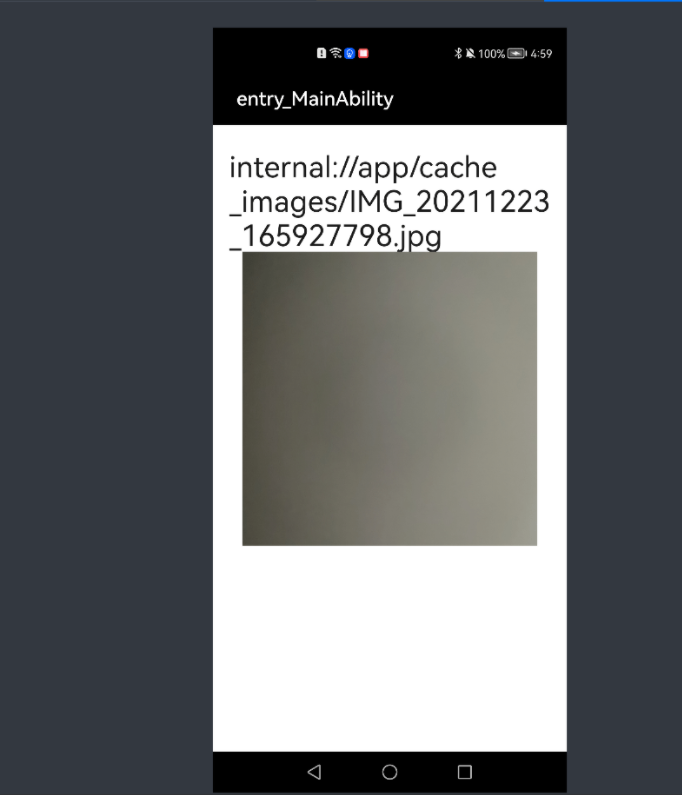
3.4 運行效果
==
更多精彩內容,請見華為開發者官方論壇→//developer.huawei.com/consumer/cn/forum/home?ha_source=sanfang

