nginx之location、inmp架構詳解、BBS項目部署
- 2022 年 1 月 5 日
- 筆記
本期內容概要
- location
- lnmp架構
- 部署BBS項目
內容詳細
1、location
使用Nginx Location可以控制訪問網站的路徑

但一個server可以有多個location配置

多個location是有優先順序區分的 如下圖:
| 匹配符 | 匹配規則 | 優先順序 |
|---|---|---|
| = | 精確匹配 | 1 |
| ^~ | 以某個字元串開頭 | 2 |
| ~ | 區分大小寫的正則匹配 | 3(同級別自上而下匹配) |
| ~* | 不區分大小寫的正則匹配 | 3(同級別自上而下匹配) |
| / | 通用匹配,任何請求都會匹配到 | 4 |
# 測試
先打包 /etc/nginx/conf.d目錄下所有 .conf文件
[root@web01 conf.d]# vim test.conf
server {
listen 80;
server_name _; # '_' 匹配所有域名
location ~* /python { # 第三順位(同級別自上而下匹配)
default_type text/html;
return 200 "Location ~*";
}
location ~ /Python { # 第三順位(同級別自上而下匹配)
default_type text/html;
return 200 "Location ~";
}
location ^~ /python { # 其次匹配
default_type text/html;
return 200 "Location ^~";
}
location = /python { # 首先匹配
default_type text/html;
return 200 "Location =";
}
}
[root@web01 conf.d]# systemctl restart nginx
瀏覽器輸入 IP/python 測試
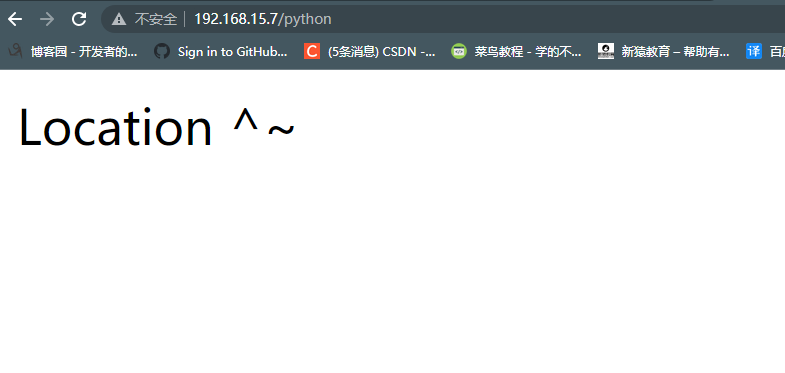
192.168.15.7/python
見下圖:
-
瀏覽器輸入IP後加python 優先順序最高先匹配 匹配到符合即停止

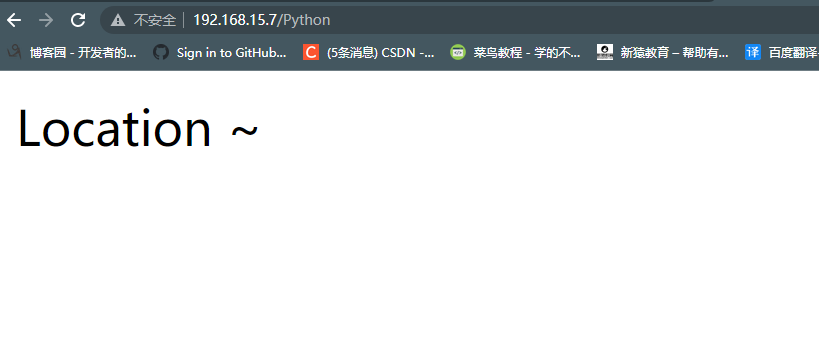
-
瀏覽器輸入IP後加python 注釋掉優先順序最高匹配內容 匹配到符合第二順位即停止
-
瀏覽器輸入IP後加大寫Python 注釋掉優先順序最高匹配內容和次優先順序匹配內容 自傷而下匹配到符合匹配內容的即停止

-
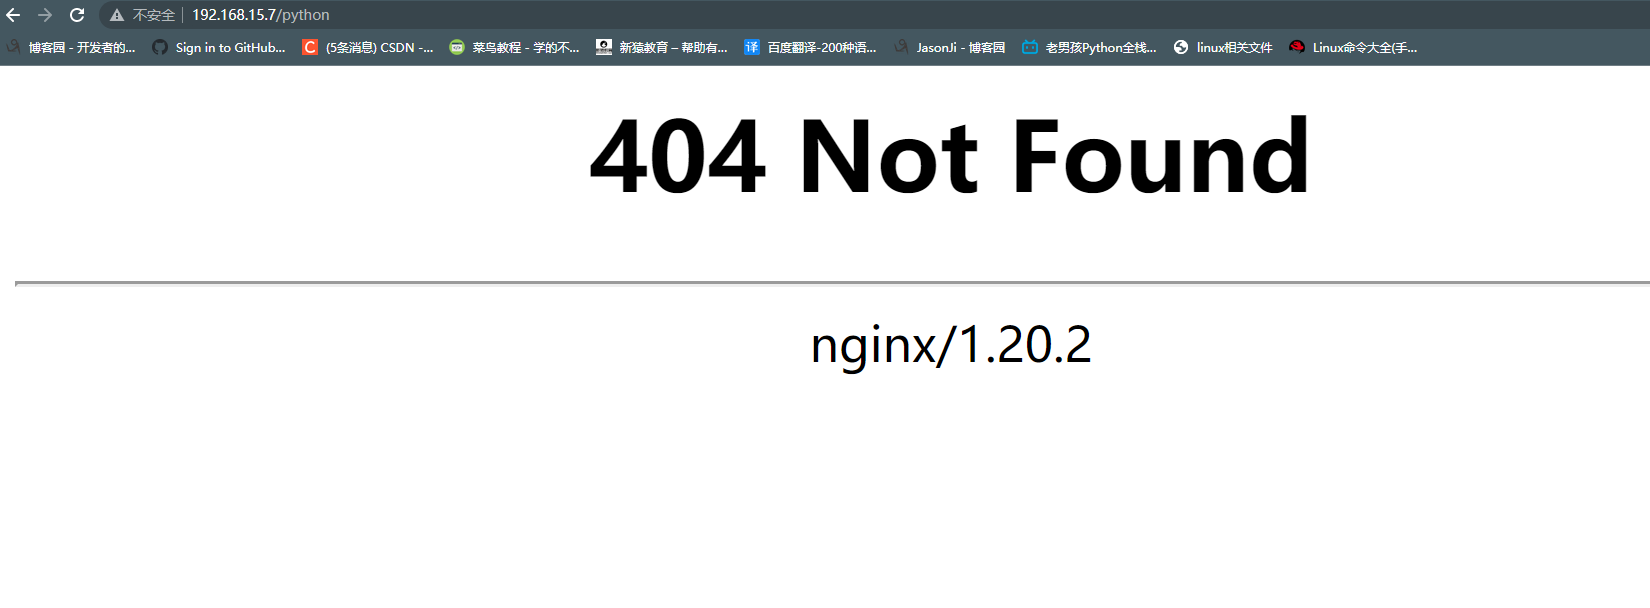
其他注釋掉再匹配
-
因為區分大小寫 所有小寫就會報錯


2、lnmp架構
LNMP是一套技術的組合,L=Linux、N=Nginx、M=MySQL、P=Python

首先Nginx服務是不能處理動態請求,那麼當用戶發起動態請求時, Nginx又是如何進行處理的
	1.靜態請求:請求的內容是靜態文件就是靜態請求
		01 靜態文件:文件上傳到伺服器,永遠不會改變的文件就是靜態文件
		02 html就是一個標準的靜態文件
	2.動態請求:請求的內容是動態的就是動態請求
		01 不是真實存在伺服器上的內容,是通過資料庫或者其他服務拼湊成的數據

當用戶發起http請求,請求會被Nginx處理,如果是靜態資源請求Nginx則直接返回,如果是動態請求Nginx則通過uwsgi協議轉交給後端的Python程式處理
2.1、uwsgi
因為nginx不支援wsgi協議,無法直接調用py開發的webApp

在nginx+uwsgi+Django的框架里,nginx代理+webServer,uWsgi是wsgiServer,Django是webApp

nginx接收用戶請求,並判定哪些轉發到uWsgi,uWsgi再去調用pyWebApp

主要作用就是:將nginx請求轉發到python中去處理
2.2、uwsgi服務部署
1.創建用戶
	[root@web01 ~]# groupadd django -g 888
	[root@web01 ~]# useradd django -u 888 -g 888 -r -M -s /bin/sh

2.安裝依賴軟體
	[root@web01 ~]# yum install python3 libxml* python-devel gcc* pcre-devel openssl-devel python3-devel -y

3.安裝Django和uwsgi
	[root@web01 ~]# pip3 install django
	[root@web01 ~]# pip3 install uwsgi

4.創建項目
	[root@web01 ~]# cd /opt
	[root@web01 opt]# django-admin startproject linux
	[root@web01 opt]# cd linux
	[root@web01 linux]# django-admin startapp app01
	[root@web01 linux]# vim linux/settings.py
	找到下面兩處 並更改為以下:
	ALLOWED_HOSTS = ['*']
	DATABASES = {}

	啟動測試
	[root@web01 linux]# python3 manage.py runserver 0.0.0.0:8000
- [django]正常啟動了

5.編輯項目配置文件
	[root@web01 linux]# pwd
/opt/linux
	[root@web01 linux]# vim myweb_uwsgi.ini
[uwsgi]
# 埠號
socket          = :8000
# 指定項目的目錄
chdir           = /opt/linux
# wsgi文件路徑
wsgi-file       = linux/wsgi.py
# 模組wsgi路徑
module          = linux.wsgi
# 是否開啟master進程
master          = true
# 工作進程的最大數目
processes       = 4
# 結束後是否清理文件
vacuum          = true

6.啟動uwsgi
	[root@web01 linux]# uwsgi -d --ini myweb_uwsgi.ini --uid 666
	-d    :	以守護進程方式運行(後台運行)
	--ini :	指定配置文件路徑
	--uid :	指定uid

7.編輯Nginx配置文件
	[root@web01 linux]# cd /etc/nginx/conf.d
	[root@web01 conf.d]# vim py.conf
server {
    listen 80;
    server_name py.test.com;
    location / {
        include uwsgi_params;
        uwsgi_pass 127.0.0.1:8000;
        uwsgi_read_timeout 2;
        uwsgi_param UWSGI_SCRIPT linux.wsgi;
        uwsgi_param UWSGI_CHDIR /opt/linux;
        index  index.html index.htm;
        client_max_body_size 35m;
    }
}

	[root@web01 conf.d]# nginx -t
nginx: the configuration file /etc/nginx/nginx.conf syntax is ok
nginx: configuration file /etc/nginx/nginx.conf test is successful

8.重啟nginx配置
	[root@web01 conf.d]# systemctl restart nginx
	將域名:py.test.com 在Windows中解析
	C:\Windows\System32\drivers\etc
	192.168.15.7  game.marie.com  game.chess.com py.test.com

3、部署BBS項目
1.部署資料庫
	先開啟資料庫伺服器 db01
	[root@db01 ~]# yum install mariadb* -y

2.啟動資料庫
	[root@db01 ~]# systemctl start mariadb

3.遠程連接MySQL數據
	[root@db01 ~]# mysql
	MariaDB [(none)]>  GRANT ALL PRIVILEGES ON *.* TO 'root'@'%' IDENTIFIED BY '123456' WITH GRANT OPTION;  # 第一步
Query OK, 0 rows affected (0.00 sec)  # 自動回顯內容

	MariaDB [(none)]> FLUSH PRIVILEGES;  # 第二步
Query OK, 0 rows affected (0.00 sec)  # 自動回顯內容

	MariaDB [(none)]> CREATE DATABASE `bbs` DEFAULT CHARACTER SET utf8 COLLATE utf8_unicode_ci;  # 第三步
Query OK, 1 row affected (0.00 sec)  # 自動回顯內容

4.部署BBS
01 上傳程式碼
	[root@web01 ~]# unzip bbs.zip
	[root@web01 ~]# mv bbs /opt/

02 資料庫遷移
	[root@web01 ~]# cd /opt/bbs/app01/migrations
	[root@web01 migrations]# rm -rf 00*
	[root@web01 migrations]# rm -rf __pycache__/

	[root@web01 migrations]# cd /opt/bbs/

	修改Django版本
	[root@web01 bbs]# pip3 uninstall django
	[root@web01 bbs]# pip3 install django==1.11

	安裝MySQL資料庫插件
	[root@web01 bbs]# pip3 install pymysql

	修改數據連接
	[root@web01 bbs]# vim bbs/settings.py
ALLOWED_HOSTS = ['*']
DATABASES = {
    'default': {
        'ENGINE': 'django.db.backends.mysql',
        'NAME': 'bbs',
        'USER': 'root',
        'PASSWORD': '123456',
        'HOST': '192.168.15.61',
        'PORT': 3306,
        'CHARSET': 'utf8'
    }
}

	創建資料庫遷移文件
	[root@web01 bbs]# python3 manage.py makemigrations

	資料庫遷移
	[root@web01 bbs]# python3 manage.py migrate

03 配置UWSGI
	[root@web01 bbs]# vim /opt/bbs/myweb_uwsgi.ini
[uwsgi]
# 埠號
socket          = :8002
# 指定項目的目錄
chdir           = /opt/bbs
# wsgi文件路徑
wsgi-file       = bbs/wsgi.py
# 模組wsgi路徑
module          = bbs.wsgi
# 是否開啟master進程
master          = true
# 工作進程的最大數目
processes       = 4
# 結束後是否清理文件
vacuum          = true

	[root@web01 bbs]# uwsgi -d --ini myweb_uwsgi.ini --uid 666

04 配置Nginx
	[root@web01 conf.d]# vim bbs.conf
server {
    listen 80;
    server_name bbs.test.com;
    location / {
        include uwsgi_params;
        uwsgi_pass 127.0.0.1:8002;
        uwsgi_read_timeout 2;
        uwsgi_param UWSGI_SCRIPT bbs.wsgi;
        uwsgi_param UWSGI_CHDIR /opt/bbs;
        index  index.html index.htm;
        client_max_body_size 35m;
    }
}
	[root@web01 conf.d]# nginx -t
nginx: the configuration file /etc/nginx/nginx.conf syntax is ok
nginx: configuration file /etc/nginx/nginx.conf test is successful

	[root@web01 conf.d]# systemctl restart nginx

05 測試訪問BBS
 	將域名:py.test.com 在Windows中解析
	C:\Windows\System32\drivers\etc
	192.168.15.7  game.marie.com  game.chess.com py.test.com bbs.test.com


