電腦基礎 | 文檔神器docsify安裝及基本使用
為啥要用docsify?
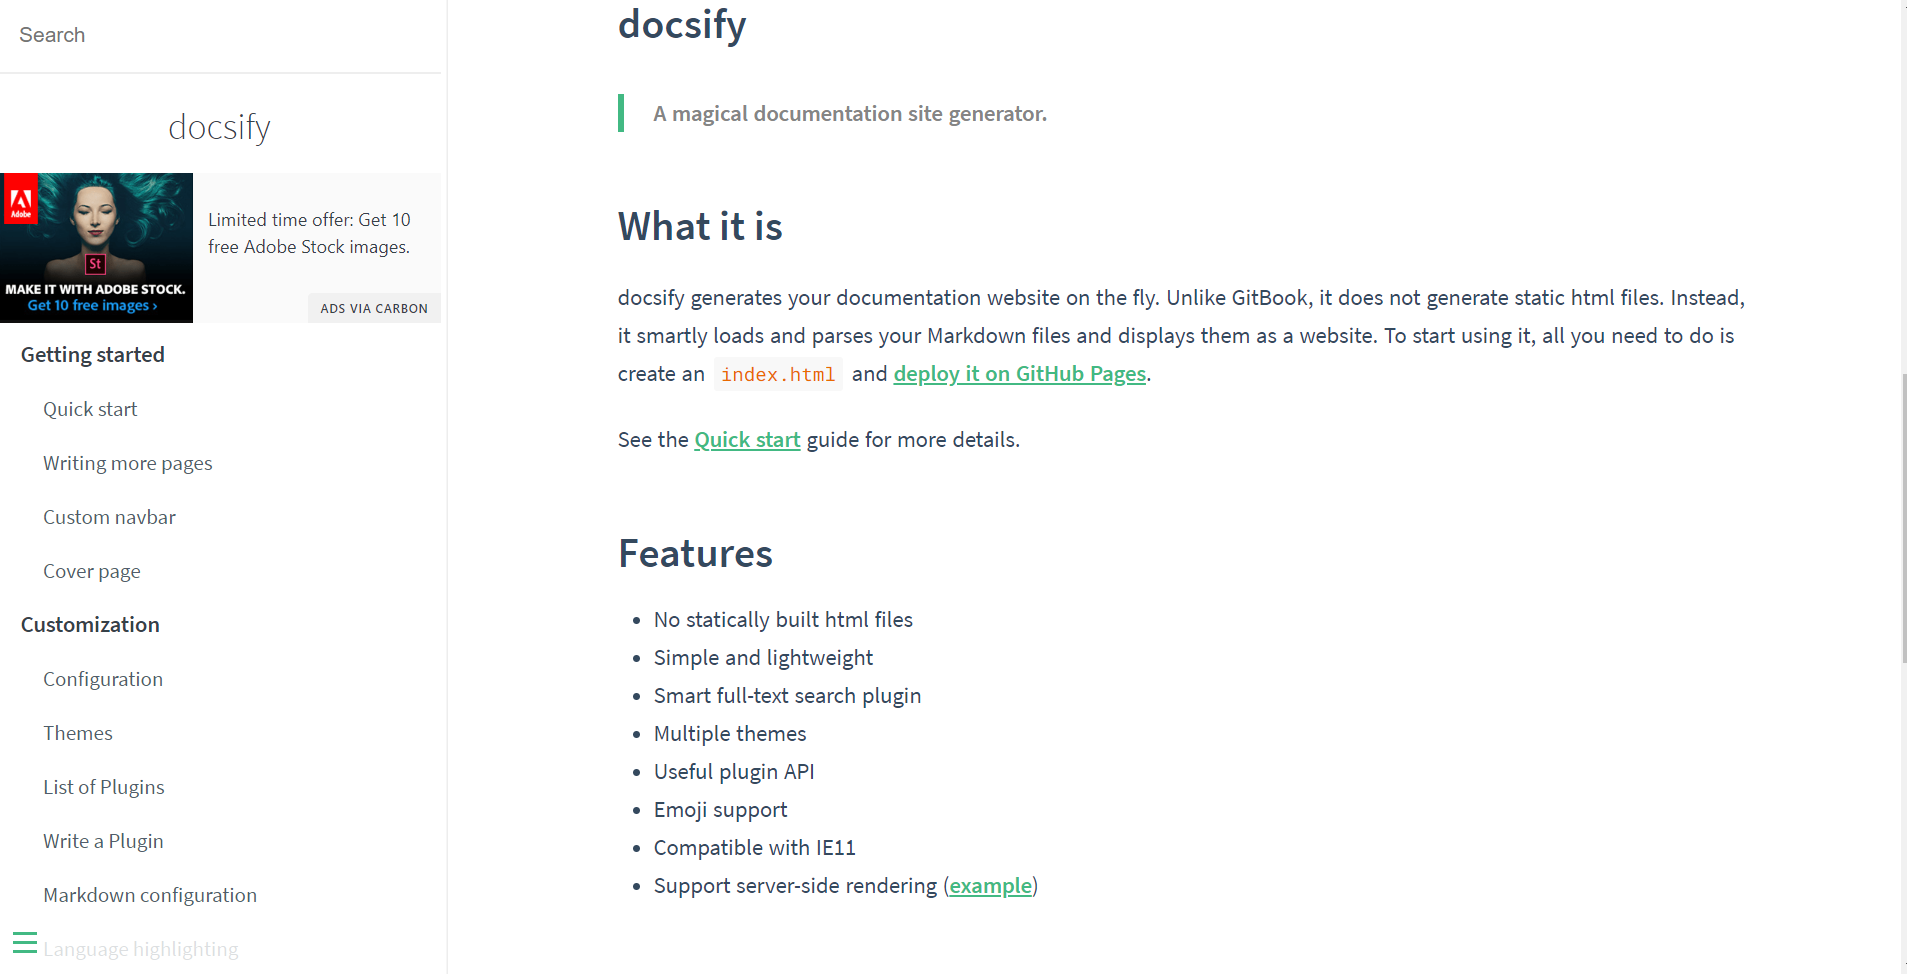
神器Docsify讓你的文檔變得美觀,配合typora,從此愛上看文檔,各種優點:小巧、快速、美觀、方便、快捷、上手快,可以瀏覽如下優秀案例
更多案例請看:Awesome Docsify
安裝
1、首先安裝npm:
sudo apt install npm
如果報錯,則執行如下命令安裝相關依賴
sudo apt-get install nodejs-dev node-gyp libssl1.0-dev
然後再執行安裝命令:
sudo apt install npm
2、安裝docsify-cli:
npm i docsify-cli -g
基本使用
1、初始化項目:
在項目的文檔記錄文件./docs目錄里寫文檔,通過init初始化項目
docsify init ./docs
初始化成功後,在./docs目錄會有如下幾個文件
-
index.html,這是入口文件,不做解釋 -
README.md,主頁內容,不做解釋 -
.nojekyll,這是用於阻止Github Pages忽略掉下劃線開頭的文件
2、本地預覽網站
docsify serve docs
默認訪問://localhost:3000/
如需修改埠號:
docsify serve docs --port=3001
進一步優化
如何添加側邊欄呢?
1、首先在index.html中將loadSidebar設置為true:
<!-- index.html -->

<script>
  window.$docsify = {
    loadSidebar: true
  }
</script>
<script src="//cdn.jsdelivr.net/npm/docsify/lib/docsify.min.js"></script>
2、創建_sidebar.md
<!-- docs/_sidebar.md -->

* [Home](/)
* [Guide](guide.md)
註:如果要上傳到Github Pages的話,需要在./docs中包含.nojekyll
文檔結構大致如下:
└── docs/
    ├── _sidebar.md
    ├── .nojekyll
    ├── index.html
    ├── getting-started.md
    └── running-services.md
設置目錄展開級別,在index.html中設置subMaxLevel即可:
<!-- index.html -->

<script>
  window.$docsify = {
    loadSidebar: true,
    subMaxLevel: 2
  }
</script>
<script src="//cdn.jsdelivr.net/npm/docsify/lib/docsify.min.js"></script>
如何添加各種插件呢?
1、 添加全文搜索插件:
<script>
  window.$docsify = {
    search: 'auto', // default

    search : [
      '/',            // => /README.md
      '/guide',       // => /guide.md
      '/get-started', // => /get-started.md
      '/zh-cn/',      // => /zh-cn/README.md
    ],

    // complete configuration parameters
    search: {
      maxAge: 86400000, // Expiration time, the default one day
      paths: [], // or 'auto'
      placeholder: 'Type to search',

      // Localization
      placeholder: {
        '/zh-cn/': '搜索',
        '/': 'Type to search'
      },

      noData: 'No Results!',

      // Localization
      noData: {
        '/zh-cn/': '找不到結果',
        '/': 'No Results'
      },

      // Headline depth, 1 - 6
      depth: 2,

      hideOtherSidebarContent: false, // whether or not to hide other sidebar content

      // To avoid search index collision
      // between multiple websites under the same domain
      namespace: 'website-1',

      // Use different indexes for path prefixes (namespaces).
      // NOTE: Only works in 'auto' mode.
      //
      // When initialiazing an index, we look for the first path from the sidebar.
      // If it matches the prefix from the list, we switch to the corresponding index.
      pathNamespaces: ['/zh-cn', '/ru-ru', '/ru-ru/v1'],

      // You can provide a regexp to match prefixes. In this case,
      // the matching substring will be used to identify the index
      pathNamespaces: /^(\/(zh-cn|ru-ru))?(\/(v1|v2))?/
    }
  }
</script>
<script src="//cdn.jsdelivr.net/npm/docsify/lib/docsify.min.js"></script>
<script src="//cdn.jsdelivr.net/npm/docsify/lib/plugins/search.min.js"></script>
2、添加程式碼複製插件:
<script src="//cdn.jsdelivr.net/npm/docsify-copy-code"></script>
3、添加latex公式插件:
<script src="//cdn.jsdelivr.net/npm/docsify-katex@latest/dist/docsify-katex.js"></script>
<link rel="stylesheet" href="//cdn.jsdelivr.net/npm/katex@latest/dist/katex.min.css"/>
更多插件可以參考:Awesome docsify plugins

