利用Spring Boot+zxing,生成二維碼還能這麼簡單
- 2019 年 10 月 3 日
- 筆記
在網站開發中,經常會遇到要生成二維碼的情況,比如要使用微信支付、網頁登錄等,本文分享一個Spring Boot生成二維碼的例子,這裡用到了google的zxing工具類。
本文目錄
一、二維碼簡介二、編寫程式碼生成二維碼1.引入jar包2.編寫工具類3.編寫控制層程式碼4.運行並查看效果
一、二維碼簡介
二維碼又稱為QR Code,QR全稱是Quick Response,是一個近幾年來移動設備上超流行的一種編碼方式。
二維碼是用某種特定的幾何圖形按一定規律在平面(二維方向上)分布的黑白相間的圖形記錄數據符號資訊的。
主要應用場景如下:
- 資訊獲取(名片、地圖、WIFI密碼、資料)
- 網站跳轉(跳轉到微博、手機網站、網站)
- 廣告推送(用戶掃碼,直接瀏覽商家推送的影片、音頻廣告)
- 手機電商(用戶掃碼、手機直接購物下單)
- 防偽溯源(用戶掃碼、即可查看生產地;同時後台可以獲取最終消費地)
- 優惠促銷(用戶掃碼,下載電子優惠券,抽獎)
- 會員管理(用戶手機上獲取電子會員資訊、VIP服務)
- 手機支付(掃描商品二維碼,通過銀行或第三方支付提供的手機端通道完成支付)
- 帳號登錄(掃描二維碼進行各個網站或軟體的登錄)
二、編寫程式碼生成二維碼
1.引入jar包
pom.xml中引入zxing的jar包。
<!-- 二維碼支援包 -->
<dependency>
    <groupId>com.google.zxing</groupId>
    <artifactId>core</artifactId>
    <version>3.2.0</version>
</dependency>
<dependency>
    <groupId>com.google.zxing</groupId>
    <artifactId>javase</artifactId>
    <version>3.2.0</version>
</dependency>
2.編寫工具類
QRCodeUtil.java程式碼如下:
/**
 * QRCodeUtil 生成二維碼工具類
 */
public class QRCodeUtil {

    private static final String CHARSET = "utf-8";
    private static final String FORMAT_NAME = "JPG";
    // 二維碼尺寸
    private static final int QRCODE_SIZE = 300;
    // LOGO寬度
    private static final int WIDTH = 60;
    // LOGO高度
    private static final int HEIGHT = 60;

    private static BufferedImage createImage(String content, String imgPath, boolean needCompress) throws Exception {
        Hashtable hints = new Hashtable();
        hints.put(EncodeHintType.ERROR_CORRECTION, ErrorCorrectionLevel.H);
        hints.put(EncodeHintType.CHARACTER_SET, CHARSET);
        hints.put(EncodeHintType.MARGIN, 1);
        BitMatrix bitMatrix = new MultiFormatWriter().encode(content, BarcodeFormat.QR_CODE, QRCODE_SIZE, QRCODE_SIZE,
                hints);
        int width = bitMatrix.getWidth();
        int height = bitMatrix.getHeight();
        BufferedImage image = new BufferedImage(width, height, BufferedImage.TYPE_INT_RGB);
        for (int x = 0; x < width; x++) {
            for (int y = 0; y < height; y++) {
                image.setRGB(x, y, bitMatrix.get(x, y) ? 0xFF000000 : 0xFFFFFFFF);
            }
        }
        if (imgPath == null || "".equals(imgPath)) {
            return image;
        }
        // 插入圖片
        QRCodeUtil.insertImage(image, imgPath, needCompress);
        return image;
    }

    private static void insertImage(BufferedImage source, String imgPath, boolean needCompress) throws Exception {
        File file = new File(imgPath);
        if (!file.exists()) {
            System.err.println("" + imgPath + "   該文件不存在!");
            return;
        }
        Image src = ImageIO.read(new File(imgPath));
        int width = src.getWidth(null);
        int height = src.getHeight(null);
        if (needCompress) { // 壓縮LOGO
            if (width > WIDTH) {
                width = WIDTH;
            }
            if (height > HEIGHT) {
                height = HEIGHT;
            }
            Image image = src.getScaledInstance(width, height, Image.SCALE_SMOOTH);
            BufferedImage tag = new BufferedImage(width, height, BufferedImage.TYPE_INT_RGB);
            Graphics g = tag.getGraphics();
            g.drawImage(image, 0, 0, null); // 繪製縮小後的圖
            g.dispose();
            src = image;
        }
        // 插入LOGO
        Graphics2D graph = source.createGraphics();
        int x = (QRCODE_SIZE - width) / 2;
        int y = (QRCODE_SIZE - height) / 2;
        graph.drawImage(src, x, y, width, height, null);
        Shape shape = new RoundRectangle2D.Float(x, y, width, width, 6, 6);
        graph.setStroke(new BasicStroke(3f));
        graph.draw(shape);
        graph.dispose();
    }

    public static void encode(String content, String imgPath, String destPath, boolean needCompress) throws Exception {
        BufferedImage image = QRCodeUtil.createImage(content, imgPath, needCompress);
        mkdirs(destPath);
        ImageIO.write(image, FORMAT_NAME, new File(destPath));
    }

    public static BufferedImage encode(String content, String imgPath, boolean needCompress) throws Exception {
        BufferedImage image = QRCodeUtil.createImage(content, imgPath, needCompress);
        return image;
    }

    public static void mkdirs(String destPath) {
        File file = new File(destPath);
        // 當文件夾不存在時,mkdirs會自動創建多層目錄,區別於mkdir.(mkdir如果父目錄不存在則會拋出異常)
        if (!file.exists() && !file.isDirectory()) {
            file.mkdirs();
        }
    }

    public static void encode(String content, String imgPath, OutputStream output, boolean needCompress)
            throws Exception {
        BufferedImage image = QRCodeUtil.createImage(content, imgPath, needCompress);
        ImageIO.write(image, FORMAT_NAME, output);
    }

    public static void encode(String content, OutputStream output) throws Exception {
        QRCodeUtil.encode(content, null, output, false);
    }
}
3.編寫控制層程式碼
QrCodeController.java程式碼如下:
    /**
     * 根據 url 生成 普通二維碼
     */
    @RequestMapping(value = "/createCommonQRCode")
    public void createCommonQRCode(HttpServletResponse response, String url) throws Exception {
        ServletOutputStream stream = null;
        try {
            stream = response.getOutputStream();
            //使用工具類生成二維碼
            QRCodeUtil.encode(url, stream);
        } catch (Exception e) {
            e.getStackTrace();
        } finally {
            if (stream != null) {
                stream.flush();
                stream.close();
            }
        }
    }

    /**
     * 根據 url 生成 帶有logo二維碼
     */
    @RequestMapping(value = "/createLogoQRCode")
    public void createLogoQRCode(HttpServletResponse response, String url) throws Exception {
        ServletOutputStream stream = null;
        try {
            stream = response.getOutputStream();
            String logoPath = Thread.currentThread().getContextClassLoader().getResource("").getPath()
                    + "templates" + File.separator + "logo.jpg";
            //使用工具類生成二維碼
            QRCodeUtil.encode(url, logoPath, stream, true);
        } catch (Exception e) {
            e.getStackTrace();
        } finally {
            if (stream != null) {
                stream.flush();
                stream.close();
            }
        }
    }
4.運行並查看效果
本項目中提供了生成普通二維碼和帶有logo二維碼的兩個介面,啟動項目,我們來演示下生成下http://www.baidu.com這個url的二維碼;
- 生成普通二維碼
本地瀏覽器打開http://localhost:8080/createCommonQRCode?url=http://www.baidu.com,生成的二維碼截圖如下:
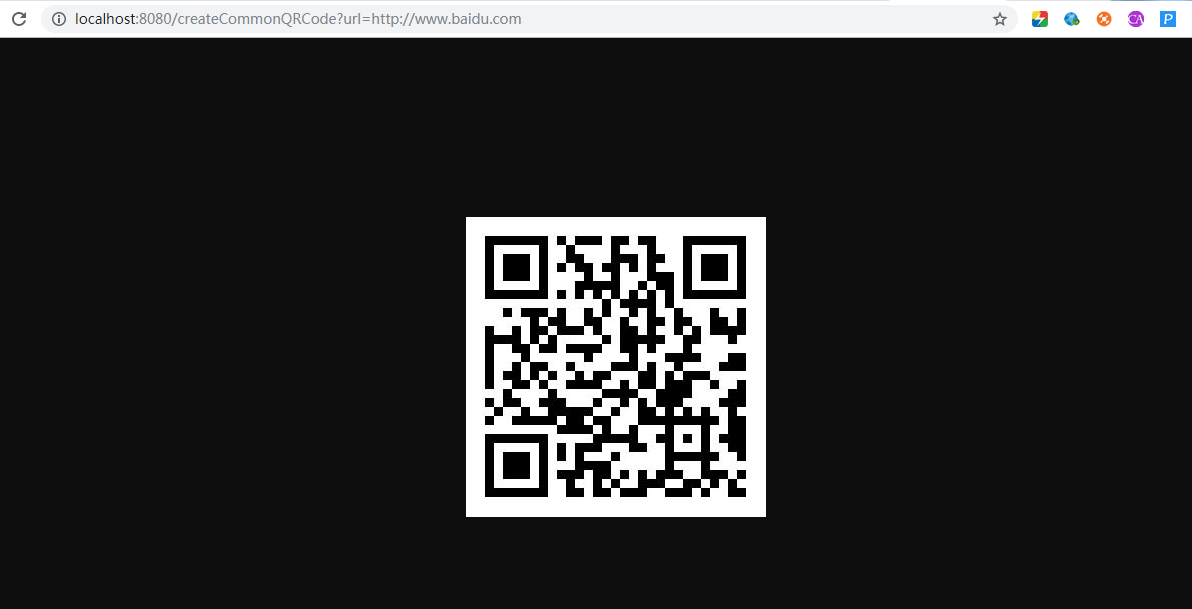
生成百度的普通二維碼
- 生成帶logo的二維碼
本地瀏覽器打開http://localhost:8080/createLogoQRCode?url=http://www.baidu.com,生成的二維碼截圖如下:

生成百度的帶logo二維碼
到此Spring Boot 2.X中利用ZXing生成二維碼功能全部實現,有問題歡迎留言溝通哦!
完整源碼地址: https://github.com/suisui2019/springboot-study
推薦閱讀
1.從技術的角度分析下為什麼不要在網上發“原圖”
2.Spring Boot 2.X 如何快速整合jpa?
3.Spring Boot之Profile–快速搞定多環境使用與切換
4.Spring Boot 2.X整合Spring-cache,讓你的網站速度飛起來
5.利用Spring Boot+WxJava實現網站集成微信登錄功能
限時領取免費Java相關資料,涵蓋了Java、Redis、MongoDB、MySQL、Zookeeper、Spring Cloud、Dubbo/Kafka、Hadoop、Hbase、Flink等高並發分散式、大數據、機器學習等技術。
關注下方公眾號即可免費領取:

