SpringBoot — 自定義 Starter
- 2020 年 8 月 17 日
- 筆記
- springboot
SpringBoot — 自定義 Starter
創建
1、需要創建一個新的空工程
2、新的工程需要引入兩個模組
一個Maven 模組 作為啟動器
一個SpringBoot 模組 作為自動配置模組
3、在Starter 模組(即啟動器模組)的 pom.xml 引入 自動配置模組
    <!--啟動器-->
    <groupId>com.ling.starter</groupId>
    <artifactId>ling-spring-boot-starter</artifactId>
    <version>1.0-SNAPSHOT</version>

    <dependencies>
<!--        引入自動配置模組-->
        <dependency>
            <groupId>com.ling.starter</groupId>
            <artifactId>ling-spring-boot-starter-autoconfigurer</artifactId>
            <version>0.0.1-SNAPSHOT</version>
        </dependency>
    </dependencies>
4、接下來主要的工作是編寫自動配置包 ling-spring-boot-starter-autoconfigurer
首先,我們要明確,需要使用者配置的屬性有哪些,需要編寫一個類並用 @ConfigurationProperties 標註,用 prefix 明確配置的字首部分,約定後,使用者配置。
package com.ling.starter;

import org.springframework.boot.context.properties.ConfigurationProperties;

@ConfigurationProperties(prefix = "ling.hello")
public class HelloProperties {
    private String prefix;
    private String suffix;

    public String getPrefix() {
        return prefix;
    }

    public void setPrefix(String prefix) {
        this.prefix = prefix;
    }

    public String getSuffix() {
        return suffix;
    }

    public void setSuffix(String suffix) {
        this.suffix = suffix;
    }
}
5、接下來是編寫Service 類,明確的是,以上的配置,用於哪些處理。
package com.ling.starter;
public class HelloService {
HelloProperties helloProperties;
public HelloProperties getHelloProperties() {
return helloProperties;
}
public void setHelloProperties(HelloProperties helloProperties) {
this.helloProperties = helloProperties;
}
public String syaHello(String name){ // 做業務處理
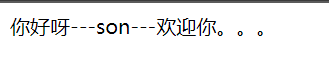
return helloProperties.getPrefix()+ "---" + name + "---" + helloProperties.getSuffix();
}
}
編寫配置類(類似 xml ),注入Bean。
@Configuration     //表明這是一個配置類
@ConditionalOnWebApplication   //判斷是否是web 工程,是則配置
@EnableConfigurationProperties(HelloProperties.class)  //需要注入哪些類到容器中
public class HelloAutoconfiguration {

    @Autowired
    HelloProperties helloProperties;

    @Bean
    public HelloService helloService(){
        HelloService helloService = new HelloService();
        helloService.setHelloProperties(helloProperties);
        return helloService;
    }
}
到這裡自定義 starter 已經完成。
測試
1、創建一個web 工程,測試
2、導入自定義的 starter 依賴
<!--        測試 自定義 starter-->
        <dependency>
            <groupId>com.ling.starter</groupId>
            <artifactId>ling-spring-boot-starter</artifactId>
            <version>1.0-SNAPSHOT</version>
        </dependency>
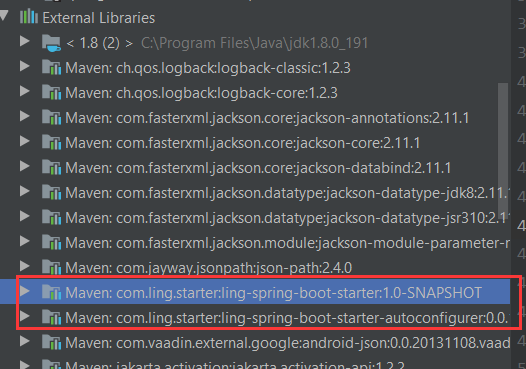
3、導入成功後,可以在依賴庫中找到自定義 starter 的包,因為 ling-spring-boot-starter 的 pom 文件已經導入了 ling-spring-boot-starter-autoconfigurer 的依賴。所以會自動導入ling-spring-boot-starter 所依賴的包。
4、創建並配置 properties.yml 文件(配置是沒有相關提示屬於正常,按照約定好的字首和屬性名配置即可)
ling:
  hello:
    prefix: 你好呀
    suffix: 歡迎你。。。
5、編寫Contriller 類
@RestController  //非JSON 數據,可用 @RestController
/* @RestController== @ResponseBody +@Controller*/
public class HWcontroller {

    @Autowired
    HelloService helloService;

    @RequestMapping("/hello")
    public String hello(){
        return helloService.syaHello("son");
    }
}
6、啟動工程,訪問
//localhost:8080/hello