SpringCloud系列之網關(Gateway)應用篇
- 2020 年 4 月 19 日
- 筆記
- Spring Cloud
@
前言
由於項目採用了微服務架構,業務功能都在相應各自的模塊中,每個業務模塊都是以獨立的項目運行着,對外提供各自的服務接口,如沒有類似網關之類組件的話,相應的鑒權,限流等功能實現起來不能夠進行統一的配置和管理,有了網關後一切都是如此的優雅。剛好新項目中採用了SpringCloud Gateway組件作為網關,就記錄下項目中常用的配置吧。
項目版本
spring-boot-version:2.2.5.RELEASE
spring-cloud.version:Hoxton.SR3
網關訪問
示例項目還是延續SpringCloud系列原先的示例代碼,引入網關僅僅只需新增spring-cloud-gateway項目即可。
核心pom.xml(詳細信息查看示例源碼,在文章末尾)
<dependency>
   <groupId>org.springframework.cloud</groupId>
    <artifactId>spring-cloud-starter-gateway</artifactId>
</dependency>
bootstrap.yml
server:
  port: 9005
spring:
  application:
    name: springcloud-gateway-service
  cloud:
    config:
      discovery:
        enabled: true
        service-id: config-server
      profile: dev
      label: master
    gateway:
      enabled: true  #開啟網關
      discovery:
        locator:
          enabled: true #開啟自動路由,以服務id建立路由,服務id默認大寫
          lower-case-service-id: true #服務id設置為小寫
eureka:
  client:
    service-url:
      defaultZone: //localhost:9003/eureka/
ApiGatewayApplication.java
@EnableDiscoveryClient
@SpringBootApplication
public class ApiGatewayApplication {
    public static void main(String[] args) {
        SpringApplication.run(ApiGatewayApplication.class, args);
    }
}
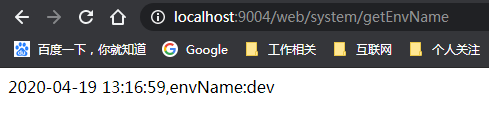
訪問原先spring-cloud-system-server模塊對外提供的接口
//localhost:9004/web/system/getEnvName

通過網關進行訪問
//localhost:9005/system-server/web/system/getEnvName
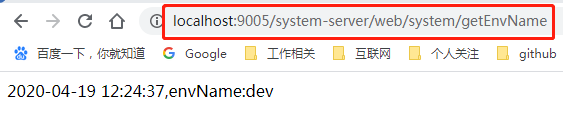
請求能正常返回,那就說明網關組件已集成進來了,是不是很簡單呢,一行配置項就搞定了,便於展現這邊採用properties配置方式說明
spring.cloud.gateway.discovery.locator.enabled=true
到此網關的基礎配置應用已完成,通過網關訪問的請求路徑格式如下
//網關地址:網關端口/各自服務id/各自服務對外提供的URL訪問
鑒權配置
這邊將spring-cloud-system-server模塊引入spring security安全認證組件,上代碼。
pom.xml
<dependency>
    <groupId>org.springframework.boot</groupId>
    <artifactId>spring-boot-starter-security</artifactId>
</dependency>
application.properties
spring.security.user.name=test
spring.security.user.password=123456
服務模塊調整完後,重新啟動該模塊,訪問對外請求接口,出現認證登錄界面說明配置成功。
//localhost:9004/web/system/getEnvName
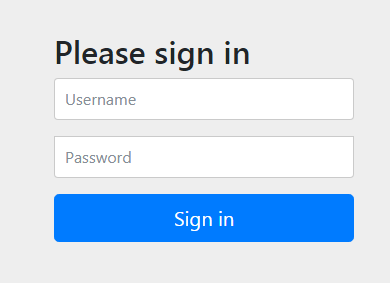
輸入上述配置項中配置的用戶名和密碼後,接口請求返回正常。
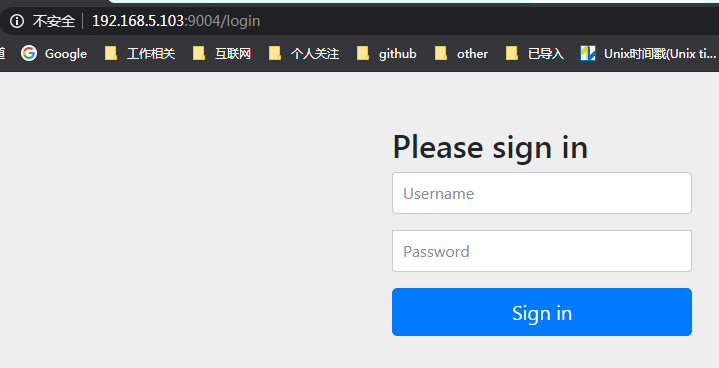
請求網關地址,訪問服務接口按下回車鍵時會跳轉至服務項目認證頁面,如下
//localhost:9005/system-server/web/system/getEnvName
接下來對網關模塊進行相應調整
bootstrap.yml
spring:
  application:
    name: springcloud-gateway-service
  security:
    user:
      name: test
      password: 123456
新增安全認證過濾類
SecurityBasicAuthorizationFilter.java
@Component
public class SecurityBasicAuthorizationFilter implements GlobalFilter, Ordered {

    @Value("${spring.security.user.name}")
    private String username;
    @Value("${spring.security.user.password}")
    private String password;

    public Mono<Void> filter(ServerWebExchange exchange, GatewayFilterChain chain) {
        String auth = username.concat(":").concat(password);
        String encodedAuth = new sun.misc.BASE64Encoder().encode(auth.getBytes(Charset.forName("US-ASCII")));
        String authHeader = "Basic " +encodedAuth;
        //headers中增加授權信息
        ServerHttpRequest serverHttpRequest = exchange.getRequest().mutate().header("Authorization", authHeader).build();
        ServerWebExchange build = exchange.mutate().request(serverHttpRequest).build();
        return chain.filter(build);
    }
    /**
     * 優先級
     * 數字越大優先級越低
     * @return
     */
    public int getOrder() {
        return -1;
    }
}
重啟網關項目,重新訪問服務地址,返回正常數據。這邊說明下在測試時最好新開一個無痕窗口或者清理瀏覽器緩存後再進行測試,不然因會話緩存會導致安全認證沒有生效的假象。
//localhost:9005/system-server/web/system/getEnvName

限流配置
SpringCloud Gateway自帶限流功能,但是基於redis,這邊簡單演示下,項目中沒有使用而是使用了阿里開源的sentinel,後續將介紹下集成sentinel組件。
pom.xml
<dependency>
    <groupId>org.springframework.boot</groupId>
    <artifactId>spring-boot-starter-data-redis-reactive</artifactId>
</dependency>
bootstrap.yml
spring:
  cloud:
    gateway:
      enabled: true  #開啟網關
      discovery:
        locator:
          enabled: true #開啟自動路由,以服務id建立路由,服務id默認大寫
          lower-case-service-id: true #服務id設置為小寫
      routes:
        - id: baidu_route
          uri: //www.baidu.com/
          predicates:
          - Path=/baidu/**
          filters:
            - name: RequestRateLimiter
              args:
                key-resolver: "#{@apiKeyResolver}"
                redis-rate-limiter.replenishRate: 1 #允許每秒處理多少個請求
                redis-rate-limiter.burstCapacity: 5 #允許在一秒鐘內完成的最大請求數
   redis:
    host: 192.168.28.142
    pool: 6379
    password: password
    database: 1
RequestRateLimiterConfig.java
@Configuration
public class RequestRateLimiterConfig {
    @Bean
    @Primary
    public KeyResolver apiKeyResolver() {
        //URL限流,超出限流返回429狀態
        return exchange -> Mono.just(exchange.getRequest().getPath().toString());
    }
}
重新啟動網關項目,訪問如下請求地址,會請求跳轉至百度首頁,目前配置項配置為1s內請求數5次,超過5次就會觸發限流,返回429狀態碼,多次刷新就會出現如下頁面
//localhost:9005/baidu/test

通過monitor命令實時查看redis信息

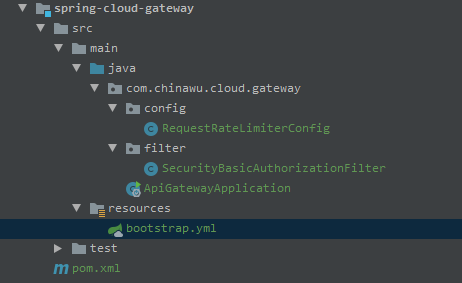
本次網關項目目錄結構
同系列文章
1-SpringCloud系列之配置中心(Config)使用說明
2-SpringCloud系列之服務註冊發現(Eureka)應用篇
示例源碼

