.NET Core 3.x之下的配置框架
- 2020 年 3 月 9 日
- 筆記
一.配置框架的核心類庫
首先我們使用.NET Core的配置框架需要安裝額外的NuGet擴展包,下面是列舉最常用的幾個擴展包以及所對應的配置功能
| NuGet Package | Description |
|---|---|
| Microsoft.Extensions.Configuration | 配置框架的核心庫,提供有關Configuration的抽象類和實現類 |
| Microsoft.Extensions.Configuration.CommandLine | 能夠使用命令參數進行配置 |
| Microsoft.Extensions.Configuration.EnvironmentVariables | 能夠使用環境變量進行配置 |
| Microsoft.Extensions.Configuration.Json | 能夠使用json文件進行配置 |
| Microsoft.Extensions.Configuration.Xml | 能夠使用xml文件進行配置 |
| Microsoft.Extensions.Configuration.Ini | 能夠使用Ini文件進行配置 |
| Microsoft.Extensions.Configuration.Binder | 支持強類型對象綁定配置 |
二.一個Configuration的構建
下面我們在控制台使用內存存儲配置信息並且完成一個Configuration的構造,代碼如下:
static void Main(string[] args) { //定義一個ConfigurationBuilder IConfigurationBuilder builder = new ConfigurationBuilder(); //添加ConfigurationSource builder.AddInMemoryCollection(new Dictionary<string, string>() { {"Name","Foo"}, {"Sex","Male" }, {"Job","Student" }, }); //通過Build構建出IConfiguration IConfiguration configuration = builder.Build(); foreach (var item in configuration.GetChildren()) { Console.WriteLine($"{item.Key}:{item.Value}"); } Console.ReadLine(); }輸出結果:
Job:Student Name:Foo Sex:Male那麼我們可以看到一個configuration的構建的步驟:
-
定義ConfigurationBuilder
-
為ConfigurationBuilder添加ConfigurationSource
-
通過ConfigurationBuilder的Build方法完成構建
三.通過命令行配置
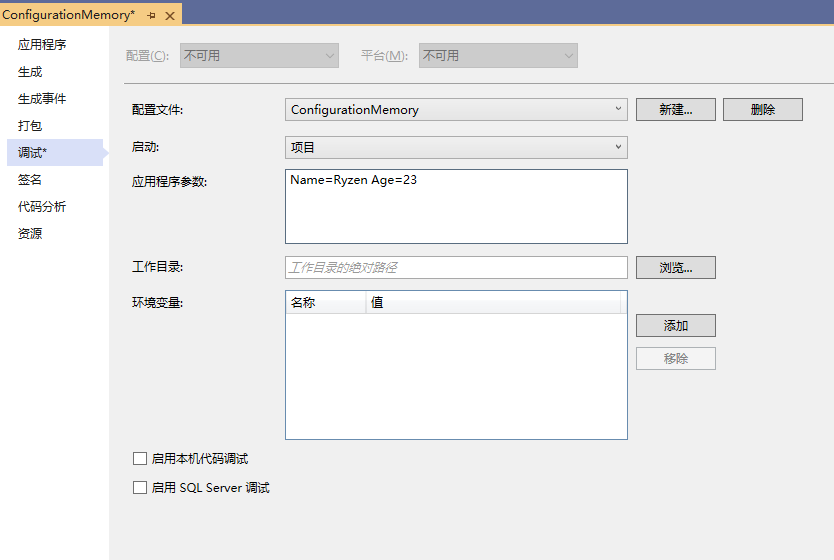
首先我們在項目的調試的應用程序參數加入命令行參數:
代碼修改如下:
builder.AddInMemoryCollection(new Dictionary<string, string>() { {"Name","Foo"}, {"Sex","Male" }, {"Job","Student" }, }) .AddCommandLine(args);輸出:
Age:23 Job:Student Name:Ryzen Sex:Male同時我們在輸出結果看到,key為Name的value變化了,證明當不同配置源存在相同Key時,會被後添加的配置源覆蓋其value
四.通過環境變量配置
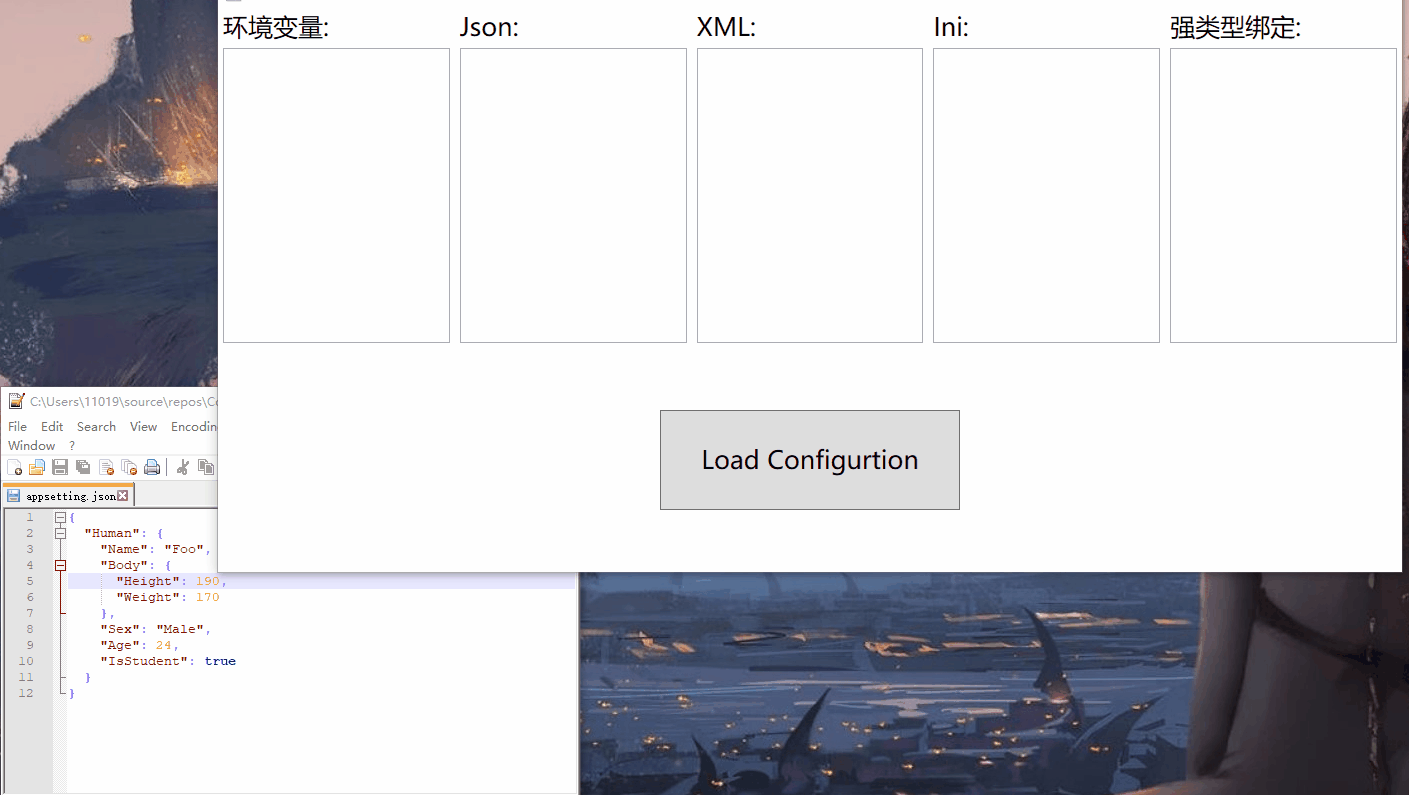
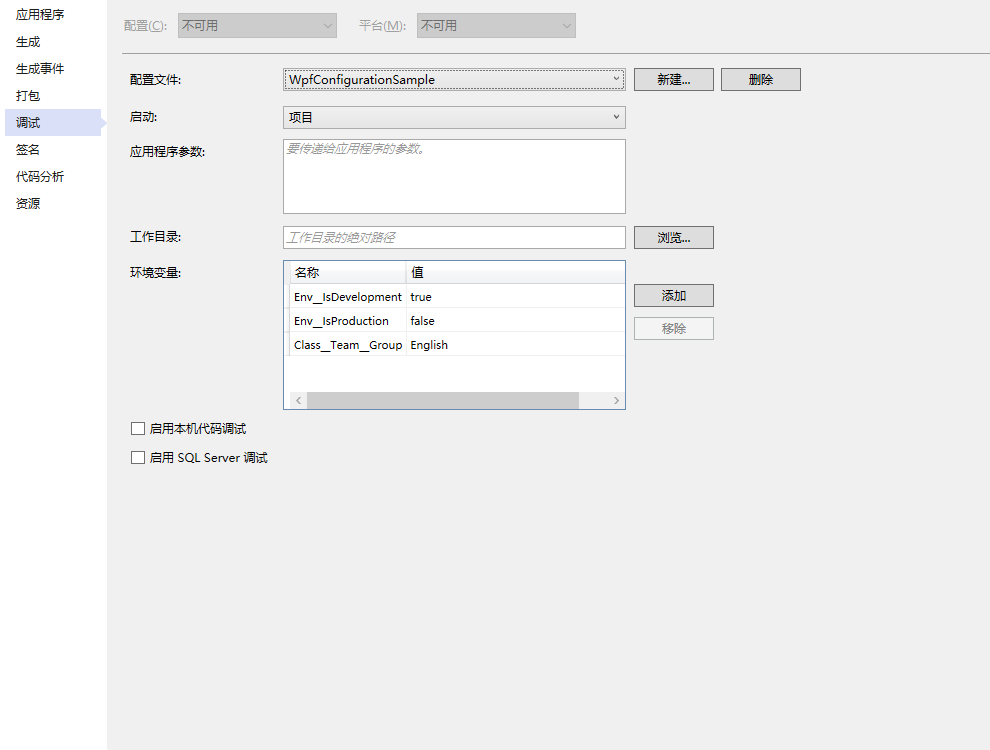
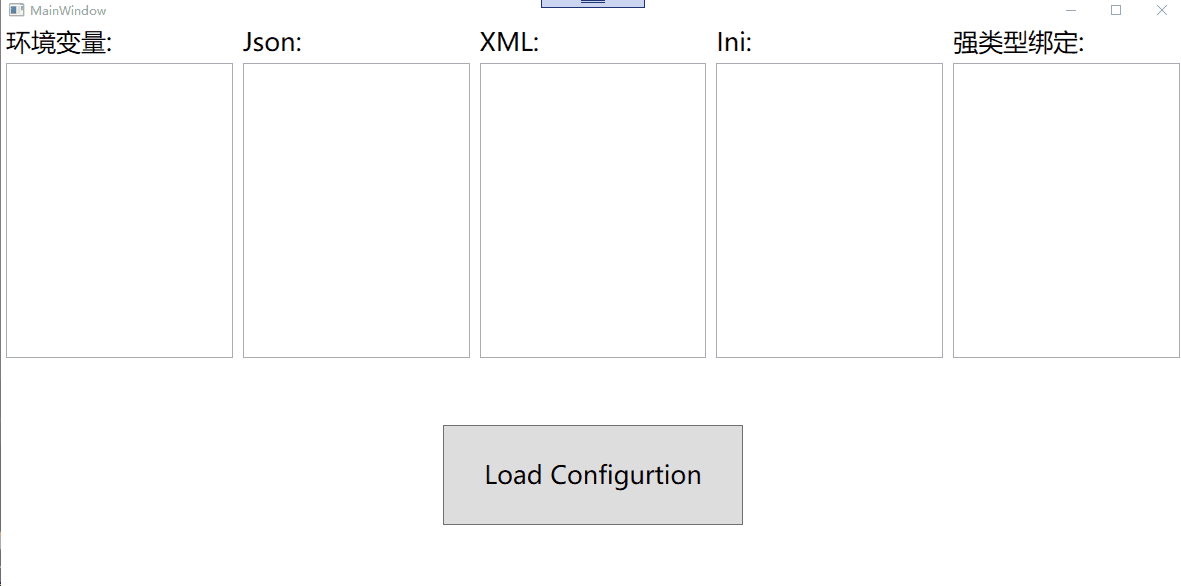
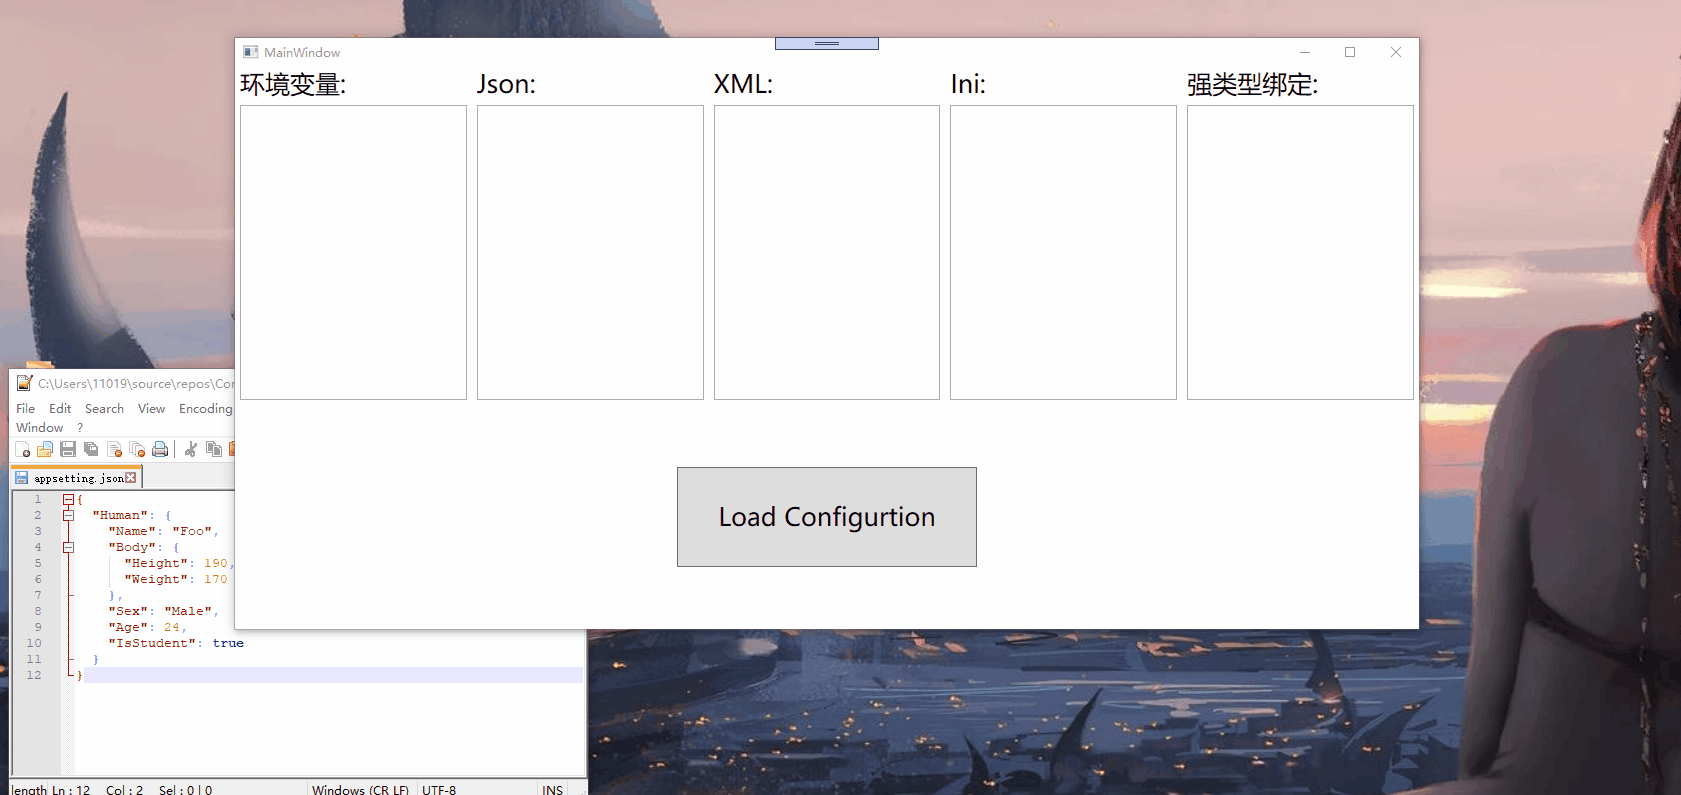
下面的環節由於出於演示效果,通過WPF程序來演示,首先創建好一個wpf項目,界面如下:
我們在項目的調試的環境變量添加幾個參數:
在App.cs中構建一個靜態屬性IConfiguration,代碼如下:
public partial class App : Application { public static IConfiguration MyConfigration => new ConfigurationBuilder() .AddEnvironmentVariables() }MainWindow.cs:
public partial class MainWindow : Window { public MainWindow() { InitializeComponent(); } private void Button_Click(object sender, RoutedEventArgs e) { LoadEnv(); } private void LoadEnv() { string envString = string.Empty; this.textbox_env.Text = $"Env__IsProduction:{App.MyConfigration.GetSection("Env")["IsProduction"]}"+"n"; this.textbox_env.Text += $"Env__IsDevelopment:{App.MyConfigration.GetSection("Env")["IsDevelopment"] }"+"n"; this.textbox_env.Text += $"Class__Team__Group:{App.MyConfigration.GetSection("Class:Team")["Group"]}"; } } 實現效果:
在注入環境變量時,還支持去前綴過濾篩選注入,修改App.cs:
public partial class App : Application { public static IConfiguration MyConfigration => new ConfigurationBuilder() .AddEnvironmentVariables("Env:") }修改MainWindow.cs:
private void LoadEnv() { string envString = string.Empty; this.textbox_env.Text = $"Env__IsProduction:{App.MyConfigration.GetSection("Env")["IsProduction"]}"+"n"; this.textbox_env.Text += $"Env__IsDevelopment:{App.MyConfigration.GetSection("Env")["IsDevelopment"] }"+"n"; this.textbox_env.Text += $"Class__Team__Group:{App.MyConfigration.GetSection("Class:Team")["Group"]}" +"n"; //過濾前綴後 this.textbox_env.Text += $"IsProduction:{App.MyConfigration["IsProduction"]}"; }效果如下:
我們會發現,之前的環境變量都被過濾了,只能讀取被過濾前綴後的環境變量
配置環境變量時的注意點:
- 和json等文件不同,環境變量的Key是以__雙下劃線為分層鍵,而不是:冒號
- 分層讀取的時候是以冒號:來進行讀取
五.通過文件來配置
1.創建和讀取配置文件
首先我們新建一個Configurations文件夾,然後再該文件夾創建三個配置文件
appsetting.json:
{ "Human": { "Name": "Foo", "Body": { "Height": 190, "Weight": 170 }, "Sex": "Male", "Age": 24, "IsStudent": true } }appsetting.xml:
<?xml version="1.0" encoding="utf-8" ?> <Configuration> <DbServers> <SqlSever>12</SqlSever> <MySql>11</MySql> </DbServers> </Configuration>appsetting.ini:
[Ini] IniKey1=IniValue1 IniKey2=IniValue2在App.cs分別注入這三個文件:
public partial class App : Application { public static IConfiguration MyConfigration => new ConfigurationBuilder() .AddEnvironmentVariables("Env:") .AddJsonFile(@"Configurationsappsetting.json", false, true) .AddXmlFile(@"Configurationsappsetting.xml", false, true) .AddIniFile(@"Configurationsappsetting.Ini") .Build(); }修改MainWindow代碼,分別讀取這三個文件:
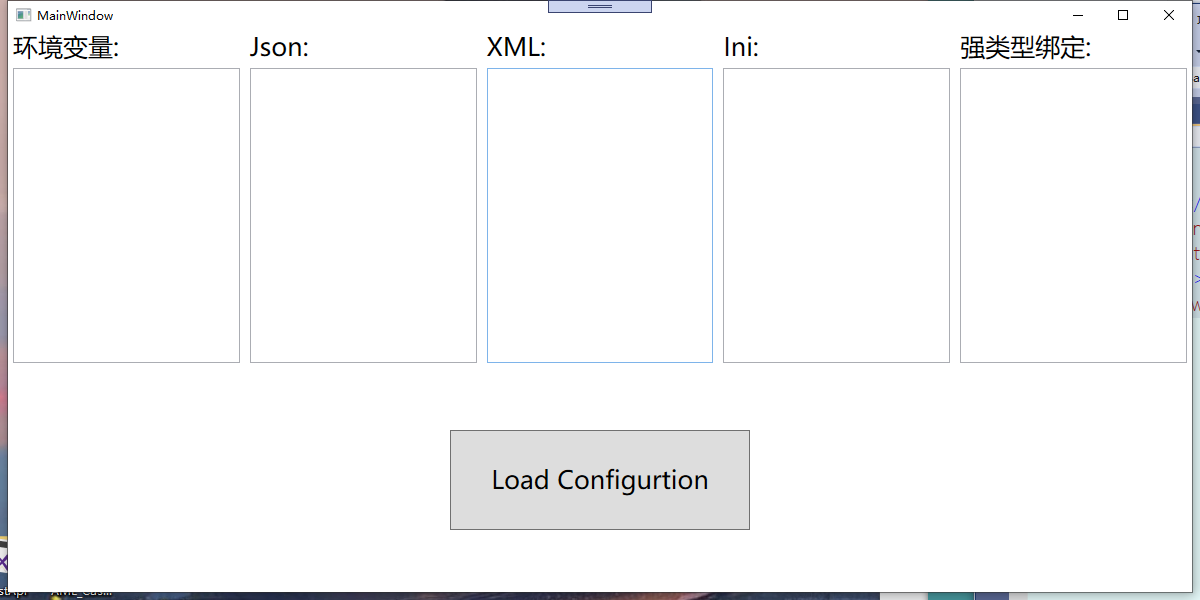
private void Button_Click(object sender, RoutedEventArgs e) { LoadEnv(); LoadJson(); LoadXML(); LoadIni(); } private void LoadJson() { var jsonString = string.Empty; foreach (var item in App.MyConfigration.GetSection("Human").GetChildren()) { if (item.Key.Contains("Body")) { foreach (var body in item.GetChildren()) { jsonString += $"{body.Key}:{body.Value} n"; } } else { jsonString += $"{item.Key}:{item.Value} n"; } } this.textbox_json.Text = jsonString; } private void LoadXML() { var xmlString = string.Empty; foreach (var item in App.MyConfigration.GetSection("DbServers").GetChildren()) { xmlString += $"{item.Key}:{item.Value} n"; } this.textbox_xml.Text = xmlString; } private void LoadIni() { var iniString = string.Empty; foreach (var item in App.MyConfigration.GetSection("Ini").GetChildren()) { iniString += $"{item.Key}:{item.Value} n"; } this.textbox_ini.Text = iniString; }效果如下:
2.支持文件變更時重新讀取和設置變更監視
以json文件為例,我們在App.cs注入json文件時調用此方法
AddJsonFile(@"Configurationsappsetting.json", false, true)該方法有是一個重載方法,最常用的是三個參數的重載方法,下面是三個參數的作用
-
path:文件路徑
-
optional:默認為false,當找不到該文件路徑會報錯,true則不報錯
-
reloadOnChange:默認為false,當為true時支持配置文件變更後重新讀取
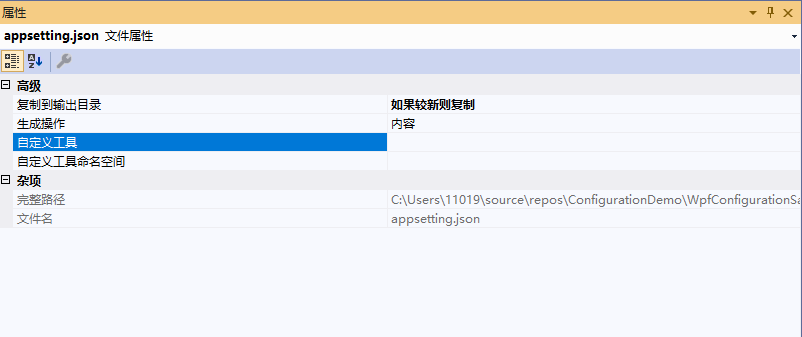
首先,我們為appsetting.json文件設置屬性,複製到輸出目錄=>如果較新則複製,生成操作=>內容
然後我們通過一個內置的靜態方法監控文件變更,修改MainWindows.cs:
public MainWindow() { InitializeComponent(); ChangeToken.OnChange(() => App.MyConfigration.GetReloadToken(), () => { MessageBox.Show("文件發生變更了"); }); }效果如下:
六.強類型綁定配置
首先我們創建一個類用於綁定配置,代碼如下:
public class MyHumanConfig { public string Name { get; set; } public Body Body { get; set; } public string Sex { get; set; } public int Age { get; set; } public bool IsStudent { get; set; } } public class Body { public int Height { get; set; } public int Weight { get; set; } }在Mainwindow.cs新增以下代碼:
private void Button_Click(object sender, RoutedEventArgs e) { LoadEnv(); LoadJson(); LoadXML(); LoadIni(); LoadBind(); } private void LoadBind() { var bindString = string.Empty; MyHumanConfig config = new MyHumanConfig();//聲明變量 App.MyConfigration.GetSection("Human").Bind(config);//綁定變量 foreach (var configProperty in config.GetType().GetProperties()) { if (configProperty.PropertyType==typeof(Body)) { var body = configProperty.GetValue(config) as Body; foreach (var bodyProperty in body.GetType().GetProperties()) { bindString += $"{bodyProperty.Name}:{bodyProperty.GetValue(body)} n"; } } else { bindString += $"{configProperty.Name}:{configProperty.GetValue(config)} n"; } } this.textbox_bind.Text = bindString; }效果如下: