理解Vue.mixin,利用Vue.mixin正確的偷懶
- 2019 年 10 月 3 日
- 筆記
關於Vue.mixin在vue官方文檔中是這麼解釋的:
混入 (mixin) 提供了一種非常靈活的方式,來分發 Vue 組件中的可復用功能。一個混入對象可以包含任意組件選項。當組件使用混入對象時,所有混入對象的選項將被“混合”進入該組件本身的選項。
我們的理解:Vue.mixin給我們提供了一種混入Vue實例的方法,創建了混入對象之後,我們自定義的方法或者變量可以很輕鬆的掛載在Vue實例上,給我們的偷懶帶來方便;
Vue.mixin為我們提供了兩種混入方式:局部混入和全局混入;
本文還是以demo形式來進行學習講解,如果有條件最好還是跟着demo敲一遍,這樣印象才會深刻;
局部混入:
顧名思義就是部分混入,也就是只有引入了mixin的混入對象才可以使用,並且只有在引入了mixin混入對象的組件中才生效;
來,知道了概念,我們一起來看看代碼:
首先自己搭建Vue的開發環境,然後我們在src目錄中新建兩個vue文件,分別是page1.vue和page2.vue;
page1.vue
<template> <div>page1的值是:</div> </template> <script> export default { data () { return { } }, } </script> <style scoped> </style>
page2.vue
<template> <div>page2的值是:</div> </template> <script> export default { data () { return { } } } </script> <style scoped> </style>
然後我們修改App.vue
<template> <div id="app"> <button @click="method1">page1</button> <button @click="method2">page2</button> <router-view></router-view> </div> </template> <script> export default { name: 'App', methods:{ method1(){ this.$router.push('/page1'); }, method2(){ this.$router.push('/page2'); } } } </script> <style> #app { font-family: 'Avenir', Helvetica, Arial, sans-serif; -webkit-font-smoothing: antialiased; -moz-osx-font-smoothing: grayscale; text-align: center; color: #2c3e50; margin-top: 60px; } </style>
在src目錄下創建router.js文件,配置路由實現跳轉
import Vue from "vue"; import VueRouter from "vue-router"; Vue.use(VueRouter); import page1 from "./page1"; import page2 from "./page2"; const routes=[ {path:"/page1",component:page1}, {path:"/page2",component:page2} ] const router=new VueRouter({ routes }) export default router
最後將路由引入main.js中:
// The Vue build version to load with the `import` command // (runtime-only or standalone) has been set in webpack.base.conf with an alias. import Vue from 'vue' import App from './App' import router from './router.js' Vue.config.productionTip = false /* eslint-disable no-new */ new Vue({ el: '#app', router, components: { App }, template: '<App/>' })
完成上述準備工作之後,我們可以看到現在的頁面效果如下:
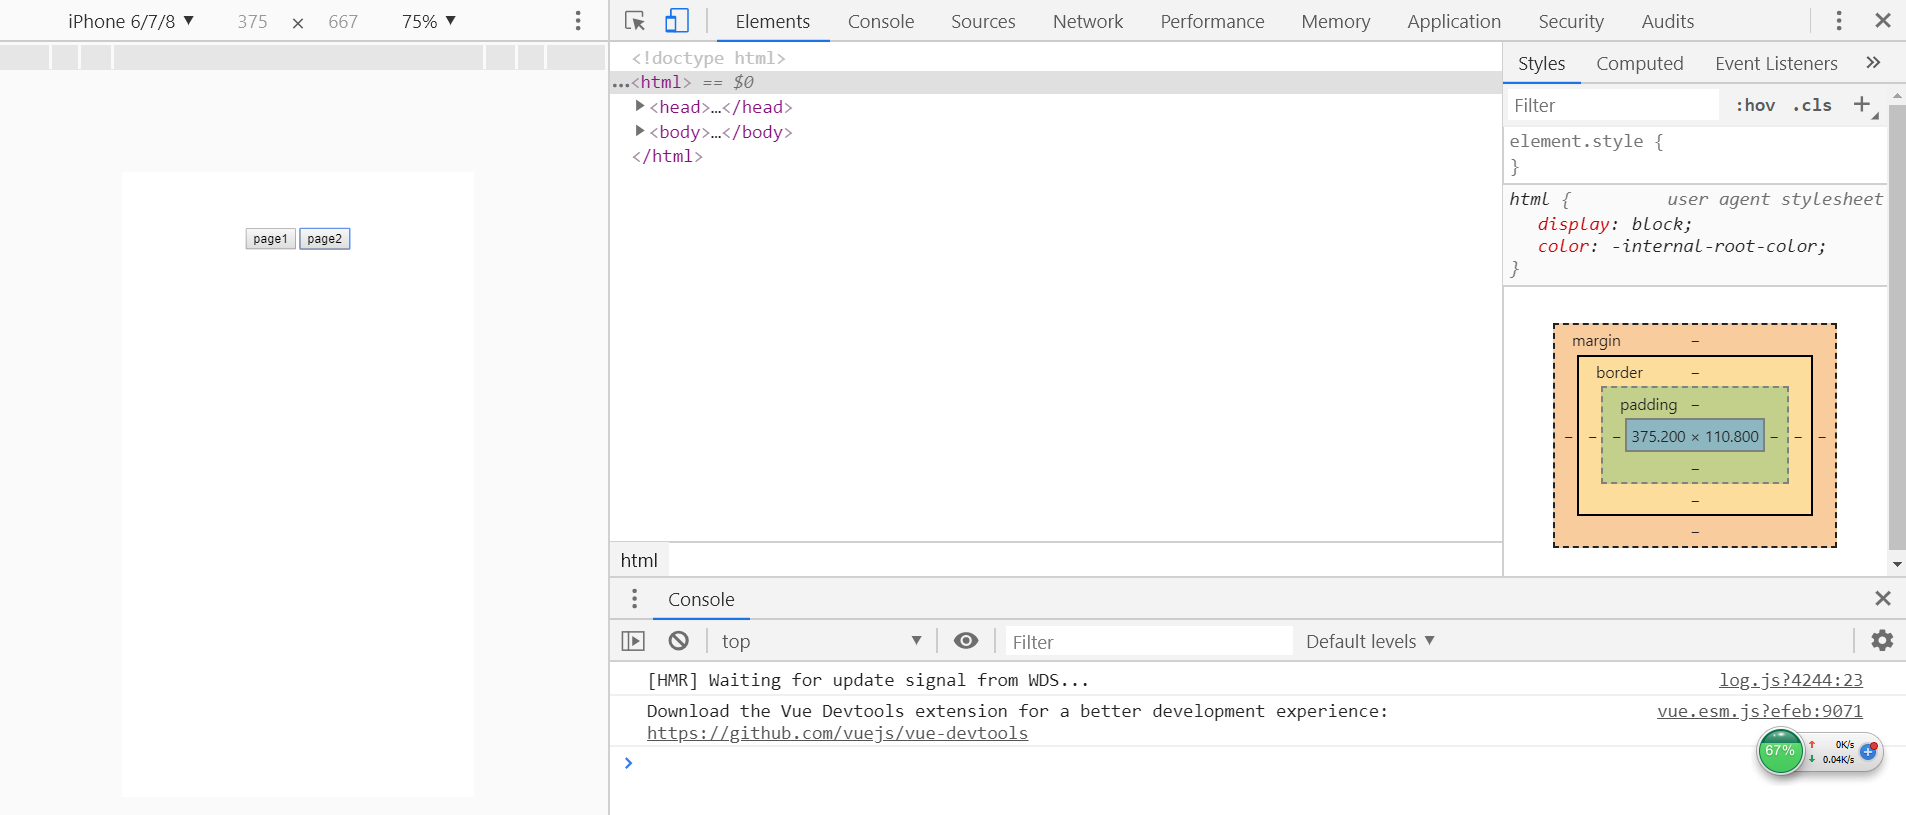
沒有報錯,我們開始正式進入學習Vue.mixin:
首先我們在src目錄下新建一個名為mixin的文件夾並在mixin文件中創建一個mixin.js文件:
//拋出混入對象,方便外部訪問 export const mixin={ data(){ return { number:1 } } }
可以看到我們在混入對象中創建了一個變量,是的,混入對象跟Vue實例的格式是一樣的;
然後我們可以將mixin.js引入到我們的page1.vue和page2.vue中
page1.vue
<template> //這裡讀的值其實是mixin的值,因為這個時候mixin已經混入到vue實例中了 <div>page1的值是:{{number}}</div> </template> <script> //引入mixin.js import {mixin} from "./mixin/mixin" export default { //這裡注意:屬性名為mixins,值為數組類型 mixins:[mixin], data () { return { } }, } </script> <style scoped> </style>
page2.vue
<template> <div>page2的值是:{{number}}</div> </template> <script> import {mixin} from "./mixin/mixin" export default { mixins:[mixin], data () { return { } } } </script> <style scoped> </style>
這個時候我們的混入對象已經成功混入到Vue實例中,你們可以點擊看看效果,是可以正常運行並且能讀取到值的;
現在我們來修改page1.vue的代碼:
<template> <div>page2的值是:{{number}}</div> </template> <script> import {mixin} from "./mixin/mixin" export default { mixins:[mixin], data () { return { } } } </script> <style scoped> </style>
page2不變,再運行可以發現,我們的page1.vue中的值是執行了mounted,所以產生了自增
由此,我們可以知道mixin混入對象的變量是不會共享的;也就是你page1發生了變化,並不會通知mixin進行實時刷新數據,發生的變化只會在page1.vue中生效,不影響其他組件;
現在我們修改mixin.js和page1.vue中的代碼:
mixin.js
export const mixin={ data(){ return { number:1 } }, created(){ console.log("mixin混入對象") } }
page1.vue
<template> <div>page1的值是:{{number}}</div> </template> <script> import {mixin} from "./mixin/mixin" export default { mixins:[mixin], data () { return { } }, created(){ console.log("這裡是page1"); } } </script> <style scoped> </style>
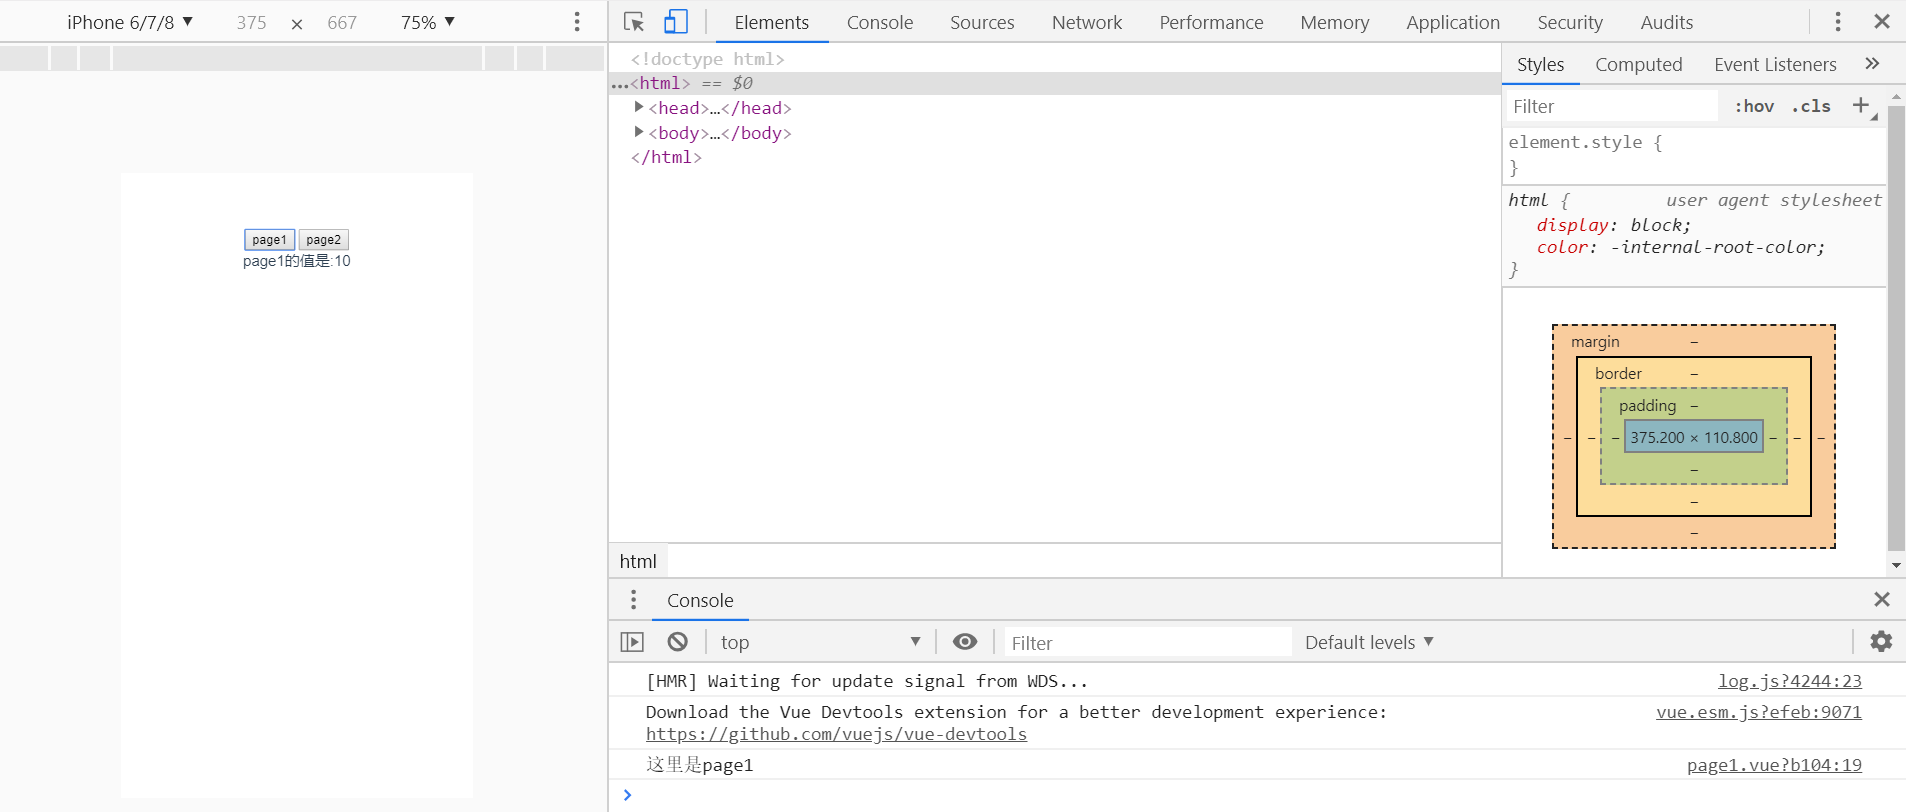
這個時候我們再運行可以發現控制台輸出是這個樣子的:

是的,mixin混入對象中聲明了:如果是同名鉤子函數將合併為一個數組,因此都被調用,但是混入對象的鉤子將在自身實例鉤子之前觸發;
值為對象的選項,例如methods,components等如果變量名和mixin混入對象的變量名發生衝突,將會以組件優先並進行遞歸合併,相當於組件數據直接覆蓋了mixin中的同名數據;
我們可以修改代碼mixin.js和page1.vue
mixin.js
export const mixin={ data(){ return { number:1 } }, methods:{ demo1(){ console.log("mixin混入對象") } } }
page1.vue
<template> <div>page1的值是:{{number}}</div> </template> <script> import {mixin} from "./mixin/mixin" export default { mixins:[mixin], data () { return { number:10 } }, mounted(){ this.demo1(); }, methods:{ demo1(){ console.log("這裡是page1"); } } } </script> <style scoped> </style>
運行代碼我們可以很清晰的看到都是執行我們組件內的值;
因為在vue中我們在實例中聲明變量也是通過鍵值對的形式來聲明的,其實也是一個對象;
全局混入:
全局混入我們只需要把mixin.js引入到main.js中,然後將mixin放入到Vue.mixin()方法中即可;
// The Vue build version to load with the `import` command // (runtime-only or standalone) has been set in webpack.base.conf with an alias. import Vue from 'vue' import App from './App' import router from './router.js' import mixin from "./mixin/mixin.js" Vue.config.productionTip = false Vue.mixin(mixin) /* eslint-disable no-new */ new Vue({ el: '#app', router, components: { App }, template: '<App/>' })
是的,全局混入更為便捷,我們將不用在子組件聲明,全局混入將會影響每一個組件的實例,使用的時候需要小心謹慎;這樣全局混入之後,我們可以直接在組件中通過this.變量/方法來調用mixin混入對象的變量/方法;
很多同學可能看到這裡會有一些疑問,這不就跟Vuex差不多嘛,其實不是的:
mixin混入對象和Vuex的區別:
Vuex是狀態共享管理,所以Vuex中的所有變量和方法都是可以讀取和更改並相互影響的;
mixin可以定義公用的變量或方法,但是mixin中的數據是不共享的,也就是每個組件中的mixin實例都是不一樣的,都是單獨存在的個體,不存在相互影響的;
mixin混入對象值為函數的同名函數選項將會進行遞歸合併為數組,兩個函數都會執行,只不過先執行mixin中的同名函數;
mixin混入對象值為對象的同名對象將會進行替換,都優先執行組件內的同名對象,也就是組件內的同名對象將mixin混入對象的同名對象進行覆蓋;
