springboot集成swagger實戰(基礎版)
- 2021 年 3 月 26 日
- 筆記
- spring-boot
1. 前言說明
本文主要介紹springboot整合swagger的全過程,從開始的swagger到Knife4j的進階之路;Knife4j是swagger-bootstarp-ui的升級版,包括一些增強功能,關於Knife4j下篇文章中着重介紹
swagger特點:
- Api框架
- restful Api文檔在線自動生成工具
- 可以直接運行,在線測試api接口
- 支持多種語言:java、php…
2. 實戰步驟
(1) 搭建springboot項目
- springboot搭建項目就不介紹了,如果需要springboot整合swagger源碼的,可以去我的倉庫查看下載:點擊跳轉
(2) 添加依賴
<!-- swagger2 -->
<dependency>
    <groupId>io.springfox</groupId>
    <artifactId>springfox-swagger2</artifactId>
</dependency>
<!-- swagger-ui,原生swagger-Ui界面,訪問後綴(默認的):swagger-ui.html-->
<dependency>
    <groupId>io.springfox</groupId>
    <artifactId>springfox-swagger-ui</artifactId>
</dependency>
<!-- bootstrap-ui,只是在改變頁面效果,訪問後綴:doc.html -->
<dependency>
    <groupId>com.github.xiaoymin</groupId>
    <artifactId>swagger-bootstrap-ui</artifactId>
    <version>1.9.2</version>
</dependency>
- springfox-swagger-ui和swagger-bootstrap-ui都是純swagger-ui的ui皮膚項目,渲染頁面的,作用是一樣的,只是swagger-bootstarp-ui在原來的基礎上做了頁面優化,頁面更符合中國人的閱讀習慣;
- 其實兩種都不介意使用,因為springfox-swagger-ui原生的比較丑,功能也不齊全(不能導出,不能搜索…),swagger-bootstrap-ui已經停更了,最終版本是1.9.6;所有推薦使用使用最新的Knife4j,下邊文章中着重介紹!!!
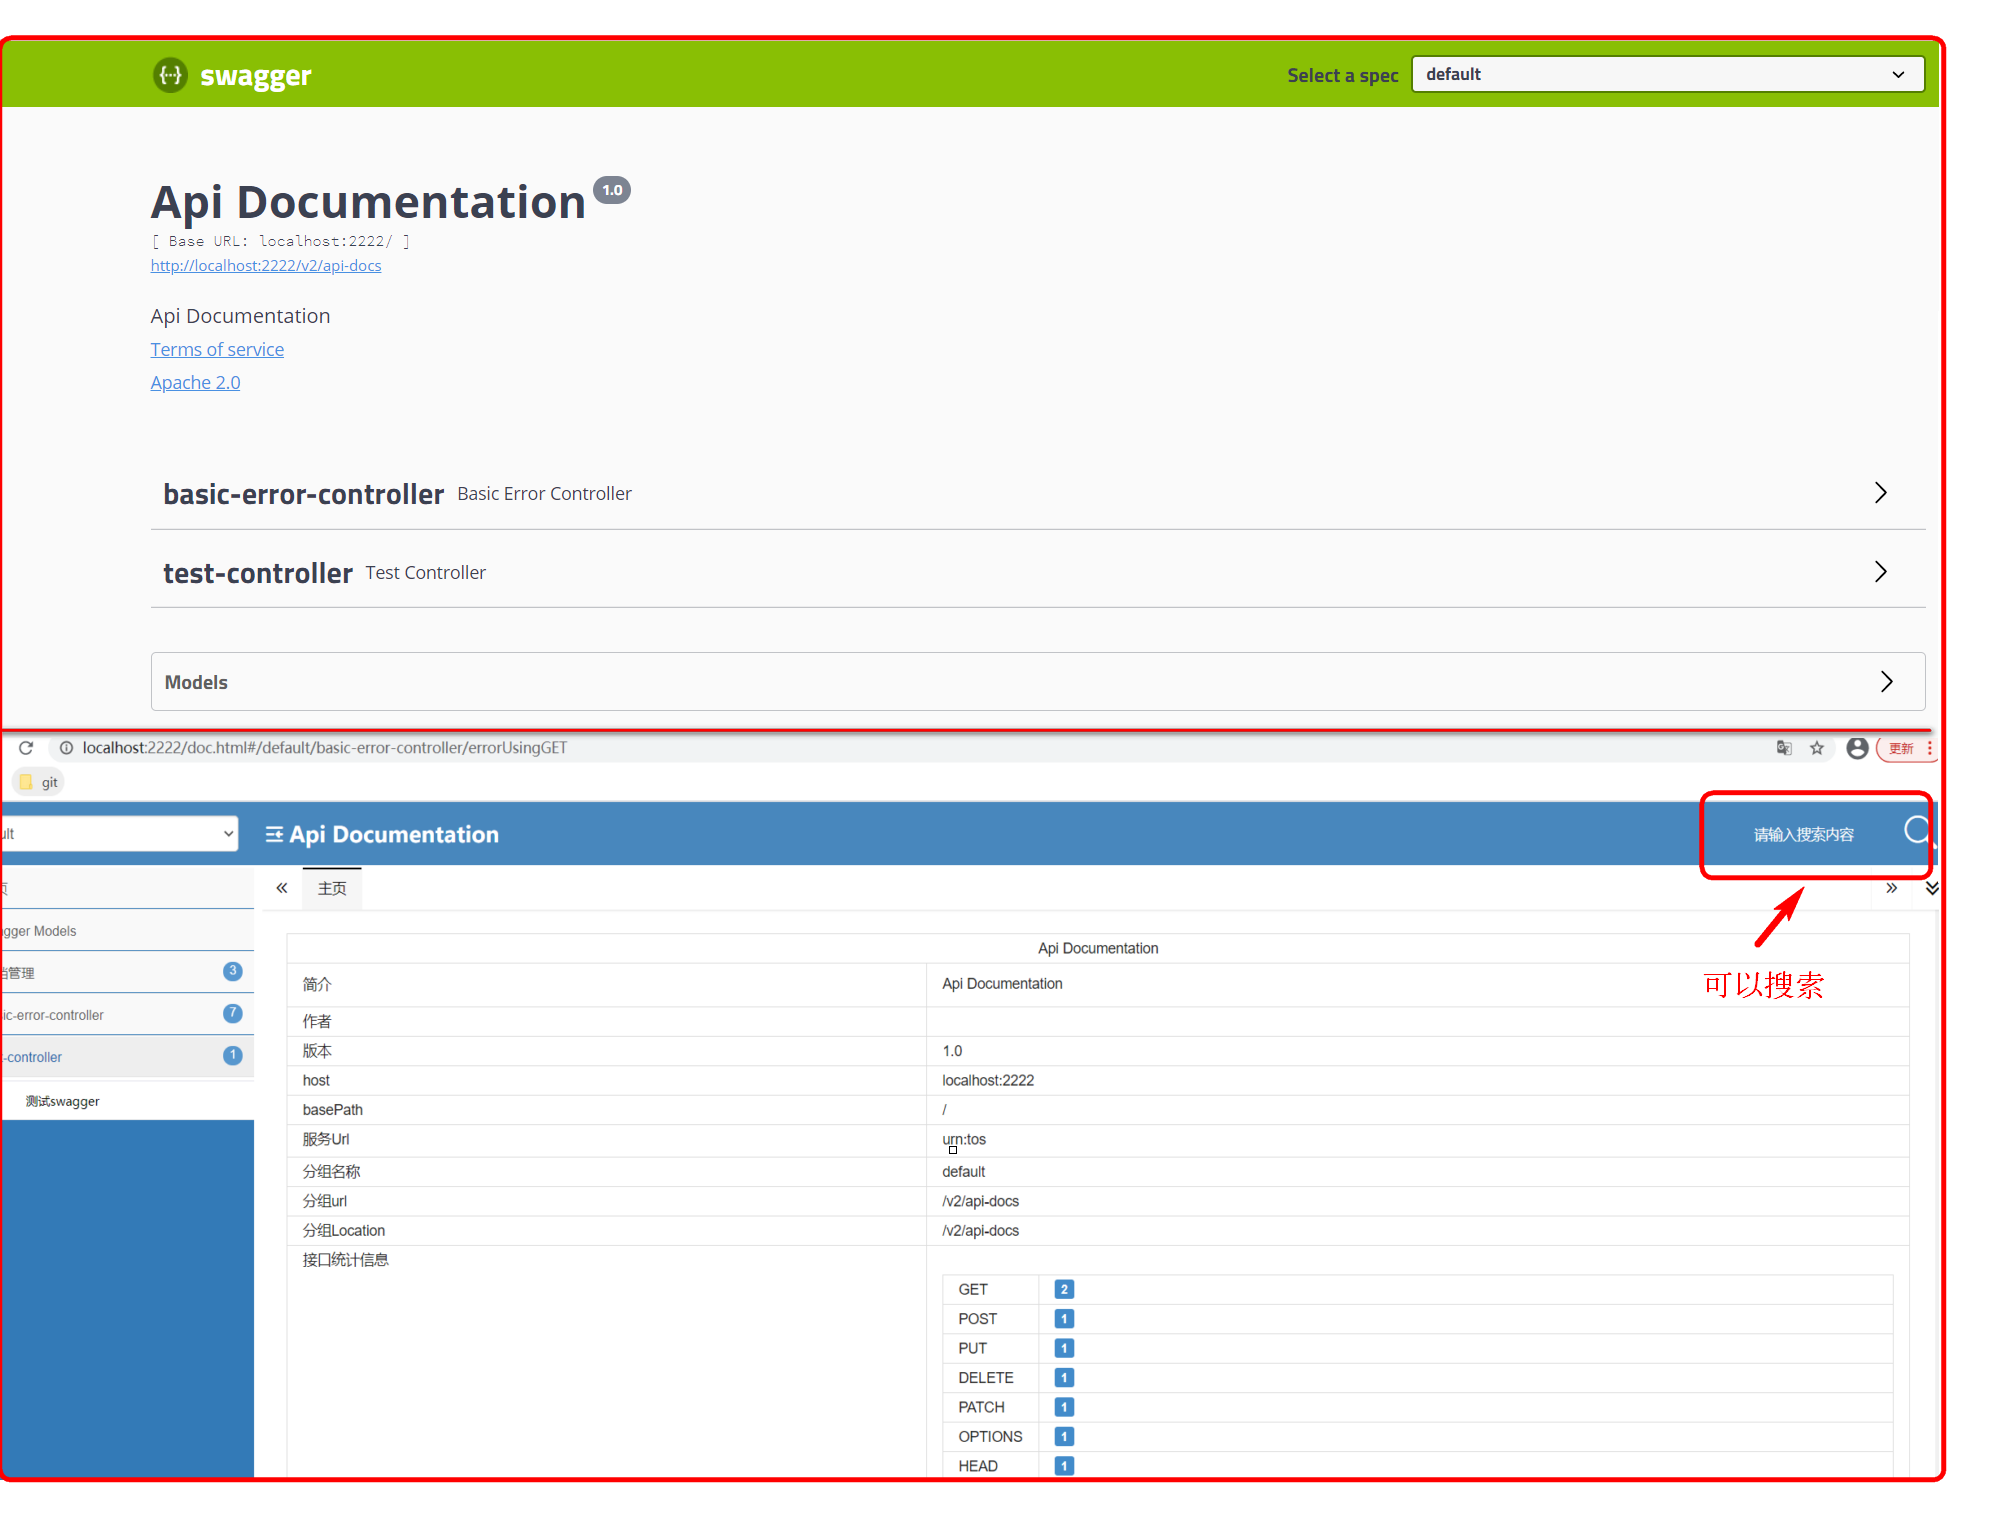
- 兩種UI頁面比較

(3) 註解標註
- 導入依賴之後,只要再啟動類上開啟註解@EnableSwagger2即可,就可以訪問UI頁面了;如果有自定義的配置類,可以標註到配置類上。
- UI頁面可以訪問,但是需要使用其他註解來標註類,方法,參數,才可以看到接口等信息,註解後邊一一羅列!!!
- 頁面中有好多初始化的設置,如果需要修改為自己的,就需要添加配置類,就是第四步編寫配置
(4) 編寫配置
package com.ruyidan.swagger.config;

import java.util.ArrayList;

import org.springframework.beans.factory.annotation.Autowired;
import org.springframework.context.annotation.Bean;
import org.springframework.context.annotation.Configuration;
import org.springframework.core.env.Environment;
import org.springframework.core.env.Profiles;
import springfox.documentation.builders.PathSelectors;
import springfox.documentation.builders.RequestHandlerSelectors;
import springfox.documentation.service.ApiInfo;
import springfox.documentation.service.Contact;
import springfox.documentation.spi.DocumentationType;
import springfox.documentation.spring.web.plugins.Docket;
import springfox.documentation.swagger2.annotations.EnableSwagger2;

/**
 * @ClassName: SwaggerConfig
 * @Description:
 * @Author: dangbo
 * @Date: 2021/3/25 14:13
 * @Version
 */
@Configuration
@EnableSwagger2
public class SwaggerConfig {
  @Autowired
  private Environment environment;

  @Bean
  public Docket docket() {
      // 設置顯示的swagger環境信息
      Profiles profiles = Profiles.of("dev", "test");
      // 判斷是否處在自己設定的環境當中
      boolean flag = environment.acceptsProfiles(profiles);

      return new Docket(DocumentationType.SWAGGER_2)
              .apiInfo(apiInfo())
              .groupName("分組名稱")  // 配置api文檔的分組
              .enable(flag)  // 配置是否開啟swagger
              .select()
              .apis(RequestHandlerSelectors.basePackage("com.ruyidan.swagger.controller")) //配置掃描路徑
              .paths(PathSelectors.any()) // 配置過濾哪些
              .build();
  }

  // api基本信息
  private ApiInfo apiInfo() {
      return new ApiInfo("dxiaodang's swagger",
              "測試swagger-ui",
              "v1.0",
              "//mail.qq.com",
              new Contact("dangbo", "//mail.qq.com", "145xxxxx@qq.com"),  //作者信息
              "Apache 2.0",
              "//www.apache.org/licenses/LICENSE-2.0",
              new ArrayList());
  }
}
 注意點:
注意點:
- 如果只需要在dev和test環境開啟swagger,就使用springboot的Environment實例來判斷當前配置文件時使用的哪種;
- 如果需要配置多個分組,就要創建多個docket實例;
- 如果頁面無法正常訪問, 請看是否配置攔截器了,是不是因為攔截器攔截了請求
(5) 啟動服務驗證
略…
3. 常用註解
- 實體類: ApiModel、實體屬性:ModelProperty
- Controller類:Api
- 接口方法的說明:ApiOperation
- 方法參數的說明:@ApiImplicitParams、@ApiImplicitParam
- 方法返回值的說明:@ApiResponses @ApiResponse
- ParamType和dataType區別
- ParamType:表示參數放在哪個位置
- header–>請求參數的獲取:@RequestHeader(代碼中接收註解)
- query–>請求參數的獲取:@RequestParam(代碼中接收註解)
- path(用於restful接口)–>請求參數的獲取:@PathVariable(代碼中接收註解)
- body–>請求參數的獲取:@RequestBody(代碼中接收註解)
- form(不常用)
- dataType:參數類型,可傳基本類型、類、泛型類等
4. 常見問題匯總
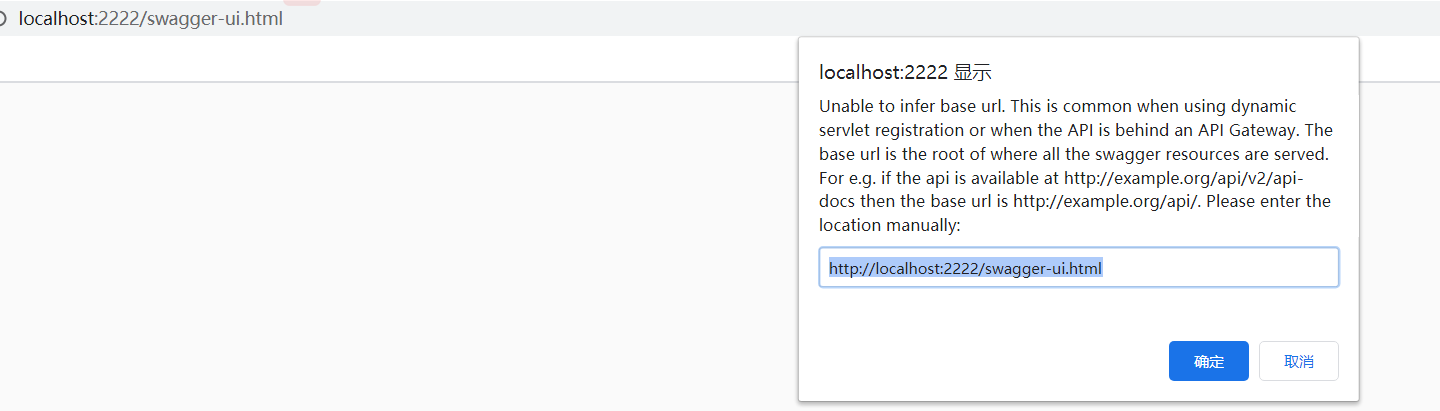
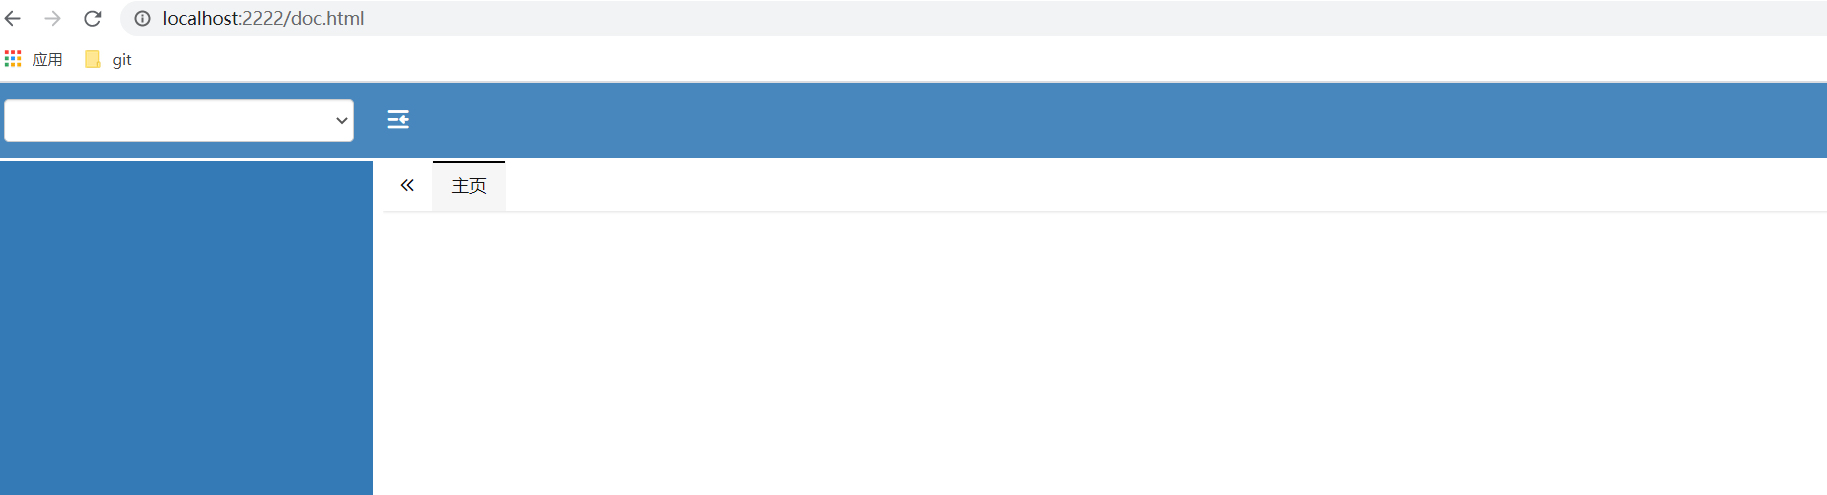
(1) swagger-ui.html訪問報錯,或doc.html訪問之後為空:==未使用@EnableSwagger註解開啟服務
Unable to infer base url. This is common when using dynamic servlet registration or when the API is behind an API Gateway. The base url is the root of where all the swagger resources are served. For e.g. if the api is available at //example.org/api/v2/api-docs then the base url is //example.org/api/. Please enter the location manually:
(2) 自定義配置後,頁面沒有一個接口: 檢查docket配置的掃描路徑和配置過濾哪些,是否配置錯誤導致
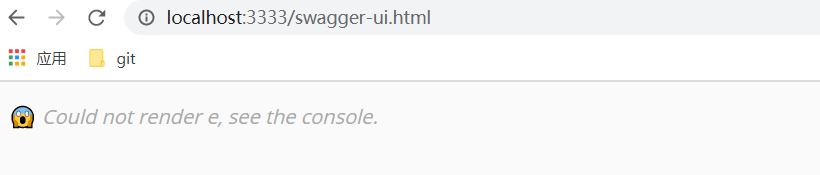
(3) 頁面就會出現Could not render e, see the console,或請確保swagger資源接口正確:配置文件問題,配置dev和test環境開啟swagger,其他環境關閉導致的
Could not render e, see the console
請確保swagger資源接口正確

(2) 自定義配置後,頁面沒有一個接口: 檢查docket配置的掃描路徑和配置過濾哪些,是否配置錯誤導致

