安裝macosx10.13high serria
- 2021 年 1 月 21 日
- 筆記
- 本教程所需資源下載鏈接:
鏈接://pan.baidu.com/s/1wGTezXz6zGvtlwpv6mMoSg
提取碼:r6n9 - 安裝VMware workstation 16.0,安裝unlocker200,以管理員身份運行install.cmd。
-
安裝VMware Workstation Pro 15(只有15的截圖了抱歉)
下載後雙擊安裝文件VMware-workstation-full-15.0.2-10952284
VMware安裝界面
許可協議
這裡需要講一下增強型鍵盤驅動程序:
增強型虛擬鍵盤功能可更好地處理國際鍵盤和帶有額外按鍵的鍵盤。此功能只能在 Windows 主機系統中使用。
由於增強型虛擬鍵盤功能可儘可能快地處理原始鍵盤輸入,所以能夠繞過 Windows 按鍵處理和任何尚未出現在較低層的惡意軟件,從而提高安全性。使用增強型虛擬鍵盤功能時,如果按下 Ctrl+Alt+Delete,只有客戶機操作系統會做出反應。
註:無法為共享或遠程虛擬機配置增強型虛擬鍵盤設置。
個人覺得意義不大,而且安裝需要重新引導,就不安裝了。(如果安裝可能使macos虛擬機鍵盤設定失效)
安裝路徑
產品更新
快捷方式
開始安裝
安裝結束
安裝完畢,完成退出。
-
- 新建一個VMware虛擬機,選擇稍後安裝操作系統,操作系統選擇Windows10 x64,命名為Mac OS X High Serria 10.13.6(由於測試原因導致虛擬機名字不一樣,勿怪),保存。

- 加載macos鏡像,修改Mac OS X High Serria 10.13.6.vmx:示例如下:
.encoding = “GBK”
config.version = “8”
virtualHW.version = “18”
mks.enable3d = “TRUE”
pciBridge0.present = “TRUE”
pciBridge4.present = “TRUE”
pciBridge4.virtualDev = “pcieRootPort”
pciBridge4.functions = “8”
pciBridge5.present = “TRUE”
pciBridge5.virtualDev = “pcieRootPort”
pciBridge5.functions = “8”
pciBridge6.present = “TRUE”
pciBridge6.virtualDev = “pcieRootPort”
pciBridge6.functions = “8”
pciBridge7.present = “TRUE”
pciBridge7.virtualDev = “pcieRootPort”
pciBridge7.functions = “8”
vmci0.present = “TRUE”
hpet0.present = “TRUE”
nvram = “MacOS X High Serria 10.13.6.nvram”
virtualHW.productCompatibility = “hosted”
powerType.powerOff = “soft”
powerType.powerOn = “soft”
powerType.suspend = “soft”
powerType.reset = “soft”
displayName = “MacOS X High Serria 10.13.6”
usb.vbluetooth.startConnected = “TRUE”
smc.present = “TRUE”
smc.version = “0”
firmware = “efi”
sensor.location = “pass-through”
guestOS = “darwin17-64”
tools.syncTime = “FALSE”
sound.autoDetect = “TRUE”
sound.virtualDev = “hdaudio”
sound.fileName = “-1”
sound.present = “TRUE”
numvcpus = “2”
cpuid.coresPerSocket = “2”
memsize = “2048”
mem.hotadd = “TRUE”
sata0.present = “TRUE”
nvme0.present = “TRUE”
nvme0:0.fileName = “MacOS X High Serria 10.13.6.vmdk”
sata0:1.deviceType = “cdrom-raw”
sata0:1.fileName = “auto detect”
sata0:1.present = “TRUE”
usb.present = “TRUE”
ehci.present = “TRUE”
usb_xhci.present = “TRUE”
svga.graphicsMemoryKB = “8388608”
ethernet0.addressType = “generated”
ethernet0.virtualDev = “e1000e”
serial0.fileType = “thinprint”
serial0.fileName = “thinprint”
ethernet0.present = “TRUE”
serial0.present = “TRUE”
extendedConfigFile = “MacOS X High Serria 10.13.6.vmxf”
floppy0.present = “FALSE”
sata0:0.fileName = “MacOS X High Serria 10.13.6.vmdk”
sata0:0.present = “TRUE”
numa.autosize.cookie = “20022”
numa.autosize.vcpu.maxPerVirtualNode = “2”
uuid.bios = “56 4d 2e e8 d5 31 25 2e-39 4b da a6 3b 85 8c 3e”
uuid.location = “56 4d 2e e8 d5 31 25 2e-39 4b da a6 3b 85 8c 3e”
sata0:0.redo = “”
pciBridge0.pciSlotNumber = “17”
pciBridge4.pciSlotNumber = “21”
pciBridge5.pciSlotNumber = “22”
pciBridge6.pciSlotNumber = “23”
pciBridge7.pciSlotNumber = “24”
usb.pciSlotNumber = “32”
ethernet0.pciSlotNumber = “160”
sound.pciSlotNumber = “33”
ehci.pciSlotNumber = “34”
usb_xhci.pciSlotNumber = “192”
vmci0.pciSlotNumber = “35”
sata0.pciSlotNumber = “36”
nvme0.pciSlotNumber = “224”
svga.vramSize = “268435456”
vmotion.checkpointFBSize = “134217728”
vmotion.checkpointSVGAPrimarySize = “268435456”
vmotion.svga.mobMaxSize = “1073741824”
vmotion.svga.graphicsMemoryKB = “8388608”
vmotion.svga.supports3D = “1”
vmotion.svga.baseCapsLevel = “9”
vmotion.svga.maxPointSize = “1”
vmotion.svga.maxTextureSize = “16384”
vmotion.svga.maxVolumeExtent = “2048”
vmotion.svga.maxTextureAnisotropy = “16”
vmotion.svga.lineStipple = “0”
vmotion.svga.dxMaxConstantBuffers = “14”
vmotion.svga.dxProvokingVertex = “0”
vmotion.svga.sm41 = “1”
vmotion.svga.multisample2x = “1”
vmotion.svga.multisample4x = “1”
vmotion.svga.msFullQuality = “1”
vmotion.svga.logicOps = “1”
vmotion.svga.bc67 = “9”
vmotion.svga.sm5 = “1”
vmotion.svga.multisample8x = “1”
vmotion.svga.logicBlendOps = “1”
ethernet0.generatedAddress = “00:0C:29:85:8C:3E”
ethernet0.generatedAddressOffset = “0”
vmci0.id = “998607934”
monitor.phys_bits_used = “45”
cleanShutdown = “TRUE”
softPowerOff = “TRUE”
usb_xhci:4.present = “TRUE”
usb_xhci:4.deviceType = “hid”
usb_xhci:4.port = “4”
usb_xhci:4.parent = “-1”
usb_xhci:6.speed = “2”
usb_xhci:6.present = “TRUE”
usb_xhci:6.deviceType = “hub”
usb_xhci:6.port = “6”
usb_xhci:6.parent = “-1”
usb_xhci:7.speed = “4”
usb_xhci:7.present = “TRUE”
usb_xhci:7.deviceType = “hub”
usb_xhci:7.port = “7”
usb_xhci:7.parent = “-1”
usb:1.speed = “2”
usb:1.present = “TRUE”
usb:1.deviceType = “hub”
usb:1.port = “1”
usb:1.parent = “-1”
toolsInstallManager.updateCounter = “5”
toolsInstallManager.lastInstallError = “21004”
sata0:1.startConnected = “FALSE”
ethernet0.displayName = “VMnet8 (NAT”
ethernet0.linkStatePropagation.enable = “TRUE”
sata0:1.autodetect = “TRUE” - 注意!盡量不要更改我上述的代碼,如果讀者對此頗有建樹那麼可以更改
- 關閉界面,進行unlocker破解。
- 將從我分享的資源里的Darwin.iso複製到C:\Program Files (x86)\VMware\VMware Workstation下
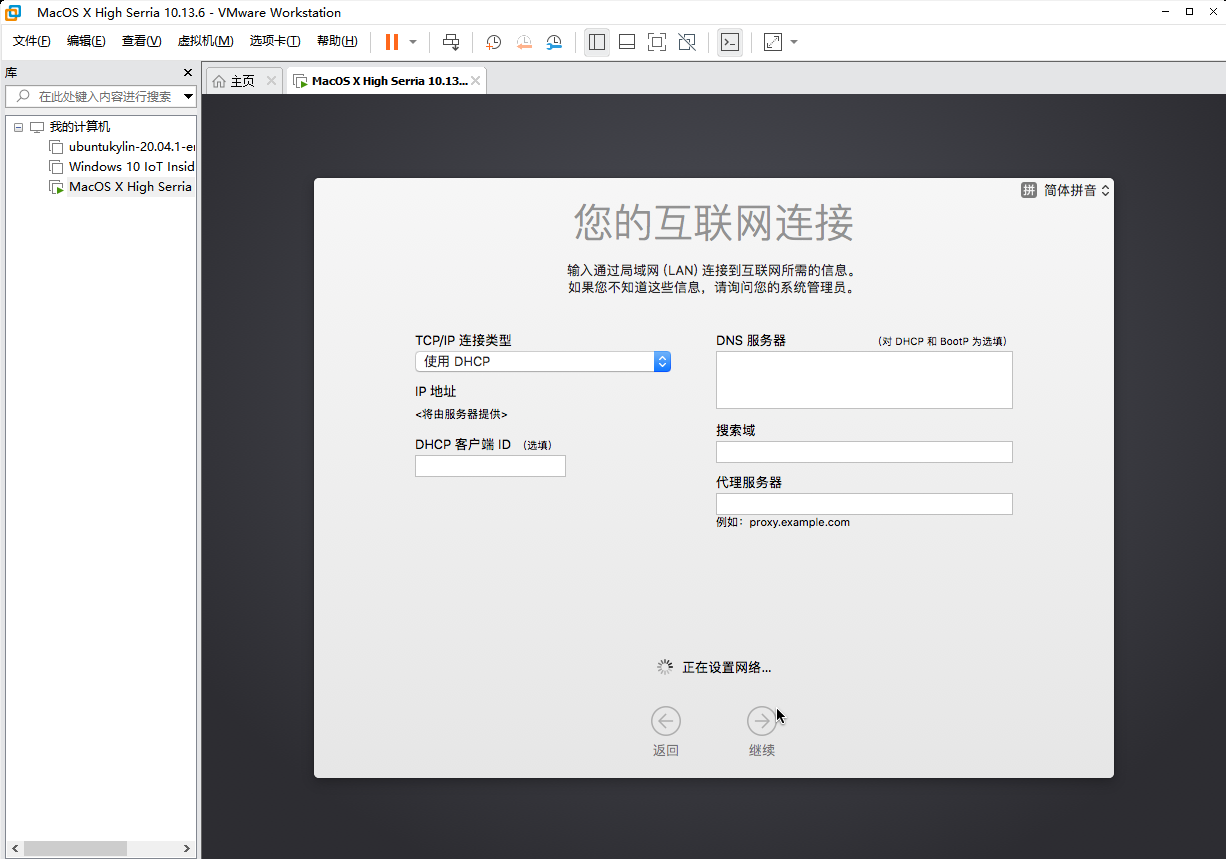
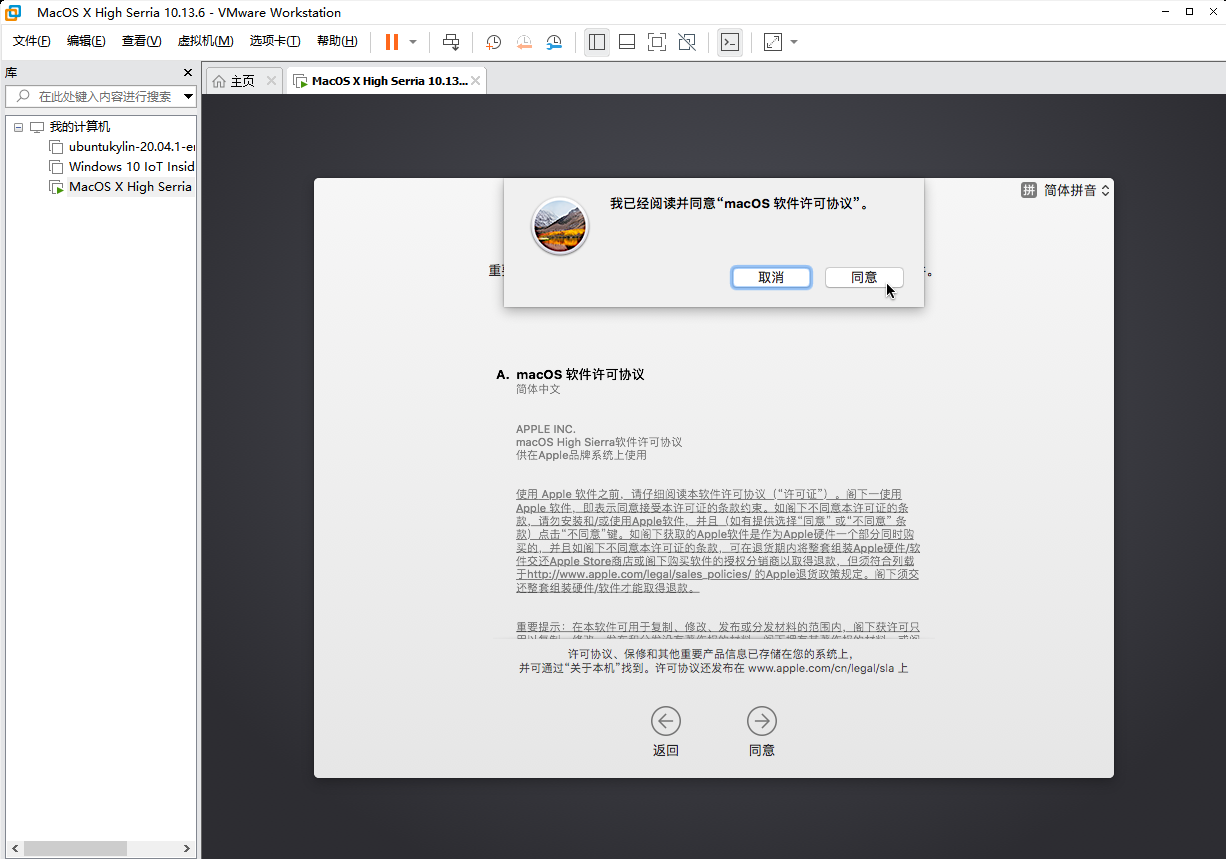
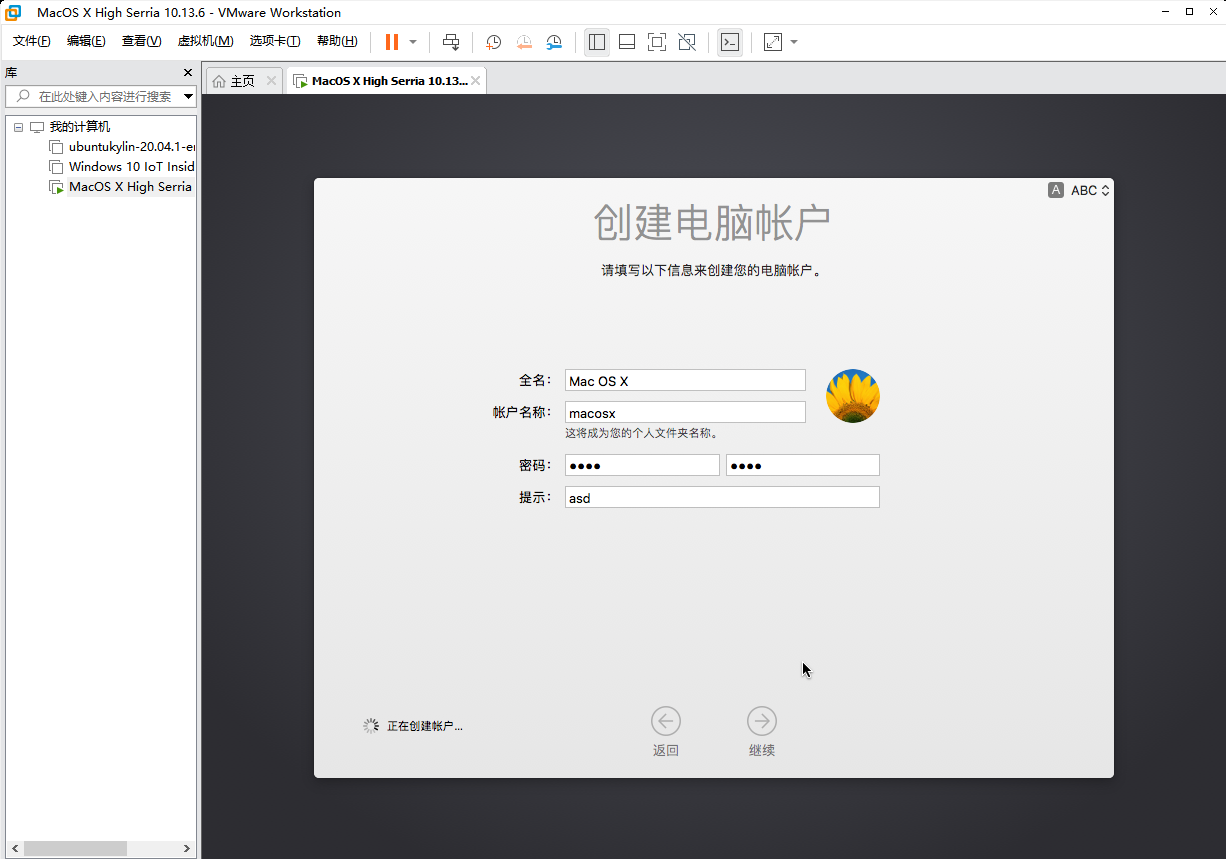
- 將虛擬機啟動。下面放圖:


- 完成


