【典型案例】用 TensorFlow 實現鳶尾花分類
- 2019 年 11 月 8 日
- 筆記
場景背景
智能鈦機器學習平台的 Tensorflow 框架為用戶提供了基於 Python API 的 Tensorflow 運行環境,用戶可將編寫好的腳本及依賴文件上傳至框架進行算法訓練。
本文以鳶尾花分類任務為例,向用戶演示,如何利用智能鈦機器學習平台的深度學習框架 TensorFlow 運行自定義代碼,如何通過工作流頁面向自定義代碼傳參,如何查看代碼日誌/報錯信息等。整個工作流運行耗時僅幾十秒,訓練完成後您可進行模型服務部署和在線測試。
數據集介紹
本案例代碼修改自 Tensorflow 官方項目。 本案例使用公共的鳶尾花(iris)數據集訓練模型,該數據集包含四個特徵,分別是花萼長度、花萼寬度、花瓣長度、花瓣寬度,我們根據這四個特徵將鳶尾花分成三種物種。
CSV_COLUMN_NAMES = ['SepalLength', 'SepalWidth', 'PetalLength', 'PetalWidth', 'Species'] SPECIES = ['Setosa', 'Versicolor', 'Virginica']
整體流程
在智能鈦機器學習平台運行用戶自定義 TensorFlow 代碼,主要包含以下步驟: 1.數據與代碼準備。 2.利用 TensorFlow 框架搭建分類模型。 3.運行自定義代碼及評估效果查看。 4.模型部署及在線測試。 工作流示意圖如下:
詳細流程
一、數據與代碼準備
本案例代碼取自 TensorFlow 官方項目 ,您可通過鏈接下載,或直接拷貝以下代碼。
# Copyright 2016 The TensorFlow Authors. All Rights Reserved. # # Licensed under the Apache License, Version 2.0 (the "License"); # you may not use this file except in compliance with the License. # You may obtain a copy of the License at # # http://www.apache.org/licenses/LICENSE-2.0 # # Unless required by applicable law or agreed to in writing, software # distributed under the License is distributed on an "AS IS" BASIS, # WITHOUT WARRANTIES OR CONDITIONS OF ANY KIND, either express or implied. # See the License for the specific language governing permissions and # limitations under the License. """An Example of a DNNClassifier for the Iris dataset.""" from __future__ import absolute_import from __future__ import division from __future__ import print_function import argparse import tensorflow as tf import iris_data parser = argparse.ArgumentParser() parser.add_argument('--batch_size', default=100, type=int, help='batch size') parser.add_argument('--train_steps', default=1000, type=int, help='number of training steps') parser.add_argument('--train_path', type=str, help='path to the train data file.') parser.add_argument('--test_path', type=str, help='path to the test data file.') parser.add_argument('--export_dir', type=str, help='path to export the train model (.pb file)') def main(argv): args = parser.parse_args(argv[1:]) # Fetch the data (train_x, train_y), (test_x, test_y) = iris_data.load_data(args.train_path, args.test_path) # Feature columns describe how to use the input. my_feature_columns = [] for key in train_x.keys(): my_feature_columns.append(tf.feature_column.numeric_column(key=key)) # Build 2 hidden layer DNN with 10, 10 units respectively. classifier = tf.estimator.DNNClassifier( feature_columns=my_feature_columns, # Two hidden layers of 10 nodes each. hidden_units=[10, 10], # The model must choose between 3 classes. n_classes=3, ) # Train the Model. classifier.train( input_fn=lambda: iris_data.train_input_fn(train_x, train_y, args.batch_size), steps=args.train_steps) # Evaluate the model. eval_result = classifier.evaluate( input_fn=lambda: iris_data.eval_input_fn(test_x, test_y, args.batch_size)) def serving_input_receiver_fn(): input_placeholder = tf.placeholder(shape=[4], dtype=tf.string) sepal_length_placeholder = tf.strings.to_number(input_placeholder[0:1]) sepal_width_placeholder = tf.strings.to_number(input_placeholder[1:2]) petal_length_placeholder = tf.strings.to_number(input_placeholder[2:3]) petal_width_placeholder = tf.strings.to_number(input_placeholder[3:]) # How the input data is fed into model_fn. features = { "SepalLength": sepal_length_placeholder, "SepalWidth": sepal_width_placeholder, "PetalLength": petal_length_placeholder, "PetalWidth": petal_width_placeholder } return tf.estimator.export.ServingInputReceiver(features, input_placeholder) if not tf.gfile.Exists(args.export_dir): tf.gfile.MakeDirs(args.export_dir) classifier.export_saved_model( export_dir_base=args.export_dir, serving_input_receiver_fn=serving_input_receiver_fn) print('nTest set accuracy: {accuracy:0.3f}n'.format(**eval_result)) # Generate predictions from the model expected = ['Setosa', 'Versicolor', 'Virginica'] predict_x = { 'SepalLength': [5.1, 5.9, 6.9], 'SepalWidth': [3.3, 3.0, 3.1], 'PetalLength': [1.7, 4.2, 5.4], 'PetalWidth': [0.5, 1.5, 2.1], } predictions = classifier.predict( input_fn=lambda: iris_data.eval_input_fn(predict_x, labels=None, batch_size=args.batch_size)) template = 'nPrediction is "{}" ({:.1f}%), expected "{}"' for pred_dict, expec in zip(predictions, expected): class_id = pred_dict['class_ids'][0] probability = pred_dict['probabilities'][class_id] print(template.format(iris_data.SPECIES[class_id], 100 * probability, expec)) if __name__ == '__main__': tf.logging.set_verbosity(tf.logging.INFO) tf.app.run(main)
二、利用 TensorFlow 組件搭建分類模型
TensorFlow 是 Google 開源的一種深度學習系統,智能鈦為用戶提供了 GPU 集群平台,用戶只需申請權限就可以簡單配置深度學習任務。Tensorflow 組件中使用的 Python 版本和支持的第三方模塊版本信息如下:
- Python 2.7/3.5
- SciPy 1.0.0
- NumPy 1.14.0
- 在智能鈦控制台的左側導航欄,選擇【框架】>【深度學習】>【 TensorFlow】,並拖入畫布中。

- 單擊該組件,在右側彈窗中配置組件參數和資源參數。
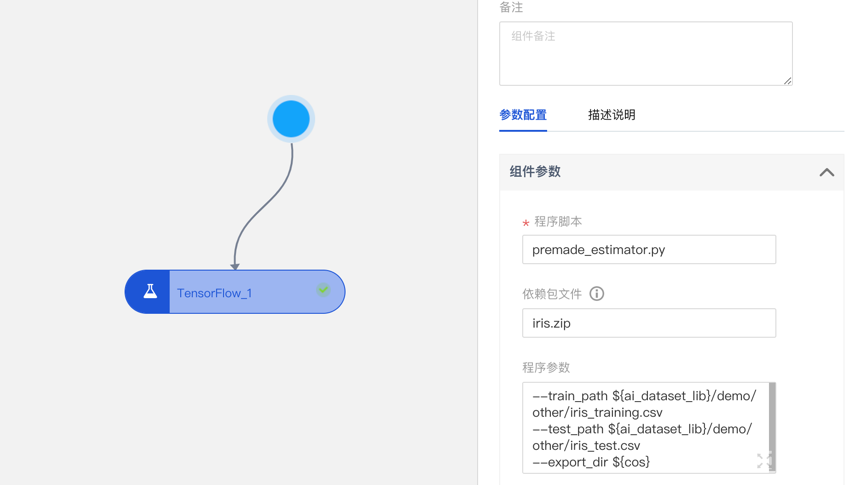
- 程序腳本:
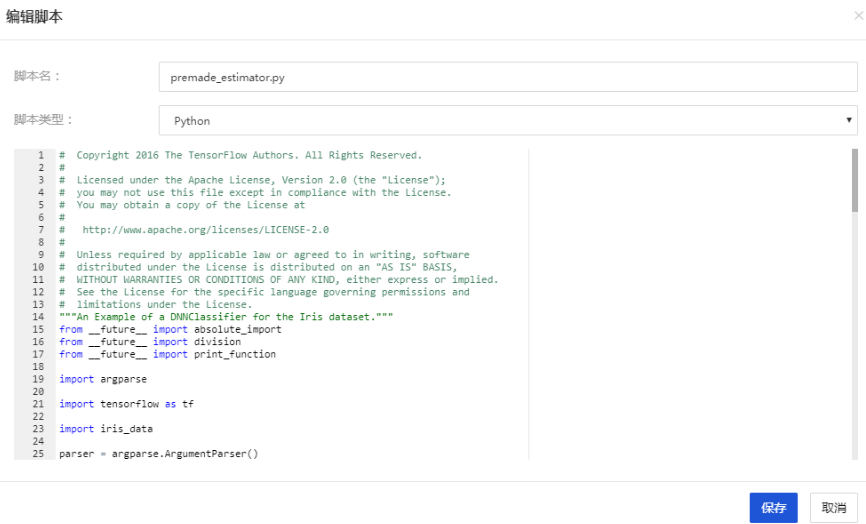
- 單擊此處上傳用戶的自定義代碼。
- 在本文中,內容為上文代碼。您可以點擊上傳本地文件,或選擇【新建腳本】,貼入上段代碼,將其命名為premade_estimator.py
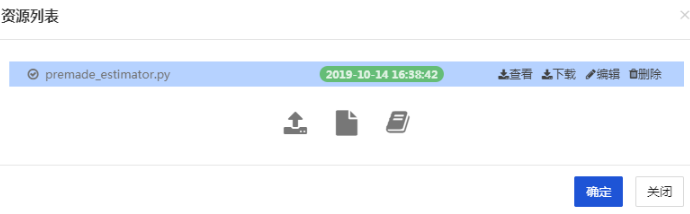
上傳完成後如下圖展示:
- 依賴包文件:
- 如果入口腳本需要 import 項目中的其它自己編寫的模塊,需要將其它模塊的代碼上傳至此。多個.py文件需要壓縮成 zip 包上傳,該 zip 包會被添加到 Python 的 path 中。
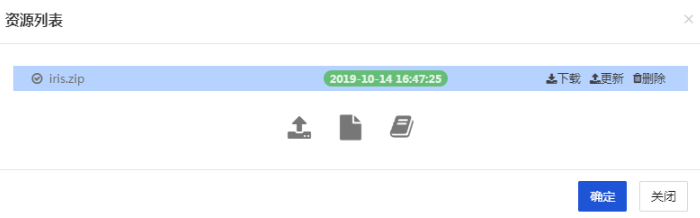
- 在本文中,我們將 iris_data.py 和 estimator_test.py 兩個文件壓縮成 iris.zip,您可通過此 鏈接 下載文件,並上傳至【依賴包文件】中。
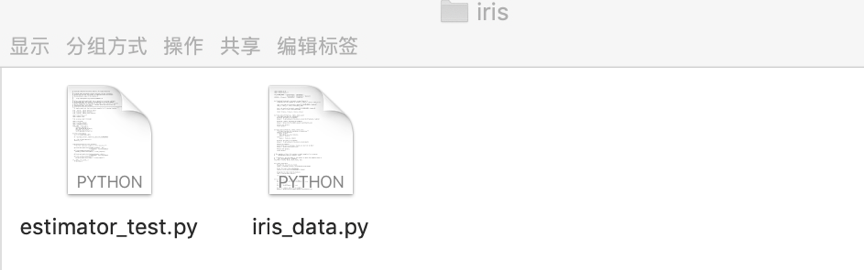
上傳完成後如下圖展示:
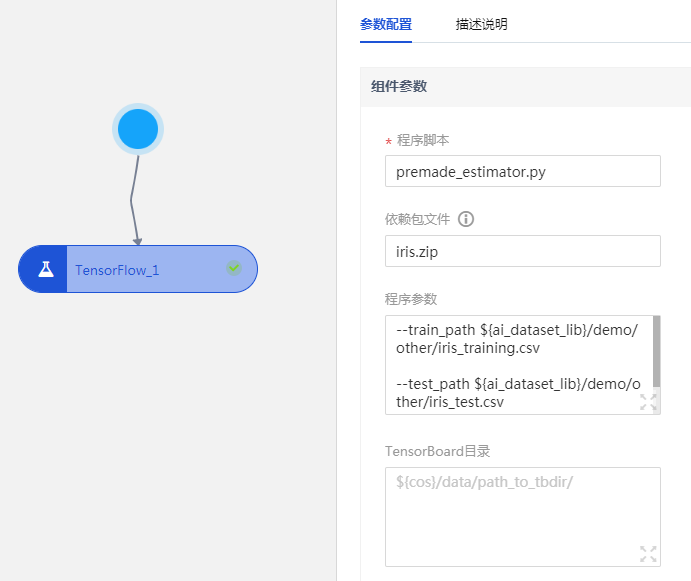
- 程序參數:此處填入用戶自定義參數,自定義參數將會傳遞給入口 py 文件。用戶可以在自己的 COS 存儲桶中先新建一個文件夾,命名為tf_model,模型將會存儲至該路徑中,以便後續導入模型時查找。
–train_path ${ai_dataset_lib}/demo/other/iris_training.csv –test_path ${ai_dataset_lib}/demo/other/iris_test.csv –export_dir ${cos}/tf_model
- TensorBoard 目錄:指定 Tensorboard 保存路徑。本案例此處無需填寫。
- 程序依賴:指定存儲於cos上的依賴文件的路徑,指定內容將被拷貝到程序腳本同一級目錄下。本案例此處無需填寫。
- Python 版本:3.5
- GPUs:深度學習網絡用到了 GPU 資源, 可以極大地提高訓練速度。 單擊該選項,在對話框中選擇合適的顯卡型號和數量,此處默認0。
- CPUs:1
- Memory(m):2560
三、運行調度及評估效果查看
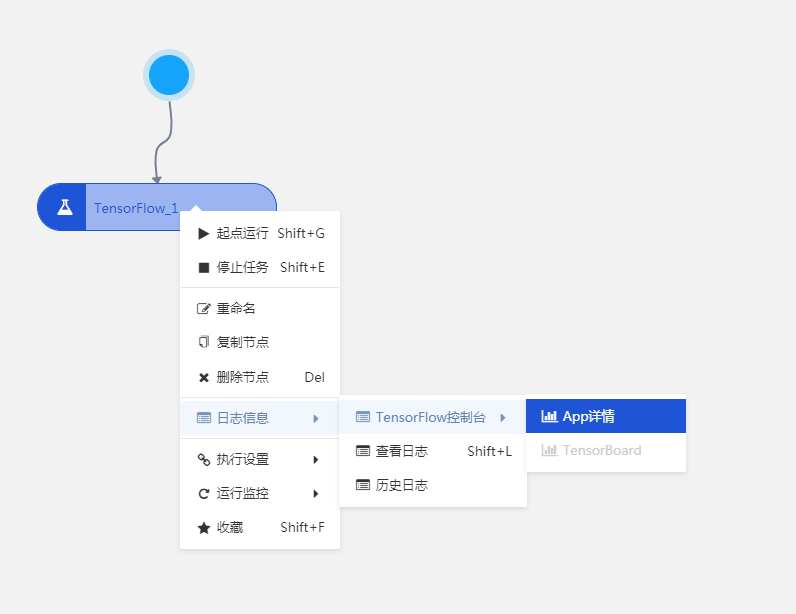
單擊畫布上方運行按鈕可運行工作流,更多詳情請參考 運行工作流。運行成功後在組件上右擊,單擊【日誌信息】>【Tensorflow 控制台】>【App 詳情】中查看 stdout.log 和 stderr.log 兩個日誌。
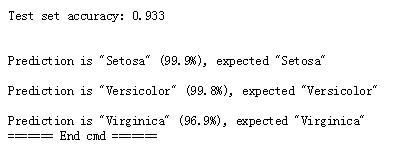
在 stdout.log 日誌中我們可以看到模型效果。
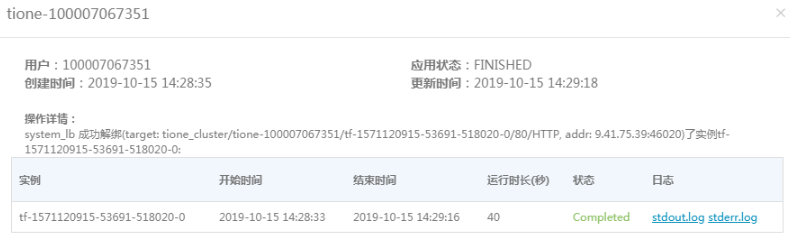
模型效果如下圖展示:
四、模型部署及在線預測
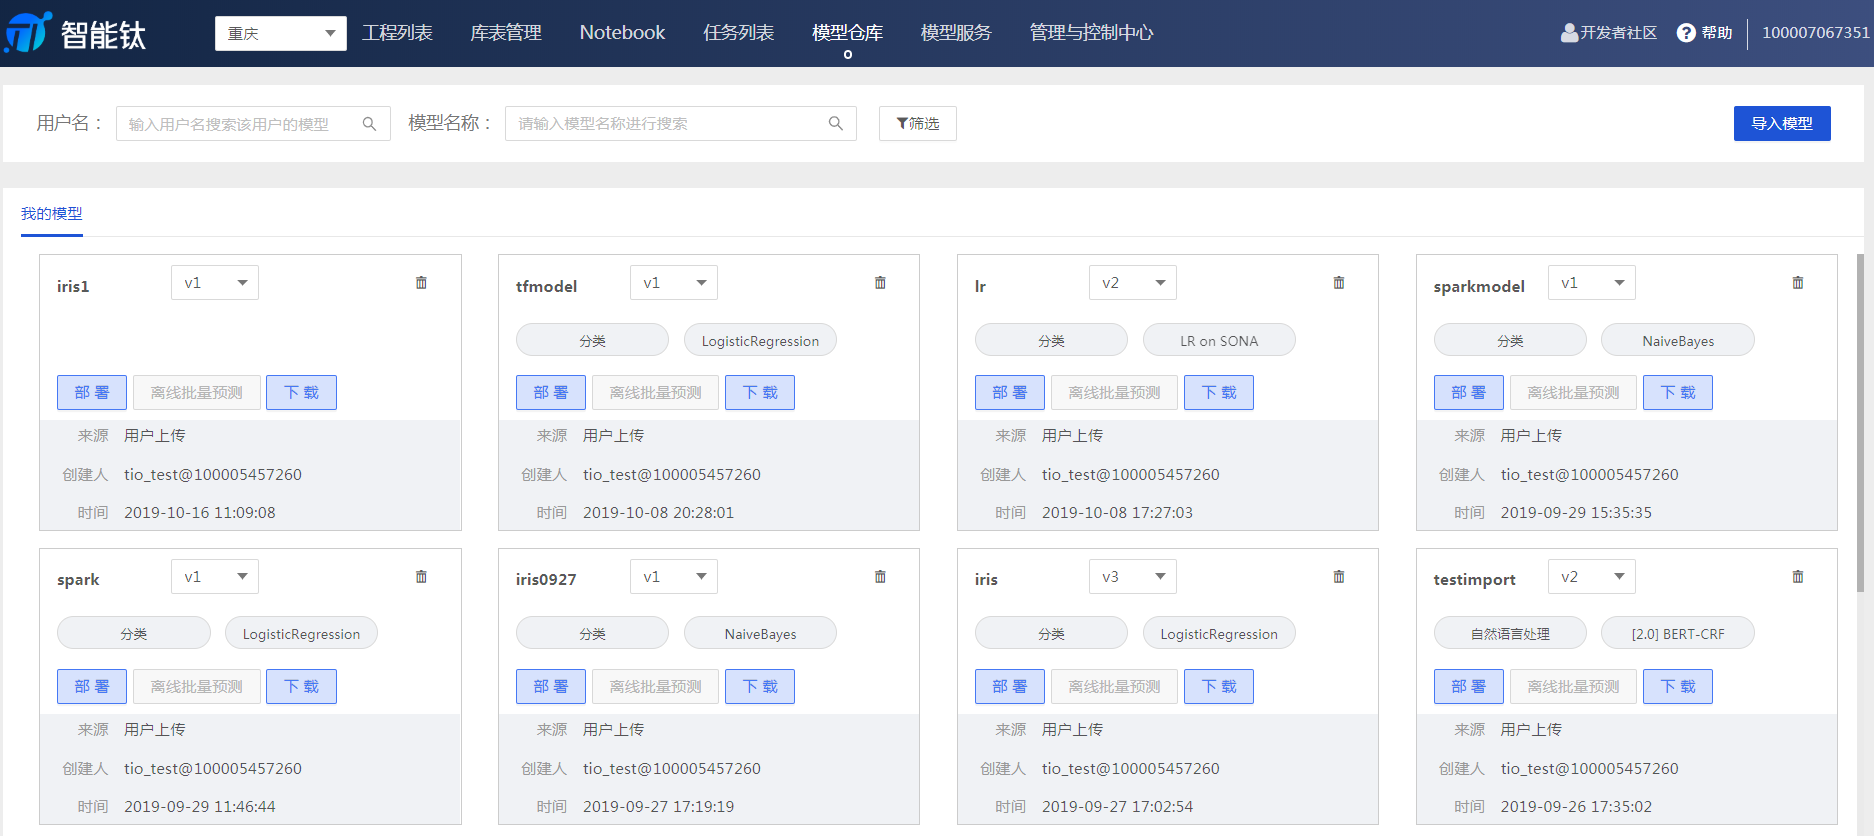
智能鈦平台支持 TensorFlow 的模型部署,用戶在 TensorFlow 代碼中生成模型後,可在模型倉庫頁面進行部署。 1.模型導入 前往【模型倉庫】頁面,單擊【導入模型】。
按照頁面彈窗提示輸入所需要的信息。
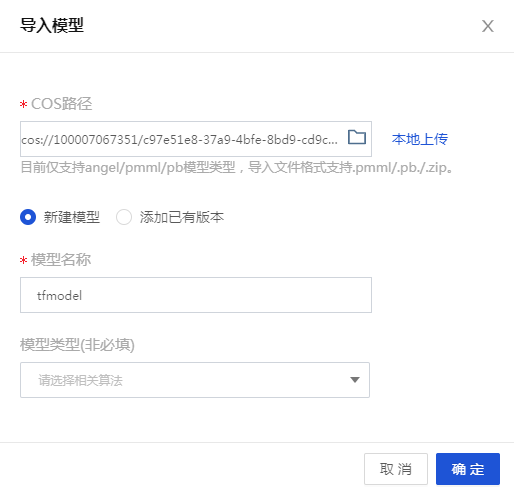
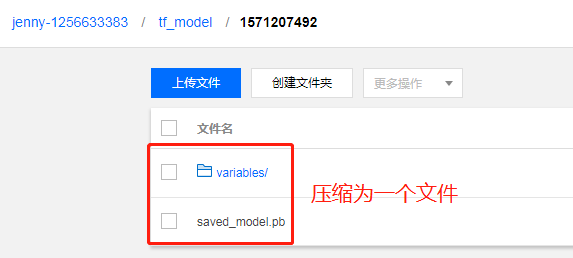
- COS 路徑:模型導入需要上傳 .pmml/.pb/.zip 格式的文件,TensorFlow 的模型文件儲存在 COS 中,我們在 COS 存儲桶中找到此前創建的【tf_model】文件夾,將其中的兩個模型文件下載並壓縮成 .zip 格式,單擊【本地上傳】。
- 模型名稱:tfmodel
成功導入後,模型將在【模型服務】中展示。
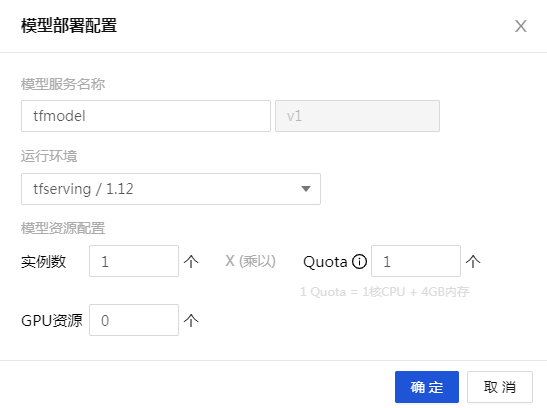
- 模型部署 進入 【模型倉庫】頁面,點擊【部署】按鈕。在彈框中進行模型部署設置。
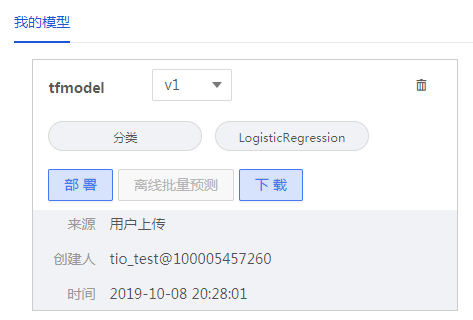
模型部署配置如下:
- 模型服務名稱:tfmodel
- 運行環境:tfserving/1.12
- 其他參數可默認
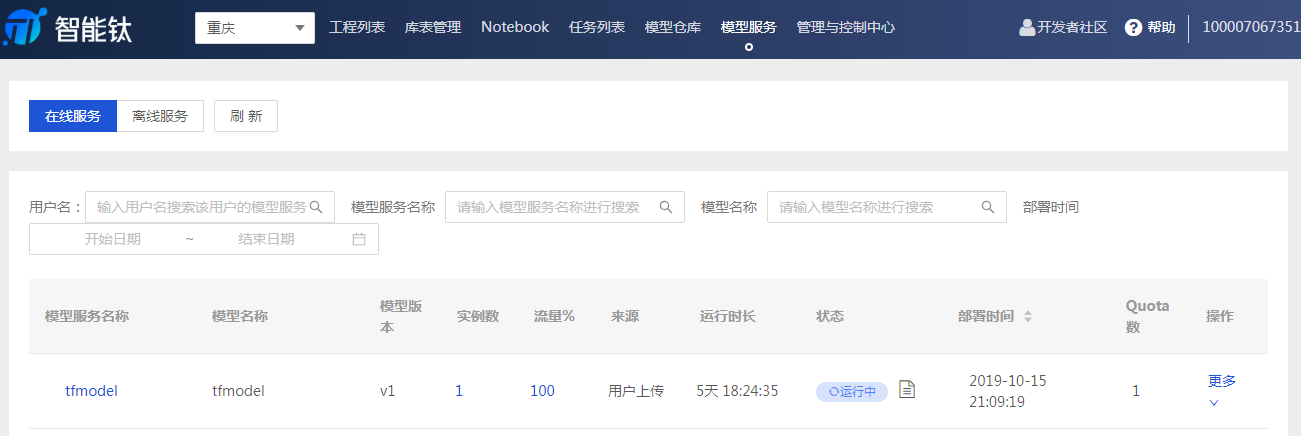
- 在線測試 模型部署完成後,可以在【模型服務】頁面進行查看和在線測試。在此模型的【操作】欄中選擇【更多】>【測試】。
測試方法選擇【JSON】,輸入符合規範的 json 代碼即可在線預測。
我們已為您準備好了如下測試案例,輸入鳶尾花的四個特徵,預測該花朵屬於哪一類別。將如下代碼輸入彈框中,單擊【測試】,即可得到測試結果。
{"inputs": ["5.1", "3.3", "1.7", "0.5"]}
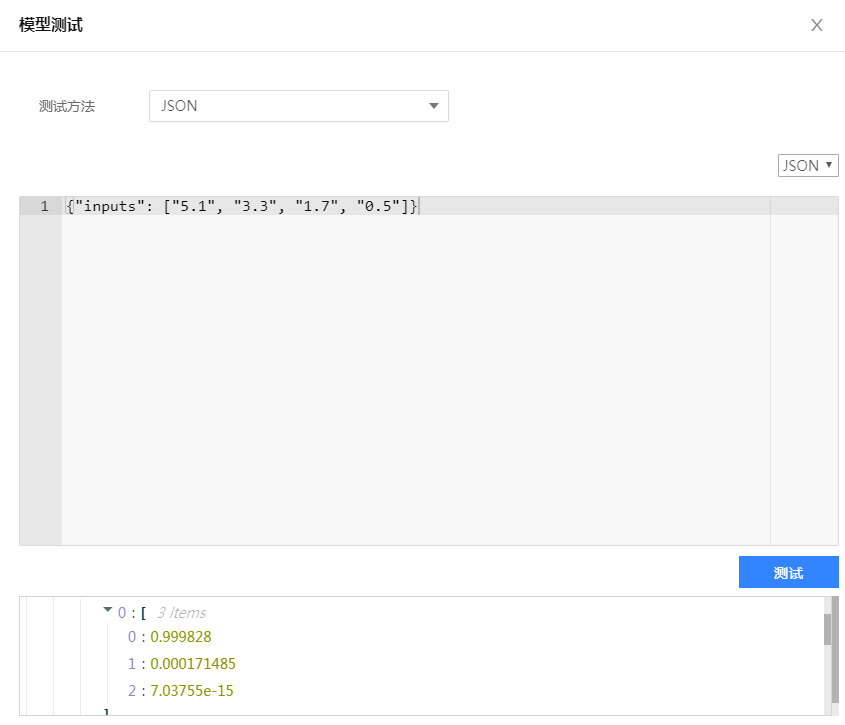
由上圖可知,該鳶尾花分別屬於三種類別的概率,以此判斷該花朵的種類是 0,即 Setosa 。至此,我們完成了利用智能鈦機器學習平台的深度學習框架 TensorFlow 運行自定義代碼以及模型部署和在線預測的全部流程。
騰訊雲一站式機器學習平台智能鈦TI-ONE試運營階段限時0折,歡迎大家積極試用。
https://cloud.tencent.com/product/tio
更多優質技術文章請關注官方知乎機構號:
https://www.zhihu.com/org/teng-xun-zhi-neng-tai-ji-qi-xue-xi-ping-tai/activities
更多優質技術文章請關注官方微信公眾號:


