[UWP]CompositionLinearGradientBrush加BlendEffect,雙倍的快樂
- 2019 年 10 月 28 日
- 筆記
1. 什麼是BlendEffect
上一篇文章介紹了CompositionLinearGradientBrush的基本用法, 這篇文章再結合BlendEffec介紹一些更複雜的玩法。
Microsoft.Graphics.Canvas.Effects命名空間下的BlendEffect 用於組合兩張圖片(分別是作為輸入源的Background和Foreground),它包含多種模式,如下圖所示:

其中最簡單的是Screen模式,它的計算公式如下

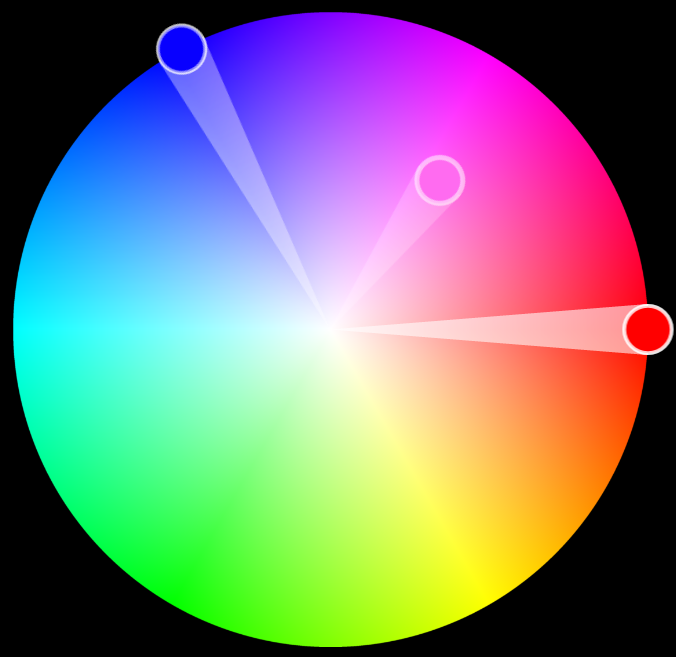
看起來有點複雜, 我的理解是它相當於色輪中Background和Foreground之間拉直線,在直線的中間點的顏色,如下面這張圖,紅色和藍色組合成為紫色:

2. 組合CompositionBrush並使用BlendEffect
許多 CompositionBrushes 使用其他 CompositionBrushes 作為輸入。 例如,使用 SetSourceParameter 方法可以將其他 CompositionBrush 設為 CompositionEffectBrush 的輸入。這是CompositionBrush最好玩的地方之一。下面的例子介紹了怎麼使用BlendEffect創建CompositionBrush。
首先創建兩個CompositionLinearGradientBrush:
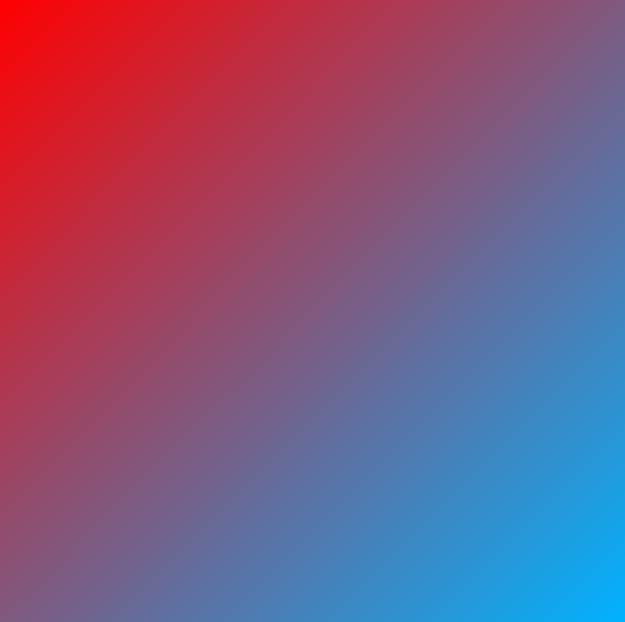
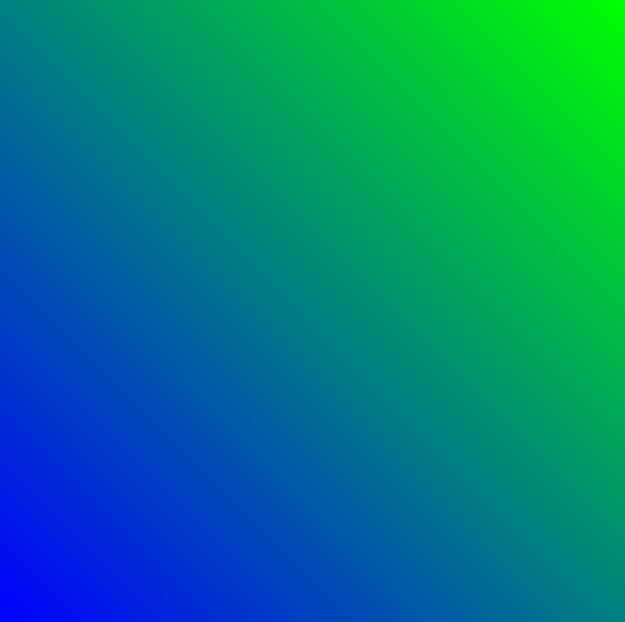
var foregroundBrush = compositor.CreateLinearGradientBrush(); foregroundBrush.StartPoint = Vector2.Zero; foregroundBrush.EndPoint = new Vector2(1.0f); var redGradientStop = compositor.CreateColorGradientStop(); redGradientStop.Offset = 0f; redGradientStop.Color = Color.FromArgb(255, 255, 0, 0); var yellowGradientStop = compositor.CreateColorGradientStop(); yellowGradientStop.Offset = 1f; yellowGradientStop.Color = Color.FromArgb(255, 0, 178, 255); foregroundBrush.ColorStops.Add(redGradientStop); foregroundBrush.ColorStops.Add(yellowGradientStop); var backgroundBrush = compositor.CreateLinearGradientBrush(); backgroundBrush.StartPoint = new Vector2(0, 1f); backgroundBrush.EndPoint = new Vector2(1f, 0); var blueGradientStop = compositor.CreateColorGradientStop(); blueGradientStop.Offset = 0f; blueGradientStop.Color = Color.FromArgb(255, 0, 0, 255); var greenGradientStop = compositor.CreateColorGradientStop(); greenGradientStop.Offset = 1f; greenGradientStop.Color = Color.FromArgb(255, 0, 255, 0); backgroundBrush.ColorStops.Add(blueGradientStop); backgroundBrush.ColorStops.Add(greenGradientStop);它們的效果分別如下面兩張圖片所示:


接下來創建BlendEffect,並將Foreground和Background設置為CompositionEffectSourceParameter
var blendEffect = new BlendEffect() { Mode = BlendEffectMode.Screen, Foreground = new CompositionEffectSourceParameter("Main"), Background = new CompositionEffectSourceParameter("Tint"), };使用BlendEffect創建Brush,並用SetSourceParameter設置它的Foreground和Background。
var effectFactory = compositor.CreateEffectFactory(blendEffect); var blendEffectBrush = effectFactory.CreateBrush(); blendEffectBrush.SetSourceParameter("Main", foregroundBrush); blendEffectBrush.SetSourceParameter("Tint", backgroundBrush);最後就是一般的使用這個blendEffectBrush的代碼:
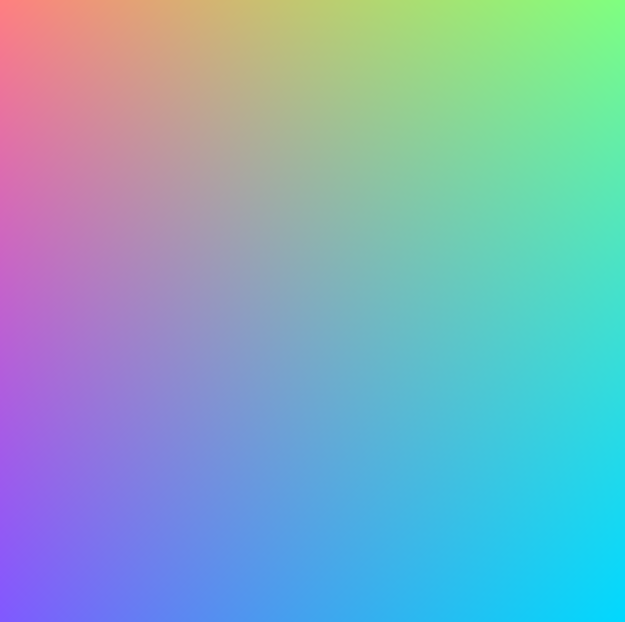
//創建SpriteVisual並設置Brush var spriteVisual = compositor.CreateSpriteVisual(); spriteVisual.Brush = blendEffectBrush; //將自定義 SpriteVisual 設置為元素的可視化樹的最後一個子元素。 ElementCompositionPreview.SetElementChildVisual(Gradient, spriteVisual);最終運行效果如下:

3. 創建動畫
和上一篇文章一樣,我也把這篇文章用到的技術用在了一個番茄鍾應用里,,簡單地使用ColorKeyFrameAnimation和ScalarKeyFrameAnimation製作動畫:
private void StartOffsetAnimation(CompositionColorGradientStop gradientOffset, float offset) { var offsetAnimation = _compositor.CreateScalarKeyFrameAnimation(); offsetAnimation.Duration = TimeSpan.FromSeconds(1); offsetAnimation.InsertKeyFrame(1.0f, offset); gradientOffset.StartAnimation(nameof(CompositionColorGradientStop.Offset), offsetAnimation); } private void StartColorAnimation(CompositionColorGradientStop gradientOffset, Color color) { var colorAnimation = _compositor.CreateColorKeyFrameAnimation(); colorAnimation.Duration = TimeSpan.FromSeconds(2); colorAnimation.Direction = Windows.UI.Composition.AnimationDirection.Alternate; colorAnimation.InsertKeyFrame(1.0f, color); gradientOffset.StartAnimation(nameof(CompositionColorGradientStop.Color), colorAnimation); }完整代碼在這裡,具體運行效果如下:

4. 結語
上面的動畫可以安裝我的番茄鍾應用試玩一下,安裝地址:
這篇文章的動畫和代碼都參考了JustinLiu的代碼,感謝他的分享。
使用XAML畫筆難以做到這種多向漸變的效果,這都多虧了UWP提供了BlendEffect這個好玩的東西。BlendEffect還有很多其它好玩的模式,大家有空可以多多嘗試。
參考
合成畫筆 – Windows UWP applications _ Microsoft Docs
源碼
OnePomodoro_GradientsWithBlend.xaml.cs at master


