ActiveMQ學習總結——原生實戰操作(下)03
- 2019 年 10 月 15 日
- 筆記
本篇將繼續延續上一篇的內容,作為知識補充篇,為接下來我們學習spring整合ActiveMQ打好基礎
本篇主要學習內容:
1.ActiveMQ 隊列服務監聽
2.ActiveMQ Topic模型
回顧下上一篇ActiveMQ學習總結我們學習到了:
1.ActiveMQ術語及API介紹
2.ActiveMQ 文本消息處理
3.ActiveMQ 對象消息處理
相信大現在對ActiveMQ的一些簡單操作已經很輕鬆掌握了
上一篇文章地址:https://www.cnblogs.com/arebirth/p/activemq02.html
一 ActiveMQ實現隊列服務監聽
在我們上一篇的練習中,所有的消費者都是接收一次消息即斷開連接,這樣是不是很不方便。
試想一下,如果我們的provider在consumer接收完第一條消息後又繼續發送了一條消息,那麼consumer已經斷開連接了,是不是就不能連接不間斷的實時獲取消息?
解決方案:
很容易,用我們的隊列服務監聽即可
注*:根據上一章的學習,大家對環境搭建使用配置,肯定都已經相當清楚了,這裡就不過多闡述,直接進行代碼實戰
1 消息生產者
相比之下,我么你的生產者照之前是沒有任何變化的,主要的變化還是在cosumer身上
package cn.arebirth.mq; import org.apache.activemq.ActiveMQConnectionFactory; import javax.jms.*; public class ActiveMQQueueListenerProducer { public static void sendTextActiveMq(String txt) { //定義鏈接工廠 ConnectionFactory connectionFactory = null; //定義鏈接對象 Connection connection = null; //定義會話 Session session = null; //目的地 Destination destination = null; //定義消息的發送者 MessageProducer producer = null; //定義消息 Message message = null; try { //創建鏈接工廠 connectionFactory = new ActiveMQConnectionFactory("admin", "admin", "tcp://169.254.18.20:61616"); //創建鏈接誒對象 connection = connectionFactory.createConnection(); //啟動鏈接 connection.start(); //創建會話 session = connection.createSession(false, Session.AUTO_ACKNOWLEDGE); //創建目的地 destination = session.createQueue("queue-listener"); //創建消息生產者 producer = session.createProducer(destination); //創建消息對象 message = session.createTextMessage(txt); //發送消息 producer.send(message); } catch (Exception ex) { ex.printStackTrace(); } finally { //回收資源 if (producer != null) { try { producer.close(); } catch (JMSException e) { e.printStackTrace(); } } if (session != null) { try { session.close(); } catch (JMSException e) { e.printStackTrace(); } } if (connection != null) { try { connection.close(); } catch (JMSException e) { e.printStackTrace(); } } } } }
2 消息消費者
package cn.arebirth.mq; import org.apache.activemq.ActiveMQConnectionFactory; import javax.jms.*; public class ActiveMQQueueListenerConsumer { public static void receiveTextActiveMq() { // 定義鏈接工廠 ConnectionFactory connectionFactory = null; // 定義鏈接對象 Connection connection = null; // 定義會話 Session session = null; // 目的地 Destination destination = null; // 定義消息的發送者 MessageConsumer consumer = null; // 定義消息 Message message = null; try { //創建鏈接工廠 connectionFactory = new ActiveMQConnectionFactory("admin", "admin", "tcp://169.254.18.20:61616"); //創建鏈接對象 connection = connectionFactory.createConnection(); //啟動鏈接 connection.start(); //創建會話 session = connection.createSession(false, Session.AUTO_ACKNOWLEDGE); //創建目的地 destination = session.createQueue("queue-listener"); //創建消息消費者 consumer = session.createConsumer(destination); //隊列服務監聽 consumer.setMessageListener(new MessageListener() { //ActiveMQ回調方法。通過該方法將消息傳遞到consumer @Override public void onMessage(Message message) { //處理消息 String msg = null; try { msg = ((TextMessage) message).getText(); } catch (JMSException e) { e.printStackTrace(); } System.out.println("Producer say:" + msg); } }); } catch (Exception ex) { ex.printStackTrace(); } } }
3 測試
3.1 provider測試
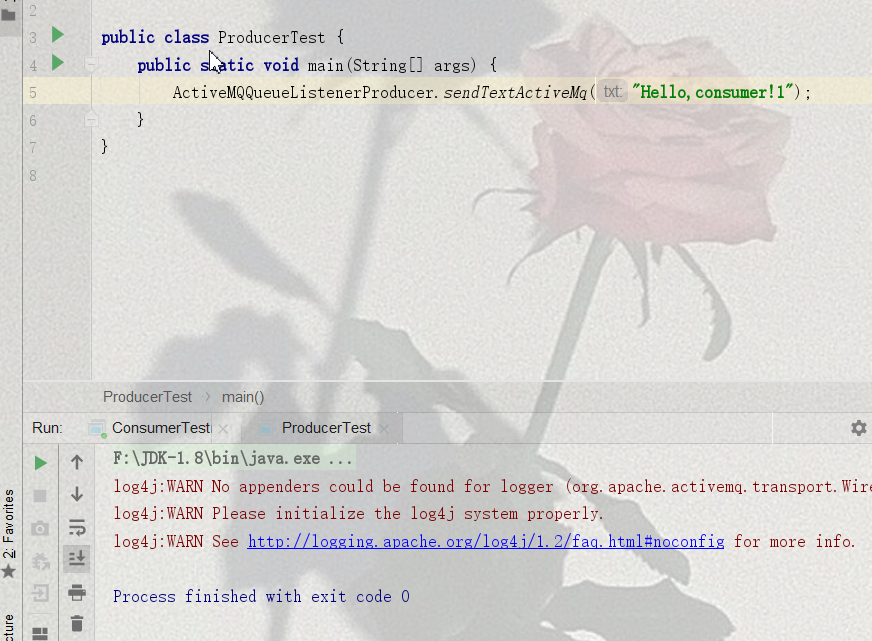
package cn.arebirth.mq; public class ProducerTest { public static void main(String[] args) { ActiveMQQueueListenerProducer.sendTextActiveMq("Hello,consumer!"); } }觀察我們的控制台可以發現已經成功發佈到隊列
3.2 consumer測試
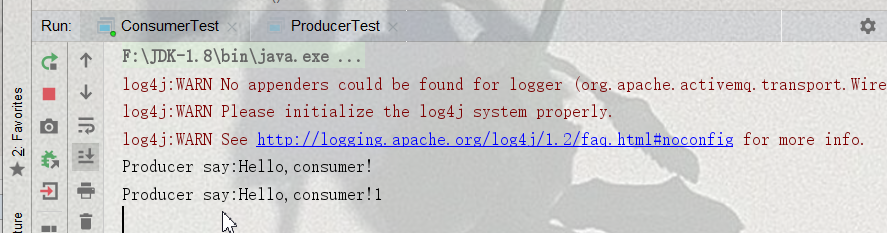
package cn.arebirth.mq; public class ConsumerTest { public static void main(String[] args) { ActiveMQQueueListenerConsumer.receiveTextActiveMq(); } }我們運行後可以發現,它接收到了消息,但是它的進程並沒有關閉,
我們用provider繼續發佈一條消息,看看consumer能不能接收到
可以看到,consumer持續在後台監聽我們發佈的消息,


通過上面代碼,不難發現,provider沒有任何改動,只是consumer修改了一部分
通過調用匿名內部類的方法來實現持續監聽
consumer.setMessageListener(new MessageListener() { @Override public void onMessage(Message message) { } }
注意:因為涉及到隊列持續監聽,所以我們不能在finally處給資源回收,否則還在監聽狀態,資源都回收沒了,也就無從監聽啦。
二 Topic模型
在本系列文章第一篇也有介紹過一些Topic模型的概念,那麼這裡我們將以原理+實戰的方式來帶領大家掌握
1 Publish/Subscribe處理模式(Topic)
消息生產者(發佈)消息到topic中,同時有多個消息消費者(訂閱)消費該消息。

和點對點方式不同,發佈到Topic的消息會被所有的訂閱者消費,而點對點的只能是指定的消費者去消費
當生產者發佈消息,不管是否有消費者,都不會保存消息,也就是說它是發完就啥也不管了那種,
所以要注意:一定要有消費者,然後在有生產者,否則生產者不發完消息什麼也不管了,你消費者在生產者之後才有,那麼你是接收不到消息的。
接下來我們就以實戰的方式鼓搗下。
2 創建生產者
package cn.arebirth.mq; import org.apache.activemq.ActiveMQConnectionFactory; import javax.jms.*; public class ActiveMQTopicProducer { public static void sendTextActiveMQ(String txt){ //定義鏈接工廠 ConnectionFactory connectionFactory = null; //定義鏈接對象 Connection connection = null; //定義會話 Session session = null; //目的地 Destination destination = null; //定義消息的發送者 MessageProducer producer = null; //定義消息 Message message = null; try { //創建鏈接工廠 connectionFactory = new ActiveMQConnectionFactory("admin", "admin", "tcp://169.254.18.20:61616"); //創建鏈接誒對象 connection = connectionFactory.createConnection(); //啟動鏈接 connection.start(); //創建會話 session = connection.createSession(false, Session.AUTO_ACKNOWLEDGE); //創建目的地 destination = session.createTopic("topic-test"); //創建消息生產者 producer = session.createProducer(destination); //創建消息對象 message = session.createTextMessage(txt); //發送消息 producer.send(message); } catch (Exception ex) { ex.printStackTrace(); } finally { //回收資源 if (producer != null) { try { producer.close(); } catch (JMSException e) { e.printStackTrace(); } } if (session != null) { try { session.close(); } catch (JMSException e) { e.printStackTrace(); } } if (connection != null) { try { connection.close(); } catch (JMSException e) { e.printStackTrace(); } } } } }
我們可以發現,在創建目的地destination的時候代碼有了變動
destination = session.createTopic("topic-test");
變成了createTopic,對這就是topic模式了。
3 創建消費者
package cn.arebirth.mq; import org.apache.activemq.ActiveMQConnectionFactory; import javax.jms.*; public class ActiveMQTopicConsumer implements Runnable { public static void receiveTextActiveMQ(String threadName) { // 定義鏈接工廠 ConnectionFactory connectionFactory = null; // 定義鏈接對象 Connection connection = null; // 定義會話 Session session = null; // 目的地 Destination destination = null; // 定義消息的發送者 MessageConsumer consumer = null; // 定義消息 Message message = null; try { //創建鏈接工廠 connectionFactory = new ActiveMQConnectionFactory("admin", "admin", "tcp://169.254.18.20:61616"); //創建鏈接對象 connection = connectionFactory.createConnection(); //啟動鏈接 connection.start(); //創建會話 session = connection.createSession(false, Session.AUTO_ACKNOWLEDGE); //創建目的地 destination = session.createTopic("topic-test"); //創建消息的消費者 consumer = session.createConsumer(destination); //服務監聽 consumer.setMessageListener(new MessageListener() { //ActiveMQ回調方法。通過該方法將消息傳遞到consumer @Override public void onMessage(Message message) { //處理消息 String msg = null; try { msg = ((TextMessage) message).getText(); } catch (JMSException e) { e.printStackTrace(); } System.out.println(threadName + "--Producer say:" + msg); } }); } catch (Exception ex) { ex.printStackTrace(); } } @Override public void run() { receiveTextActiveMQ(Thread.currentThread().getName()); } }
我們可以發現,在創建目的地destination的時候代碼有了變動
destination = session.createTopic("topic-test");
還有實現了Runnable這個是為了一會測試的時候,多線程啟動,看效果,是否多個都會接受到,(如果看着糊塗的話,你也可以去掉線程的部分,單獨複製多個對象,並啟動,效果也是一樣的)
4 測試(要先啟動消費者,否則消費者是接收不到消息的!當然,你自己可以試一下)
4.1 測試消費者
package cn.arebirth.mq; public class ConsumerTest { public static void main(String[] args) { ActiveMQTopicConsumer a1 = new ActiveMQTopicConsumer(); Thread t1 = new Thread(a1,"a1"); ActiveMQTopicConsumer a2 = new ActiveMQTopicConsumer(); Thread t2 = new Thread(a2,"a2"); ActiveMQTopicConsumer a3 = new ActiveMQTopicConsumer(); Thread t3 = new Thread(a3,"a3"); t1.start(); t2.start(); t3.start(); } }
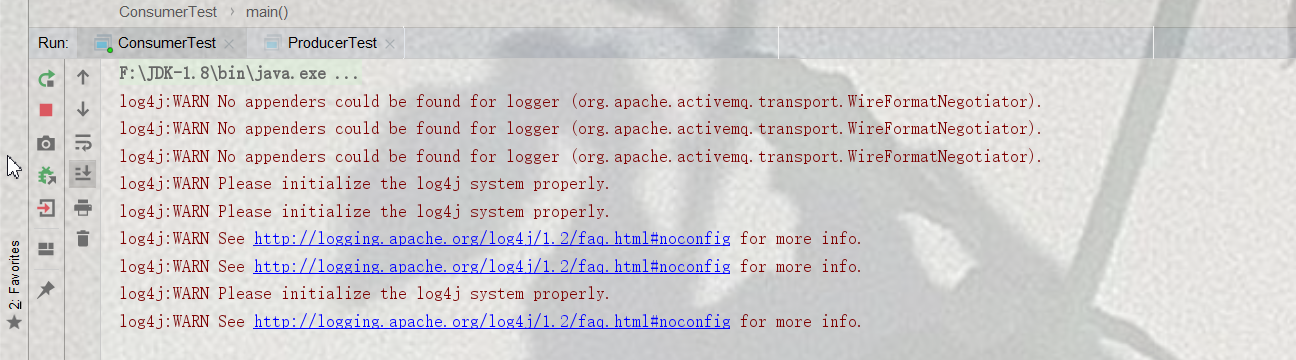
可以看到,我們的消費者已經啟動了,三個線程。並以監聽服務的方式啟動
4.2 測試生產者
package cn.arebirth.mq; public class ProducerTest { public static void main(String[] args) { ActiveMQTopicProducer.sendTextActiveMQ("hello,topic"); } }
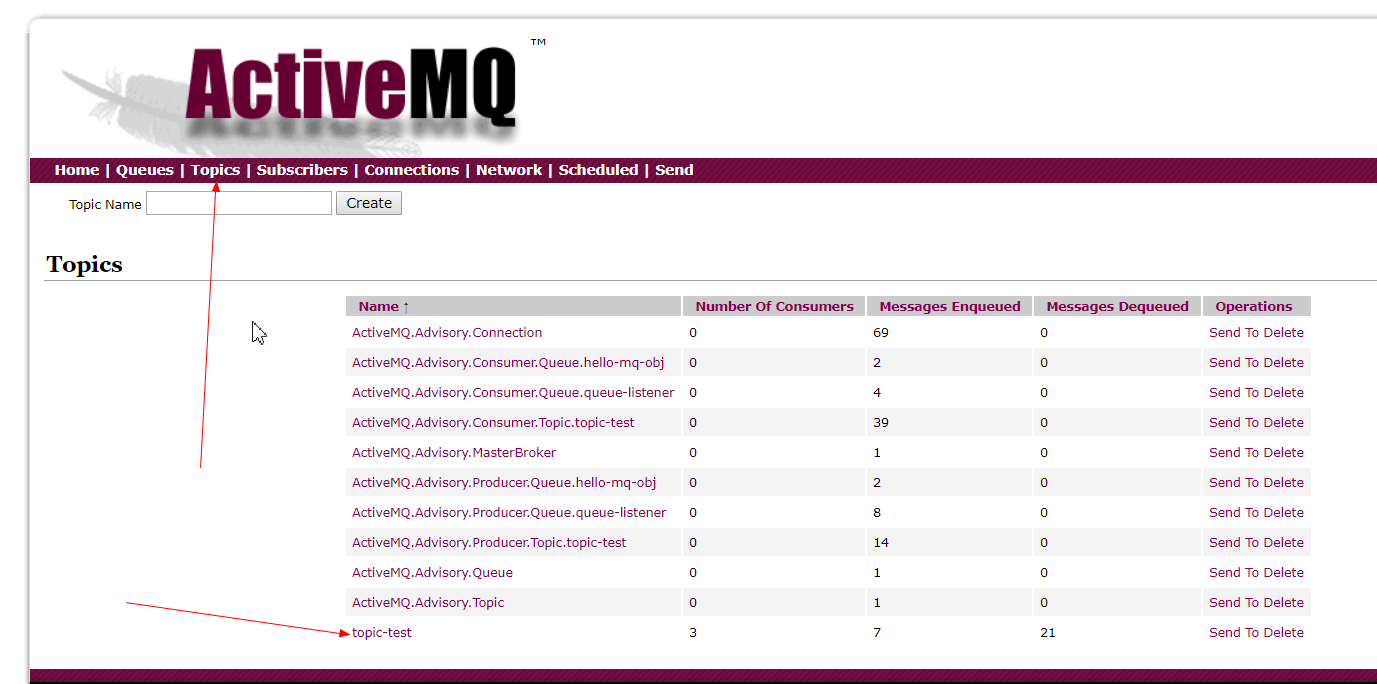
可以看到,在topics下面,我們發佈的內容已經有記錄了
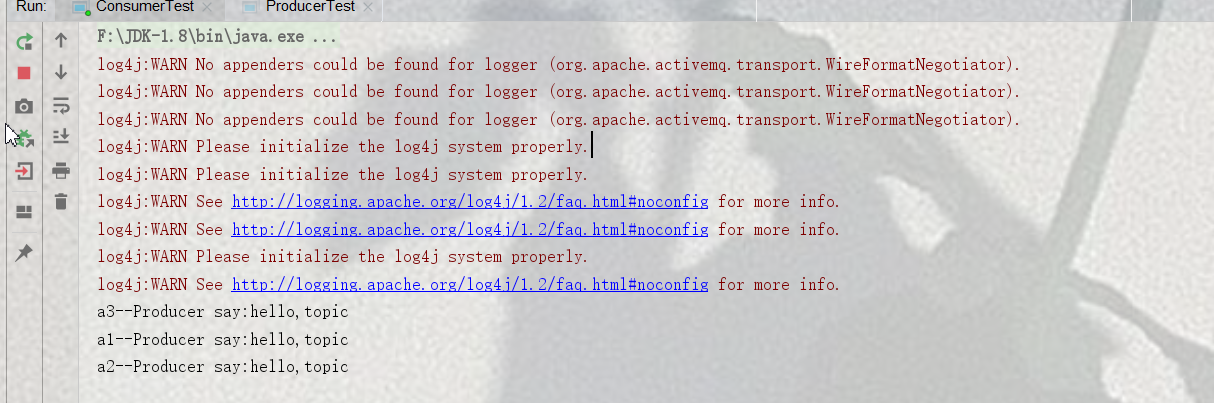
然後我們在看下,我們的consumer
可以發現,三個consumer都已經接收到了
ps:
如果你對ActiveMQ原理性的東西感到困惑,可以看下我們前面的文章:https://www.cnblogs.com/arebirth/p/activemq01.html

