使用awescnb自定义博客园皮肤
简述
偶然在博客园闲逛的时候发现了一个看着很顺眼的博客皮肤,本着求索的精神想学习一下,结果在源码中发现了大神实现的awescnb博客园皮肤自定义功能,通过简单配置就可以切换成大神设计的皮肤,效果也非常哇塞,这里把设置过程简单记录一下。
-
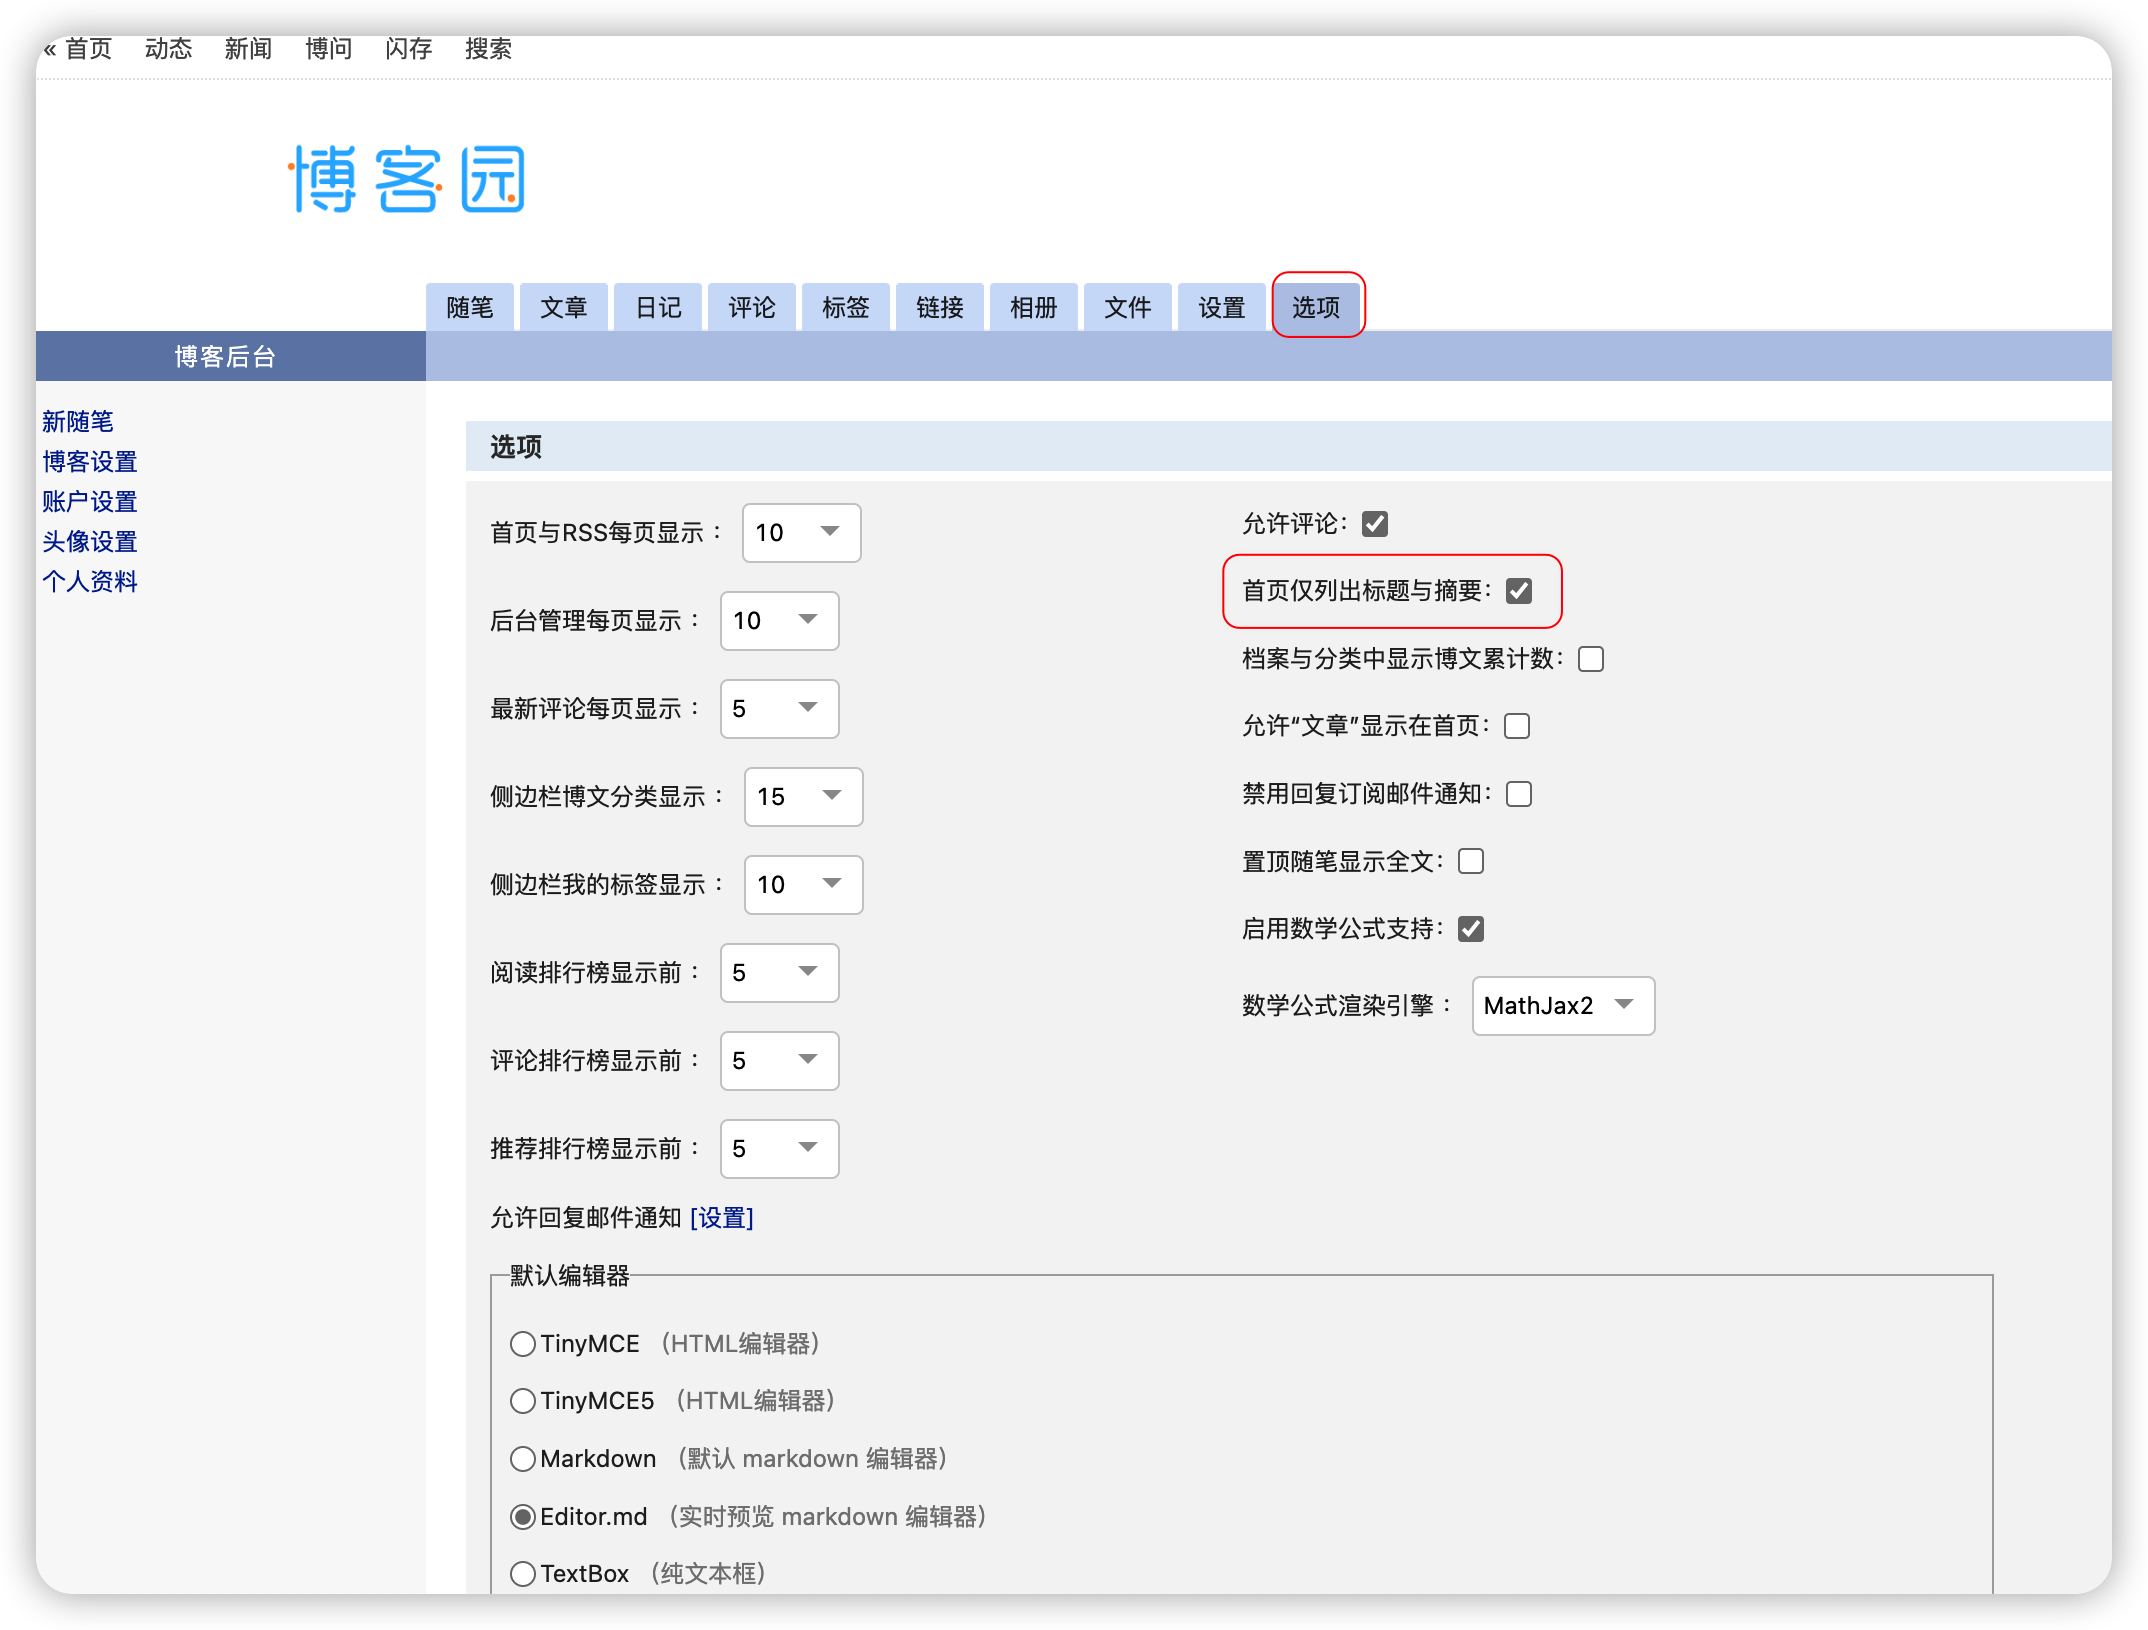
打开博客园设置

-
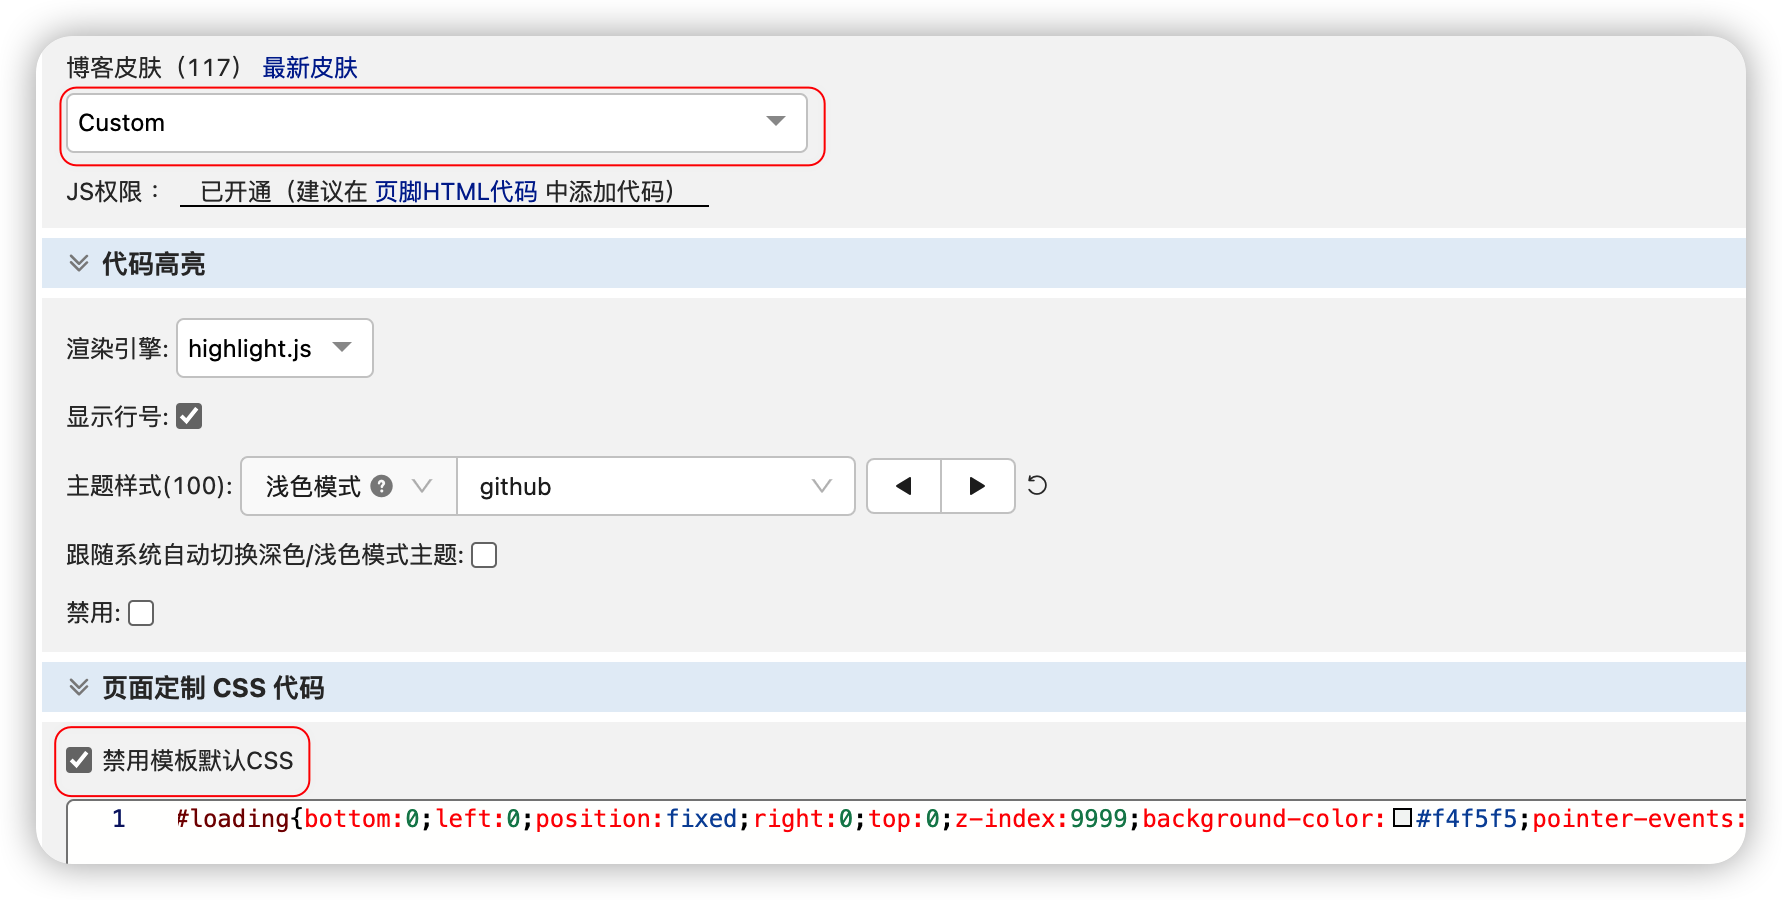
设置默认官方皮肤为
Custom,禁用官方皮肤的默认的CSS,在页面定时CSS代码中加入如下代码
#loading{bottom:0;left:0;position:fixed;right:0;top:0;z-index:9999;background-color:#f4f5f5;pointer-events:none;}.loader-inner{will-change:transform;width:40px;height:40px;position:absolute;top:50%;left:50%;margin:-20px 0 0 -20px;background-color:#3742fa;border-radius:50%;animation:scaleout 0.6s infinite ease-in-out forwards;text-indent:-99999px;z-index:999991;}@keyframes scaleout{0%{transform:scale(0);opacity:0;}40%{opacity:1;}100%{transform:scale(1);opacity:0;}}

-
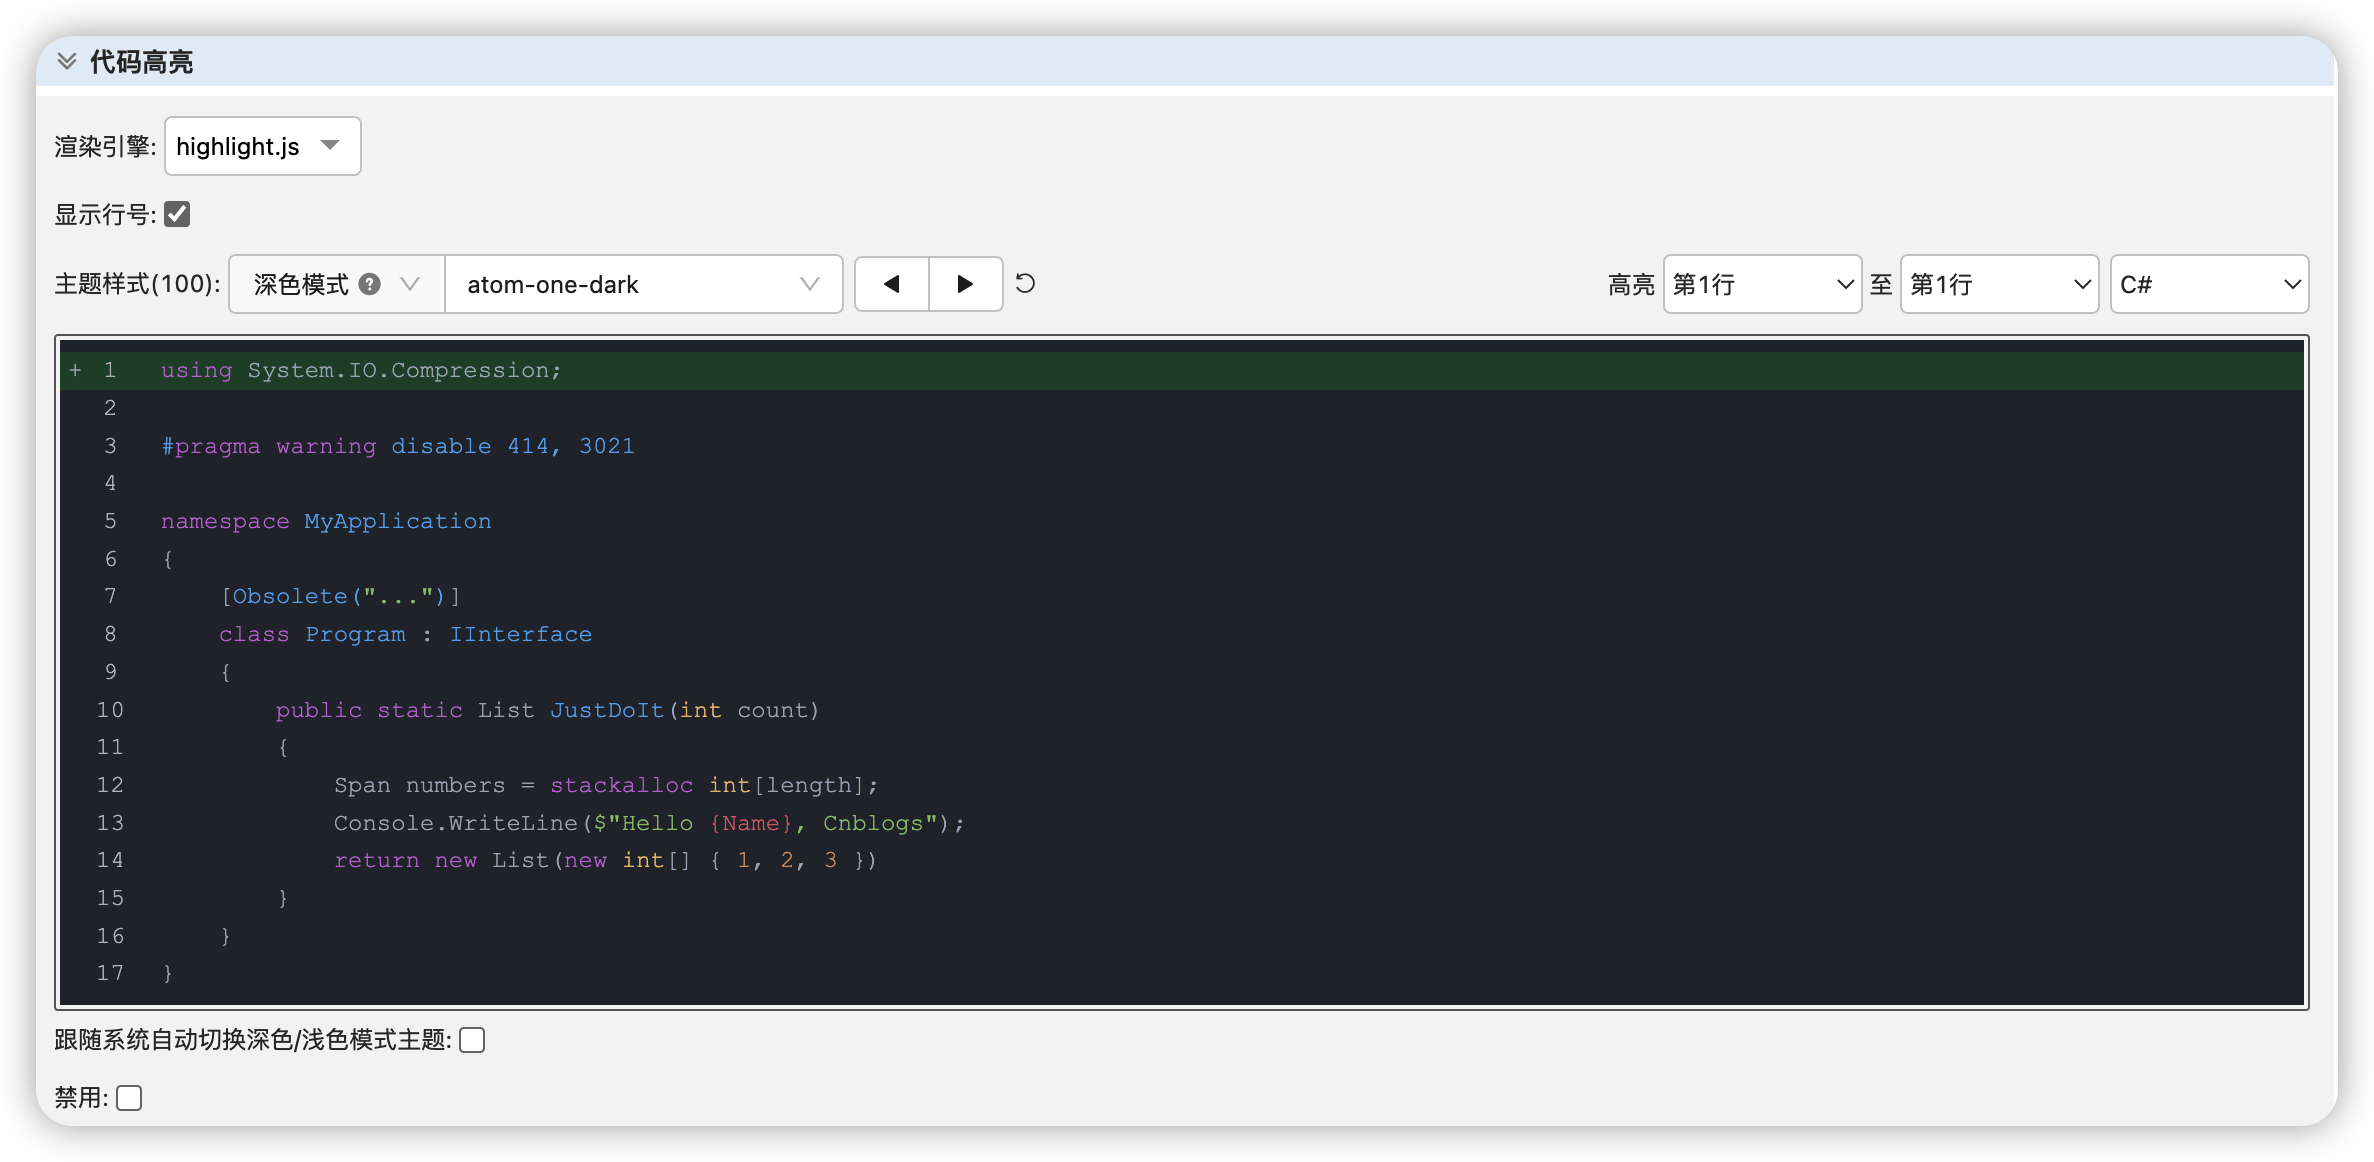
代码高亮支持深色和浅色模式,可以根据需要自行切换,但是效果只能在使用
markdown编辑器时发布博文才会生效


-
在页首 HTML代码中加入以下代码
<div id="loading"><div class="loader-inner"></div></div>
- 在页脚 HTML 代码中加入以下代码,配置部分可以参照文档自行修改(需要先邮件官方申请开通JS权限)
<script src="//guangzan.gitee.io/awescnb/index.js"></script>
<script>
  const config = {
    // 默认启用皮肤 'reacg'
    // 在这里添加自定义配置
	theme: {
	//修改默认皮肤
      name: 'geek',
      avatar: '//pic.cnblogs.com/avatar/478790/20140604205738.png',
      headerBackground: '//img2022.cnblogs.com/blog/478790/202208/478790-20220814231902278-1445739173.jpg'
    },
  }
  $.awesCnb(config)
</script>


