abp(net core)+easyui+efcore实现仓储管理系统——使用 WEBAPI实现CURD (十五)
- 2019 年 10 月 3 日
- 筆記
core)+easyui+efcore实现仓储管理系统目录
abp(net core)+easyui+efcore实现仓储管理系统——ABP总体介绍(一)
abp(net core)+easyui+efcore实现仓储管理系统——解决方案介绍(二)
abp(net core)+easyui+efcore实现仓储管理系统——领域层创建实体(三)
abp(net core)+easyui+efcore实现仓储管理系统——定义仓储并实现 (四)
abp(net core)+easyui+efcore实现仓储管理系统——创建应用服务(五)
abp(net core)+easyui+efcore实现仓储管理系统——展现层实现增删改查之控制器(六)
abp(net core)+easyui+efcore实现仓储管理系统——展现层实现增删改查之列表视图(七)
abp(net core)+easyui+efcore实现仓储管理系统——展现层实现增删改查之增删改视图(八)
abp(net core)+easyui+efcore实现仓储管理系统——展现层实现增删改查之菜单与测试(九)
abp(net core)+easyui+efcore实现仓储管理系统——多语言(十)
abp(net core)+easyui+efcore实现仓储管理系统——使用 WEBAPI实现CURD (十一)
abp(net core)+easyui+efcore实现仓储管理系统——使用 WEBAPI实现CURD (十二)
abp(net core)+easyui+efcore实现仓储管理系统——使用 WEBAPI实现CURD (十三)
abp(net core)+easyui+efcore实现仓储管理系统——使用 WEBAPI实现CURD (十四)
上接(abp(net core)+easyui+efcore实现仓储管理系统——使用 WEBAPI实现CURD (十四)),在这一篇文章中我们实现更新与删除供应商的相关功能。
十、创建更新供应商视图
(一)创建js文件
我们先来看一下 “ABP.TPLMS.Web.Mvc”项目中的wwwroot目录下的view-resourcesUsers目录中的_EditUserModal.js文件,然后参照此文件来写修改供应商的脚本文件。
1. 在Visual Studio 2017的“解决方案资源管理器”中,找到领域层“ABP.TPLMS.Web.Mvc”项目中的wwwroot目录下的view-resources目录。使用鼠标右键单击“Supplier”文件夹,然后选择“添加” > “新建项…”。 在“添加新项-ABP.TPLMS.Web.Mvc”对话框中,选择“javascript文件”,并将名称命名为_EditSupplierModal.js。
2. 在_EditSupplierModal.js文件中,我们写入编辑供应商的有关脚本,具体代码如下。
(function ($) { var _supplierService = abp.services.app.supplier; var _$modal = $('#SupplierEditForm'); var _$form = $('form[name=SupplierEditForm]'); function save() { if (!_$form.valid()) { return; } var supplier = _$form.serializeFormToObject(); //serializeFormToObject is defined in main.js abp.ui.setBusy(_$form); _supplierService.update(supplier).done(function () { _$modal.modal('hide'); location.reload(true); //reload page to see edited supplier! }).always(function () { abp.ui.clearBusy(_$modal); }); } //Handle save button click _$form.closest('div.modal-content').find(".save-button").click(function (e) { e.preventDefault(); save(); }); //Handle enter key _$form.find('input').on('keypress', function (e) { if (e.which === 13) { e.preventDefault(); save(); } }); $.AdminBSB.input.activate(_$form); _$modal.on('shown.bs.modal', function () { _$form.find('input[type=text]:first').focus(); }); })(jQuery);
(二)创建修改供应商视图
我们先来看一下 “ABP.TPLMS.Web.Mvc”项目中的ViewsUsers目录下的_EditUserModal.cshtml文件,然后参照此文件来写修改供应商的视图文件。
1. 在Visual Studio 2017的“解决方案资源管理器”中,找到“ABP.TPLMS.Web.Mvc”项目中的Views目录下的Supplier目录中的_EditSupplierModal.cshtml文件。双击打开此文件,并写入以下代码。
@using ABP.TPLMS.Web.Models.Common.Modals @model ABP.TPLMS.Web.Models.Supplier.EditSupplierModalViewModel @{ Layout = null; } @Html.Partial("~/Views/Shared/Modals/_ModalHeader.cshtml", new ModalHeaderViewModel(L("EditSupplier"))) <div class="modal-body"> <form name="SupplierEditForm" role="form" novalidate class="form-validation"> <input type="hidden" name="Id" value="@Model.Supplier.Id" /> <div> <div class="row clearfix"> <div class="col-sm-6"> <div class="form-group form-float"> <div class="form-line"> <label asp-for="@Model.Supplier.Code" class="form-label"></label> <input type="text" name="Code" class="form-control" required maxlength="50" /> </div> </div> </div> <div class="col-sm-6"> <div class="form-group form-float"> <div class="form-line"> <label asp-for="@Model.Supplier.Name" class="form-label"></label> <input type="text" name="Name" class="form-control" required maxlength="50" /> </div> </div> </div> </div> <div class="row clearfix"> <div class="col-sm-12"> <div class="form-group form-float"> <div class="form-line"> <label asp-for="@Model.Supplier.Address" class="form-label"></label> <input type="text" name="Address" class="form-control" required maxlength="255" /> </div> </div> </div> </div> <div class="row clearfix"> <div class="col-sm-6"> <div class="form-group form-float"> <div class="form-line"> <label asp-for="@Model.Supplier.LinkName" class="form-label"></label> <input type="text" name="LinkName" class="form-control" /> </div> </div> </div> <div class="col-sm-6"> <div class="form-group form-float"> <div class="form-line"> <label asp-for="@Model.Supplier.Mobile" class="form-label"></label> <input type="text" name="Mobile" class="form-control" /> </div> </div> </div> </div> <div class="row clearfix"> <div class="col-sm-6"> <div class="form-group form-float"> <div class="form-line"> <label asp-for="@Model.Supplier.Tel" class="form-label"></label> <input type="text" name="Tel" class="form-control" required maxlength="255" /> </div> </div> </div> <div class="col-sm-6"> <div class="form-group form-float"> <div class="form-line"> <label asp-for="@Model.Supplier.Status" class="form-label"></label> <input type="text" name="Status" class="form-control" /> </div> </div> </div> </div> <div class="row clearfix"> <div class="col-sm-6"> <div class="form-line"> <label asp-for="@Model.Supplier.Sex"></label> <input name="Sex" type="text" class="form-control" /> </div> </div> <div class="col-sm-6"> <div class="form-line"> <label asp-for="@Model.Supplier.Email"></label> <input name="Email" type="text" class="form-control" /> </div> </div> </div> </div> </form> </div> @Html.Partial("~/Views/Shared/Modals/_ModalFooterWithSaveAndCancel.cshtml") <script src="~/view-resources/Views/Supplier/_EditSupplierModal.js" asp-append-version="true"></script>
2. 在Visual Studio 2017的“解决方案资源管理器”中,找到“ABP.TPLMS.Web.Mvc”项目中的Views目录下的Supplier目录中的Index.cshtml文件。双击打开此文件,在文件最后写入以下代码。
<div class="modal fade" id="SupplierEditModal" tabindex="-1" role="dialog" aria-labelledby="SupplierEditModalLabel" data-backdrop="static"> <div class="modal-dialog" role="document"> <div class="modal-content"> </div> </div> </div>
3. 在Visual Studio 2017中按F5运行应用程序。登录之后,点击“Supplier”目录,我们可以看到供应商列表页面。然后点击供应商列表页面中的Edit按钮。如下图。

4. 会在当前页面中弹出你所选的供应商记录的信息。你可以进行编辑。如下图。

5. 在“Edit Supplier”页面中我们对Address与Status进行修改之后,点击“Save”按钮。如下图。

6.数据保存到数据库,应用会刷新供应商列表页面。如下图。 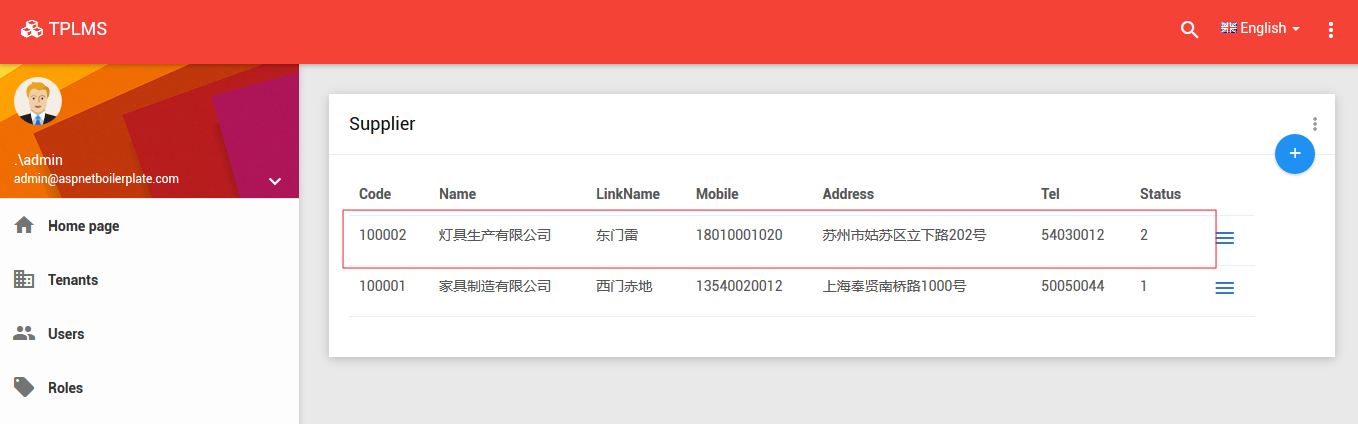
十一,删除供应商信息
1.关于删除的代码,请查看Index.js文件。在TPLMST系统中点击“Supplier”目录,我们可以看到供应商列表页面。然后点击供应商列表页面中的Delete按钮。如下图。 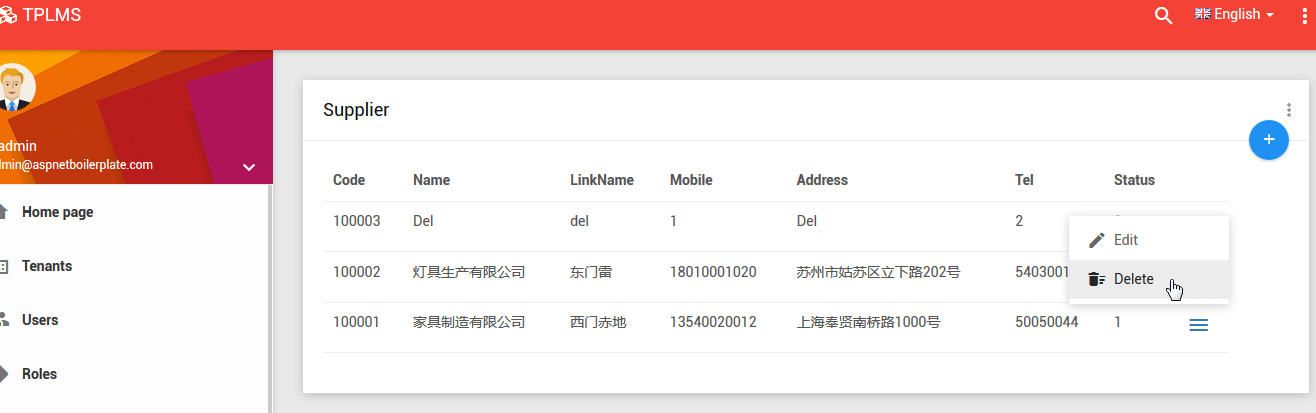
2. 会在当前页面中弹出你所选的供应商记录的删除确认信息。你点击“YES”,确认删除。如下图。

3.数据保存到数据库,应用会刷新供应商列表页面,由之前的三条记录,又变成了两条记录。如下图。 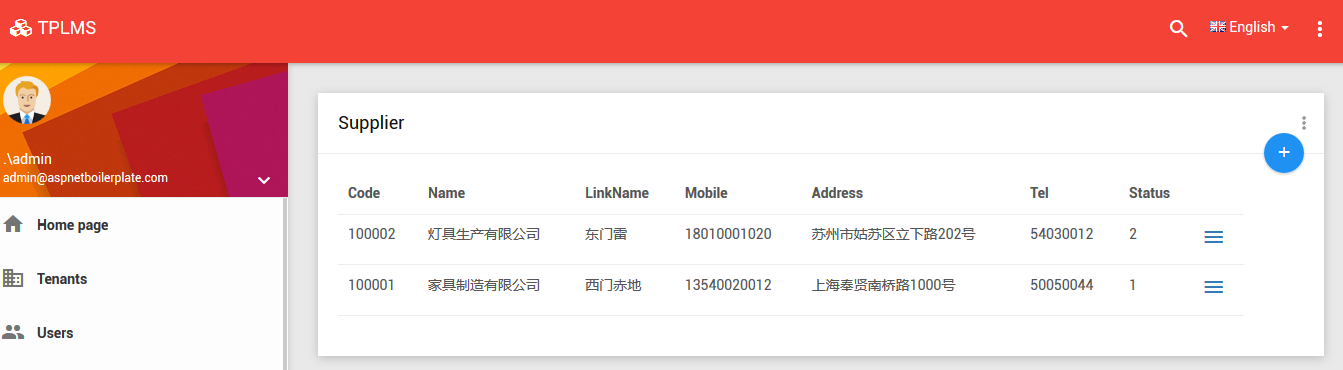
十一、总结
至此,完成了供应商信息的增删改查,但是我们没有写一行与增删改查有关的c#代码,都是由ABP提供了AsyncCrudAppService的接口来完成我们的功能。
