springboot学习(二十二)_ 使用@Constraint注解自定义验证注解
- 2019 年 10 月 27 日
- 筆記
最近项目在使用如@NotNull @Max 等配合@vaild 注解进行验证传过来的参数校验,然后通过统一异常处理,直接返回给前端,不用在业务代码中对这些参数进行校验。但是官方提供的并不能全部满足项目的需求,我经过查找发现了@Constraint这个注解。
需求
现在有的列表查询,根据查询条件进行查询,当然这些查询条件可以为null,如果存在值,就必须进行验证。这里就对长度就行验证,不为nul的时候 输入字符不能为空串,且长度必须大于等于1且小于等于10
代码实现
1、定义自定义注解
@Target({ElementType.METHOD, ElementType.FIELD}) @Retention(RetentionPolicy.RUNTIME) //代表处理逻辑是MyConstraintValidator类 @Constraint(validatedBy = MyConstraintValidator.class) public @interface MyConstraint { String message() default "参数校验不通过,请重新输入";; long min(); long max(); Class<?>[] groups() default {}; Class<? extends Payload>[] payload() default {}; }2.处理类,需要实现ConstraintValidator接口
public class MyConstraintValidator implements ConstraintValidator<MyConstraint, Object> { private long max = 1; private long min = 1; @Override public void initialize(MyConstraint constraintAnnotation) { max = constraintAnnotation.max(); min = constraintAnnotation.min(); System.out.println("my validator init"); } @Override public boolean isValid(Object o, ConstraintValidatorContext constraintValidatorContext) { if(o == null){ return true; } if(o.toString().trim().length()>=min && o.toString().trim().length()<=max){ return true; } return false; } }3.进行验证
3.1 定义一个实体类User
@Data public class User { @MyConstraint( min = 1, max =10 ) private String name; private String address; } 3.2 全局异常中进行处理,这里只是看下效果,返回String字符串
@RestControllerAdvice @Slf4j public class KevinExceptionHandler { @ExceptionHandler(Exception.class) public String handleException(Exception e) { log.error(e.getMessage(), e); if (e instanceof BindException) { BindException ex = (BindException) e; List<ObjectError> allErrors = ex.getAllErrors(); ObjectError error = allErrors.get(0); String defaultMessage = error.getDefaultMessage(); return defaultMessage; } else { return "error"; } } }3.3controller测试方法
@RestController public class Hello { @RequestMapping(value = "hello") public User hello(@Valid User user){ return user; } }3.4 通过swagger 进行验证
-
不输入值,为null时

-
输入空格

-
输入超过长度
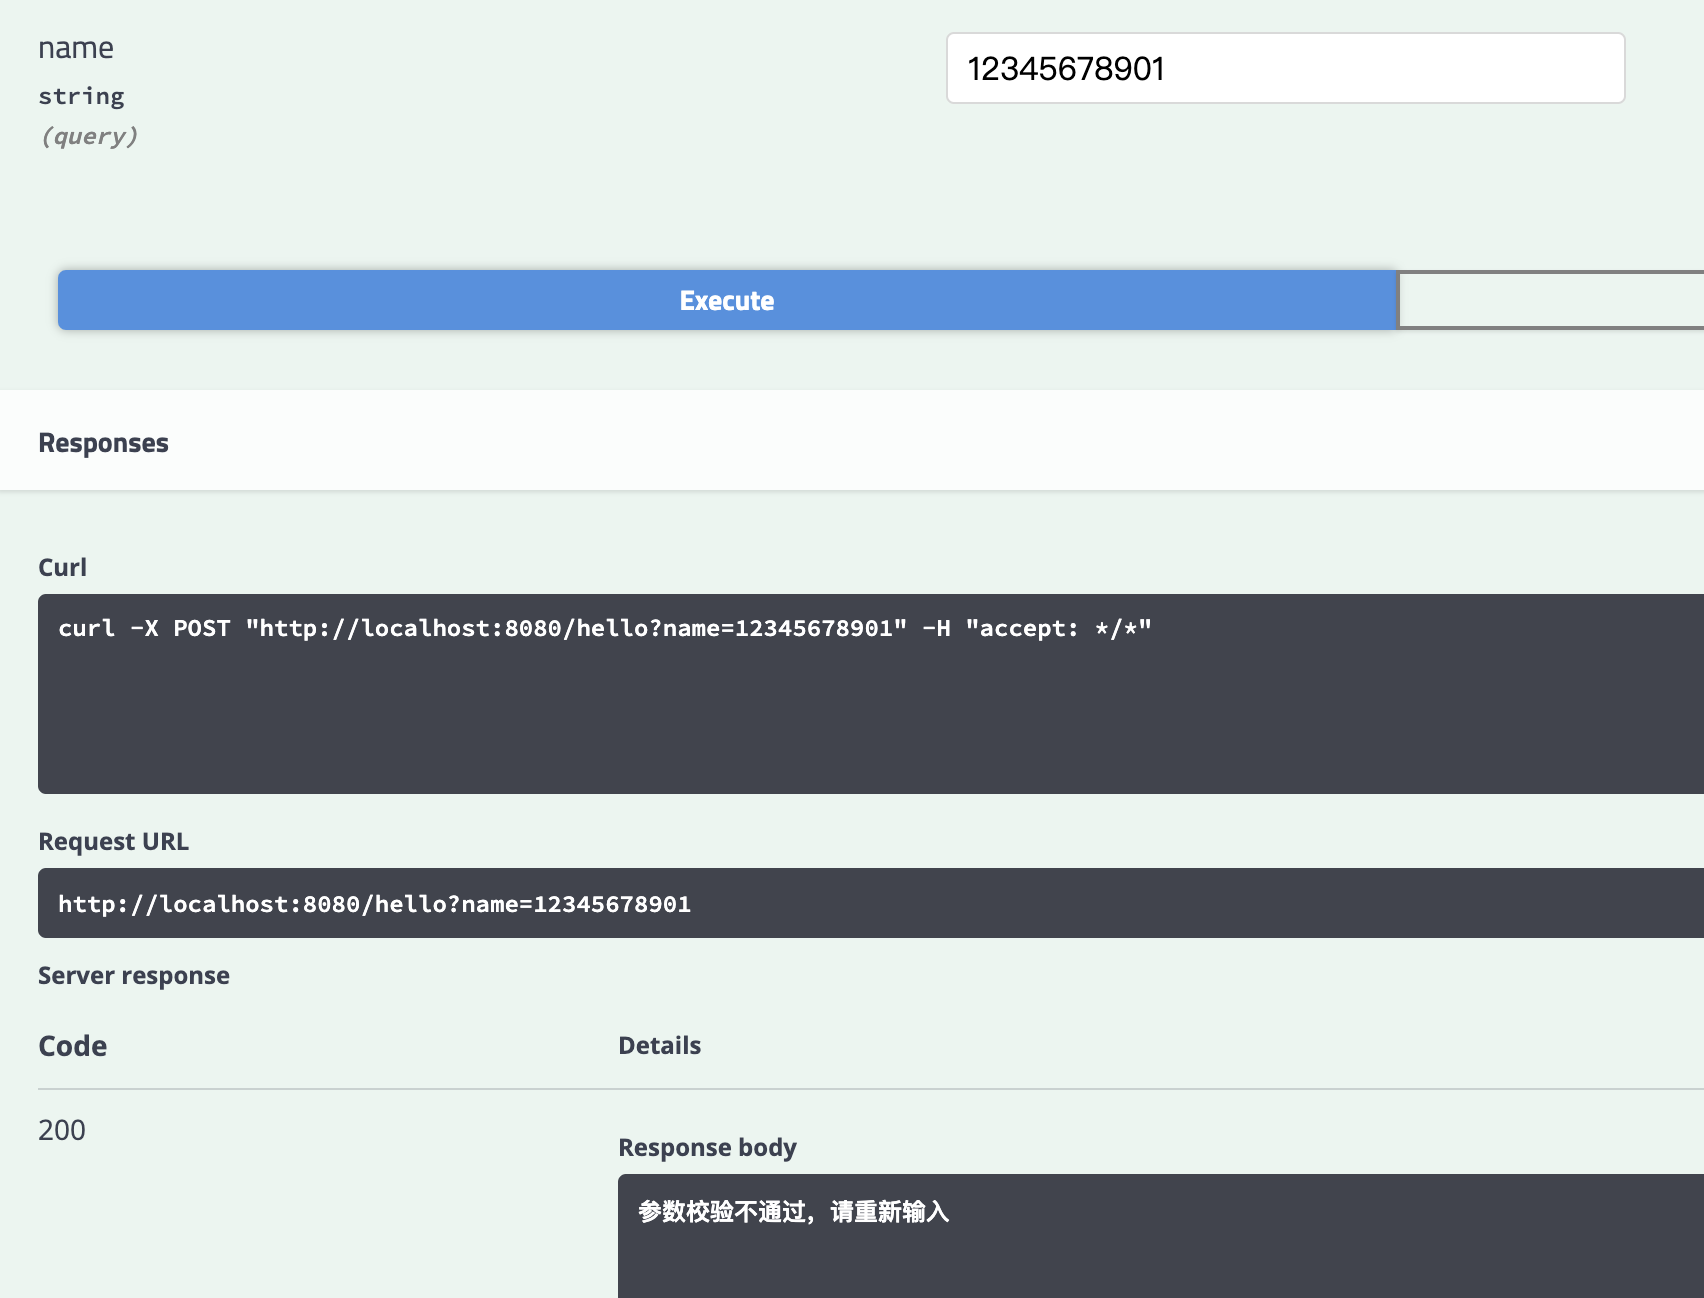
-
输入正常值
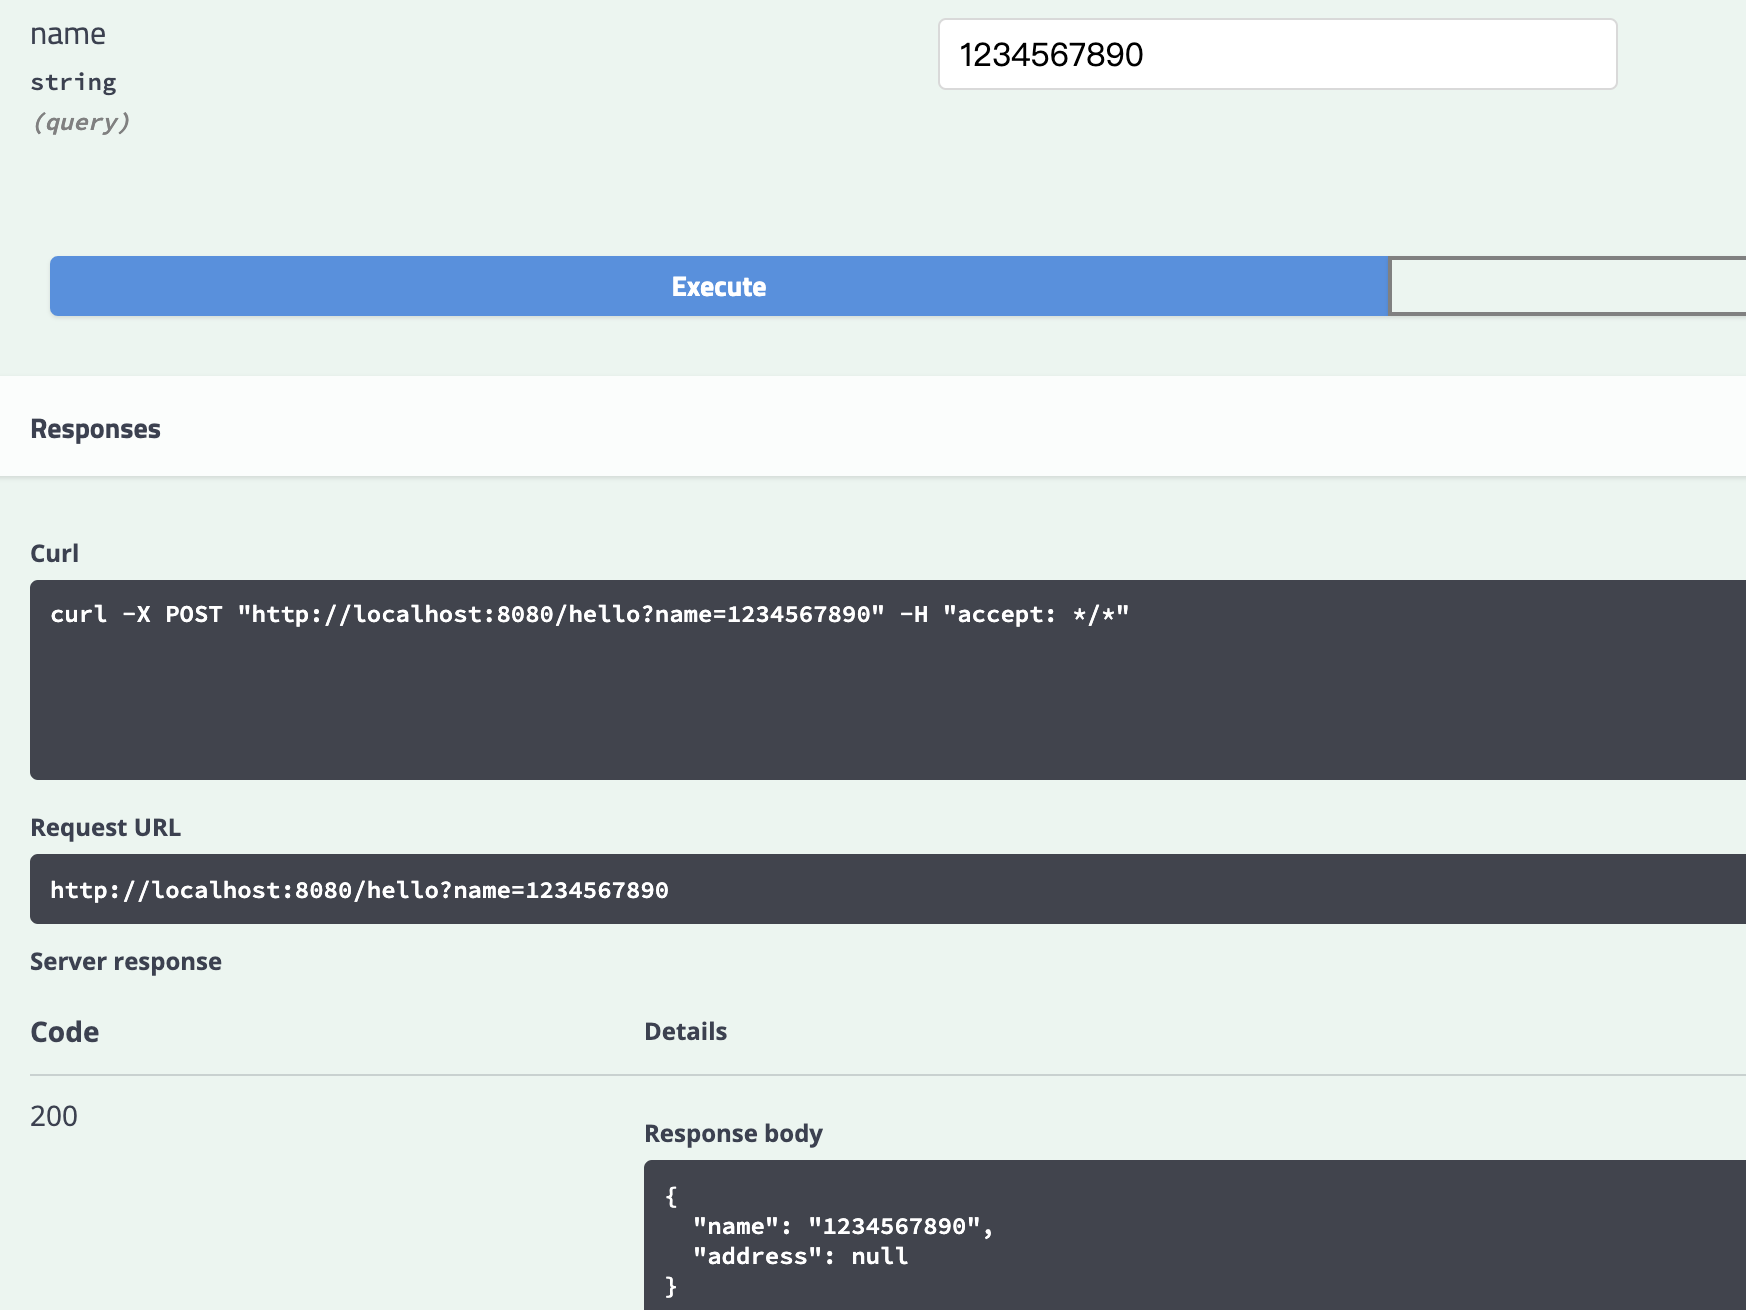
总结
使用注解验证参数配合异常处理,很方便且减少了很多业务代码,各种if判断肯定让人看的头痛。好了,玩的开心!