NLP(十四)自制序列标注平台
- 2019 年 10 月 3 日
- 筆記
背景介绍
在平时的NLP任务中,我们经常用到命名实体识别(NER),常用的识别实体类型为人名、地名、组织机构名,但是我们往往也会有识别其它实体的需求,比如时间、品牌名等。在利用算法做实体识别的时候,我们一般采用序列标注算法,这就对标注的文本格式有一定的要求,因此,一个好的序列标注的平台必不可少,将会大大减少我们标注的工作量,有效提升算法的更新迭代速度。
本文将介绍笔者的一个工作:自制的序列标注平台。我们以时间识别为例。比如,在下面的文章中:
按计划,2019年8月10日,荣耀智慧屏将在华为开发者大会上正式亮相,在8月6日,荣耀官微表示该产品的预约量已破十万台,8月7日下午,荣耀总裁赵明又在微博上造势率先打出差异化牌,智慧屏没有开关机广告,并表态以后也不会有,消费者体验至上,营销一波接一波,可谓来势汹汹。
我们需要从该文章中标注出三个时间:2019年8月10日,8月6日,8月7日下午,并形成标注序列。
下面将详细介绍笔者的工作。
序列标注平台
由于开发时间仓促以及笔者能力有限,因此,序列标注平台的功能还没有很完善,希望笔者的工作能抛砖引玉。
项目的结构图如下:
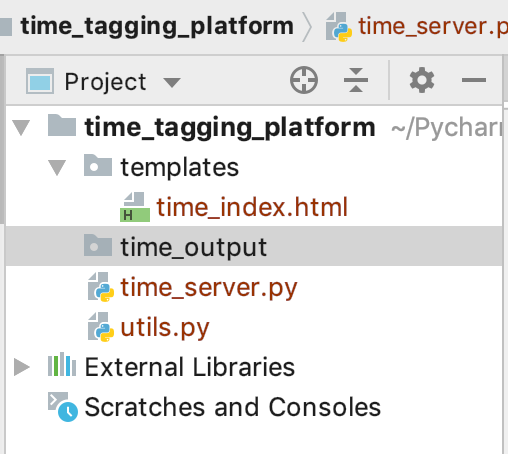
templates中存放静态资源,time_index.html为平台的操作界面,time_output为平台标注完实体后的文件保存路径,time_server.py是用tornado写的服务端路径控制代码,utils.py中是获取某个路径下的txt文件的最大数值的函数。
其中,utils.py的完整代码如下:
# -*- coding: utf-8 -*- # time: 2019-03-14 # place: Xinbeiqiao, Beijing import os # 获取当前所在目录的txt文本的最大数值 def get_max_num(path): files = os.listdir(path) if files: numbers = list(map(lambda x: int(x.replace('.txt', '')), files)) return max(numbers) else: return 0time_server.py的完整代码如下:
# -*- coding: utf-8 -*- # time: 2019-08-08 # place: Xinbeiqiao, Beijing import os.path import tornado.httpserver import tornado.ioloop import tornado.options import tornado.web from tornado.options import define, options from utils import get_max_num #定义端口为9005 define("port", default=9005, help="run on the given port", type=int) # GET请求 class QueryHandler(tornado.web.RequestHandler): # get函数 def get(self): self.render('time_index.html', data = ['', []]) # POST请求 class PostHandler(tornado.web.RequestHandler): # post函数 def post(self): # 获取前端参数, event, time, index event = self.get_argument('event') times = self.get_arguments('time') indices = self.get_arguments('index') print(event) print(times) print(indices) # 前端显示序列标注信息 tags = ['O'] * len(event) for time, index in zip(times, indices): index = int(index) tags[index] = 'B-TIME' for i in range(1, len(time)): tags[index+i] = 'I-TIME' data = [event, tags] self.render('time_index.html', data=data) # 保存为txt文件 dir_path = './time_output' with open('./%s/%s.txt' % (dir_path, get_max_num(dir_path)+1), 'w', encoding='utf-8') as f: for char, tag in zip(event, tags): f.write(char+'t'+tag+'n') # 主函数 def main(): # 开启tornado服务 tornado.options.parse_command_line() # 定义app app = tornado.web.Application( handlers=[(r'/query', QueryHandler), (r'/result', PostHandler) ], #网页路径控制 template_path=os.path.join(os.path.dirname(__file__), "templates") # 模板路径 ) http_server = tornado.httpserver.HTTPServer(app) http_server.listen(options.port) tornado.ioloop.IOLoop.instance().start() main()time_index.html文件如下:
<!DOCTYPE html> <html> <head> <meta charset="utf-8"> <title>时间抽取标注平台</title> <link rel="stylesheet" href="https://cdn.staticfile.org/twitter-bootstrap/3.3.7/css/bootstrap.min.css"> <script src="https://cdn.bootcss.com/jquery/3.4.1/jquery.min.js"></script> <script src="https://cdn.staticfile.org/twitter-bootstrap/3.3.7/js/bootstrap.min.js"></script> <style> mark { background-color:#00ff90; font-weight:bold; } p{text-indent:2em;} </style> <script> var click_cnt = 0; // 双击第i个select, 添加文字的index function select_click(i){ var content = document.getElementById('event').value; var time = document.getElementById('time_'+i.toString()).value; for(var j=0; j<=content.length-time.length; j++){ if(content.substr(j, time.length) == time){ var select = document.getElementById('index_'+i.toString()); var option = document.createElement("option"); option.value = j; option.innerHTML = j; select.appendChild(option); } } } // 添加输入框和select框 $(document).ready(function(){ $("#add_time").click(function(){ click_cnt = click_cnt + 1; var input_id = new String('time_'+click_cnt.toString()); var index_id = new String('index_'+click_cnt.toString()); var content = "<input type='text' id=" + input_id + " class='form-control' style='width:306px;' name='time' />     <select class='form-control' name='index' id="+ index_id + " style='width:120px;' ondblclick='select_click("+click_cnt.toString()+")'></select>"; $(content).appendTo($("#time_column")); }); }); </script> </head> <body> <center> <br><br><br> <form class="form-horizontal" role="form" method="post" action="/result" style="width:600px"> <div class="form-group"> <label for="event" class="col-sm-2 control-label">输入语料</label> <div class="col-sm-10"> <textarea type="text" class="form-control" id="event" style="width:490px; height:200px" name="event"></textarea> </div> </div> <div class="form-inline" style="text-align:left;"> <label for="time_0" class="col-sm-2 control-label">时间</label> <div class="col-sm-10" id="time_column"> <input type="text" class="form-control" id="time_0" style="width:306px;" name="time" />     <select class="form-control" id="index_0" name="index" style="width:120px;" ondblclick="select_click(0)"></select> </div> </div> <div class="form-group"> <div class="col-sm-offset-2 col-sm-10"> <br> <button type="button" class="btn btn-default" id="add_time">添加时间</button> <button type="submit" class="btn btn-success">显示标签</button> <a href="/query"><button type="button" class="btn btn-danger">返回</button></a> <button type="reset" class="btn btn-warning">重置</button> </div> </div> </form> <br> <div style="width:600px"> <p> 原文:{{data[0]}} </p> <table class="table table-striped"> {% for char, tag in zip(data[0], data[1]) %} <tr> <td>{{char}} </td> <td>{{tag}} </td> </tr> {%end%} </table> </div> </center> </body> </html>平台使用
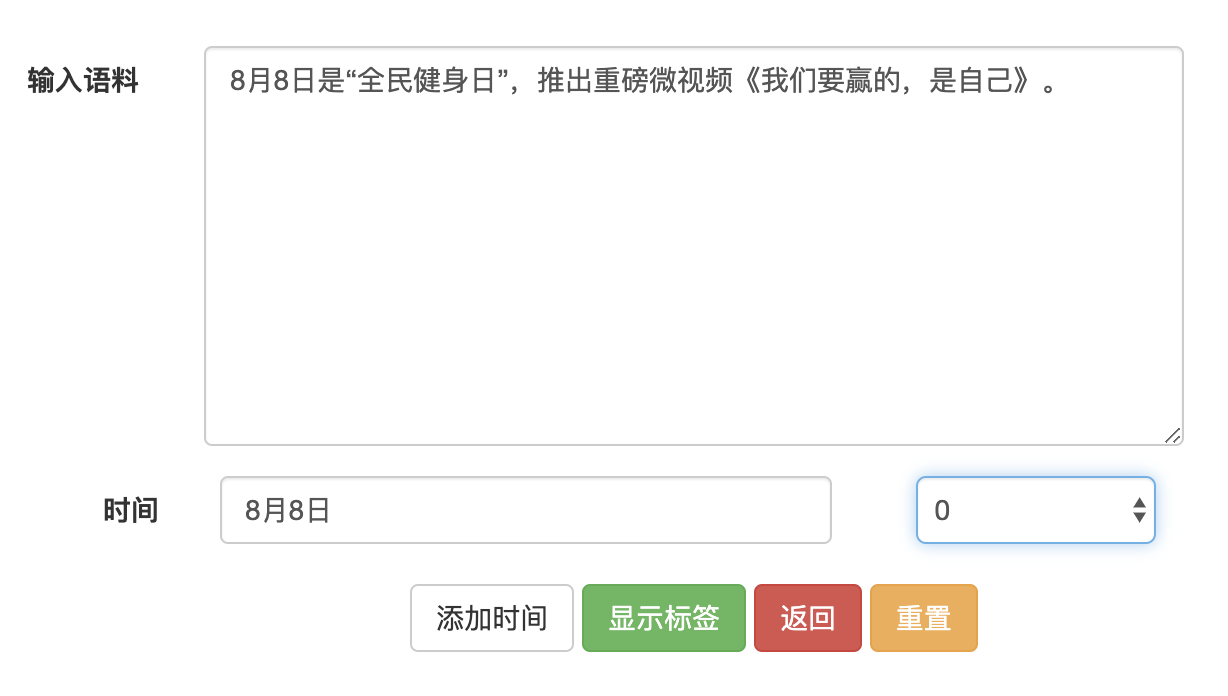
运行上述time_server.py后,在浏览器端输入网址: http://localhost:9005/query , 则会显示如下界面:

在输入语料框中,我们输入语料:
8月8日是“全民健身日”,推出重磅微视频《我们要赢的,是自己》。
在时间这个输入框中,可以标注语料中的时间,同时双击同一行中的下拉列表,就能显示该标注时间在语料中的起始位置,有时候同样的标注时间会在语料中出现多次,那么我们在下拉列表中选择我们需要的标注的起始位置即可。
点击添加时间按钮,它会增加一行标注,允许我们在同一份预料中标注多个时间。我们的一个简单的标注例子如下:
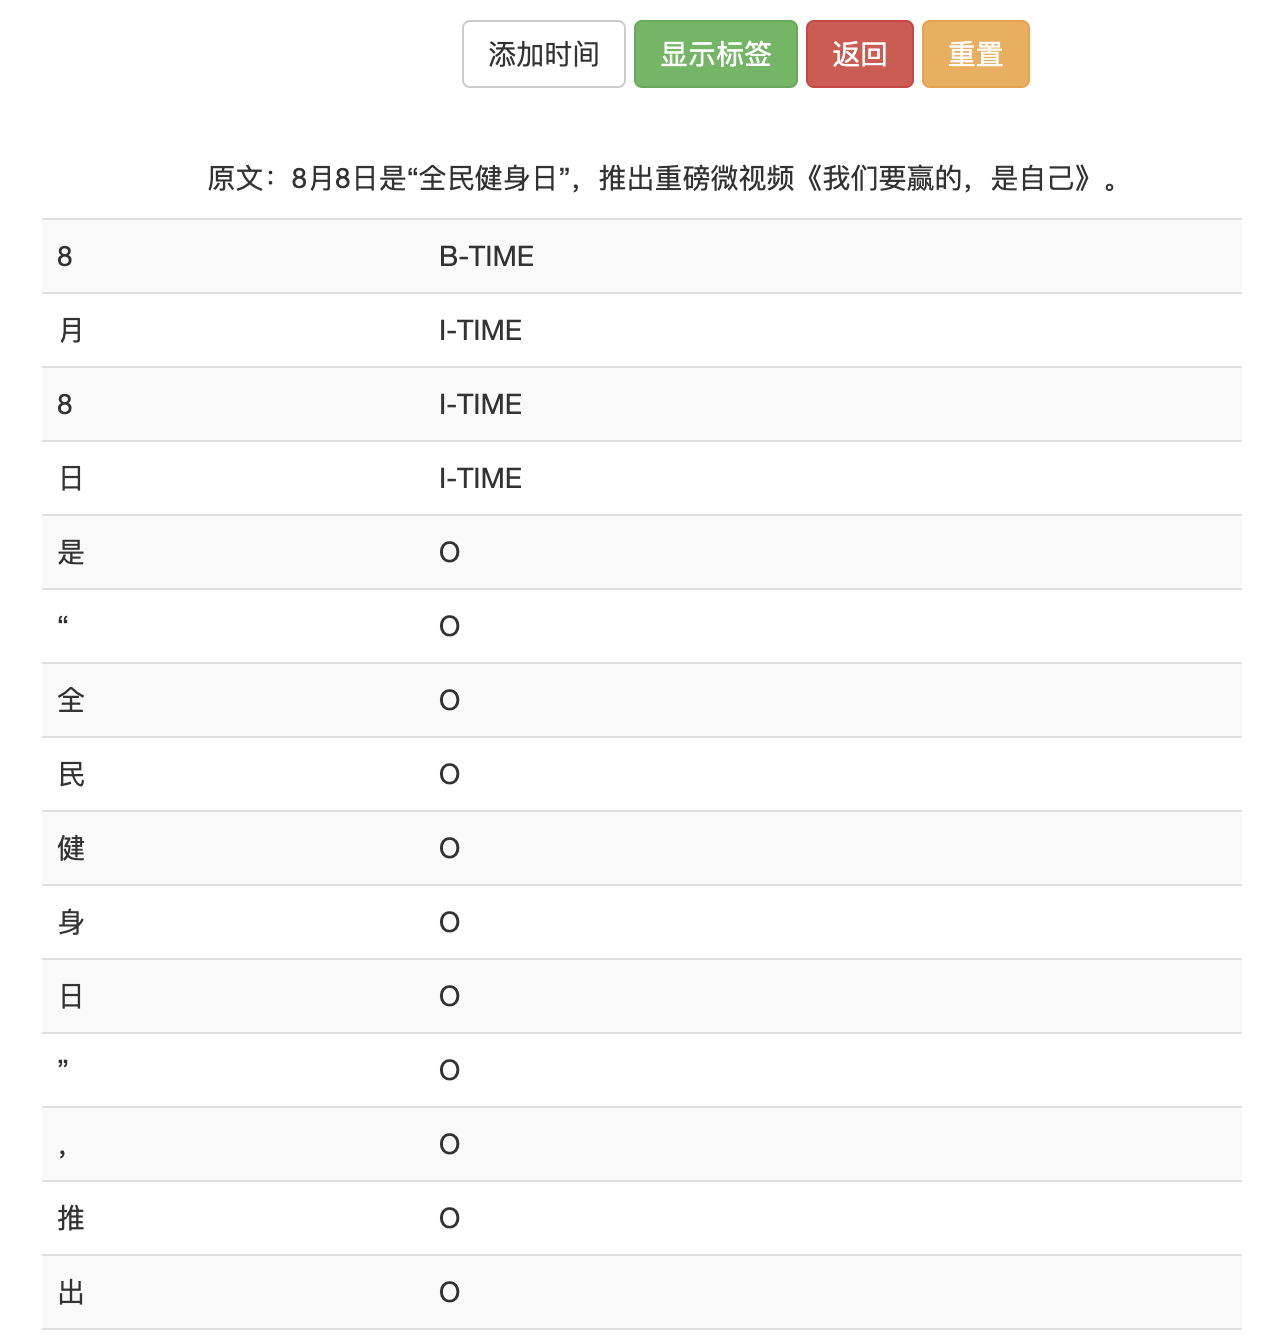
点击显示标注,则会显示我们标注完后形成的序列标注信息,同时将该序列信息保存为txt文件,该txt文件位于time_output目录下。在网页上的序列标注信息如下:
同时,我们也可以查看保存的txt文档信息,如下:

点击返回按钮,它会允许我们进行下一次的标注。刚才展示的只是一个简单例子,稍微复杂的标注如下图:

它形成的标注序列(部分)如下:
按 O 计 O 划 O , O 2 B-TIME 0 I-TIME 1 I-TIME 9 I-TIME 年 I-TIME 8 I-TIME 月 I-TIME 1 I-TIME 0 I-TIME 日 I-TIME , O 荣 O 耀 O 智 O 慧 O 屏 O 将 O 在 O 华 O 为 O 开 O 发 O 者 O 大 O 会 O 上 O 正 O 式 O 亮 O 相 O , O 在 O 8 B-TIME 月 I-TIME 6 I-TIME 日 I-TIME , O 荣 O 耀 O 官 O 微 O 表 O 示 O 该 O 产 O 品 O ......总结
本平台仅作为序列标注算法的前期标注工具使用,并不涉及具体的算法。另外,后续该平台也会陆续开放出来,如果大家有好的建议,也可以留言~
本项目已上传只Github, 网址为: https://github.com/percent4/entity_tagging_platform
注意:不妨了解下笔者的微信公众号: Python爬虫与算法(微信号为:easy_web_scrape), 欢迎大家关注~
