测试开发进阶(十九)
- 2019 年 10 月 6 日
- 筆記
嵌套路由
场景:父页面打开,再打开子页面
借鉴官方示例:
https://github.com/vuejs/vue-router/blob/dev/examples/nested-routes/app.js

const router = new VueRouter({ mode: 'history', base: __dirname, routes: [ {path: '/', redirect: '/parent'}, { path: '/parent', component: Parent, children: [ // an empty path will be treated as the default, e.g. // components rendered at /parent: Root -> Parent -> Default {path: '', component: Default}, // components rendered at /parent/foo: Root -> Parent -> Foo {path: 'foo', component: Foo}, // components rendered at /parent/bar: Root -> Parent -> Bar {path: 'bar', component: Bar}, // NOTE absolute path here! // this allows you to leverage the component nesting without being // limited to the nested URL. // components rendered at /baz: Root -> Parent -> Baz {path: '/baz', component: Baz}, { path: 'qux/:quxId', component: Qux, children: [ {path: 'quux', name: 'quux', component: Quux}, {path: 'quuy', name: 'quuy', component: Quuy} ] }, {path: 'quy/:quyId', component: Quy}, {name: 'zap', path: 'zap/:zapId?', component: Zap} ] } ] })
修改 /src/router/index.js
{ path: '/login', component: Login, children: [ {path: '', component: Login},//默认路由 {path: '/projects_list2', component: ProjectsList}, {path: 'projects_list2', component: ProjectsList} ] },
在 /src/components/Login.vue的 template中添加以下内容
<p>=====================</p> <router-view></router-view>
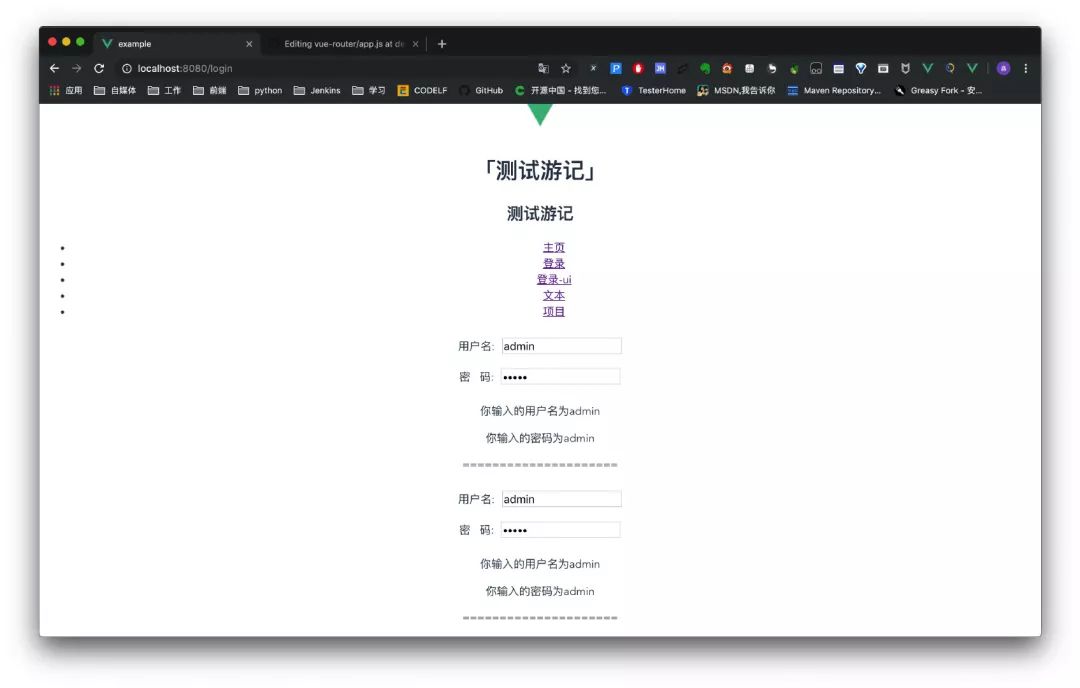
输入:http://localhost:8080/login会显示两个输入内容
这是因为子路由中有一个 空的默认路由:{path:'',component:Login},所以父路由加载一次,子路由加载一次
输入: http://localhost:8080/projects_list2会显示登录部分和项目部分
但是它使用的是 {path:'/projects_list2',component:ProjectsList}
输入: http://localhost:8080/login/projects_list2也会显示一样的内容
但它使用的是 {path:'projects_list2',component:ProjectsList}
两者区别是有无 /

axios
- 非常流行的请求库
- vue发起异步请求的标配
安装方式:
$ cnpm install axios -S
测试接口:https://dog.ceo/api/breeds/image/random

修改 /src/components/HelloWorld.vue
<script> import axios from 'axios' export default { name: 'HelloWorld', props: { //从父组件获取msg msg: String, title: Number, }, mounted() { axios.get('https://dog.ceo/api/breeds/image/random') .then(function (response) { console.log(response); console.log(response.data); }) .catch(function (err) { console.log(err); }) } } </script>

/src/components/HelloWorld.vue
<template> <div class="hello"> <h1>{{ msg }}</h1> <h2>{{ title }}</h2> <el-image :src="url" fit="cover"></el-image> </div> </template> <script> import axios from 'axios' export default { name: 'HelloWorld', props: { //从父组件获取msg msg: String, title: Number, }, data() { return { url: '', } }, mounted() { axios.get('https://dog.ceo/api/breeds/image/random') .then(response => { console.log(response); console.log(response.data); this.url = response.data.message; }) .catch(function (err) { console.log(err); }); } } </script> <style scoped> h3 { margin: 40px 0 0; } ul { list-style-type: none; padding: 0; } li { display: inline-block; margin: 0 10px; } a { color: #42b983; } </style>

代码封装
新建 /src/api/api.js
import axios from 'axios' var host = 'https://dog.ceo'; export const dogs = () => { return axios.get(`${host}/api/breeds/image/random`) };
修改 HelloWorld.vue
import {dogs} from '../api/api.js' mounted() { dogs() .then(response => { console.log(response); console.log(response.data); this.url = response.data.message; }) .catch(function (err) { console.log(err); }); }
slot插槽
默认情况下,在子组件开始标签和结束标签中间添加的内容会忽略
在 /src/components/greeting.vue的 template中增加以下内容
<hello-world> <p>这是Hello-world子组件</p> </hello-world>
如果需要展示出来需要在 /src/components/HelloWorld.vue中添加:
<slot></slot>也就是插槽
如果在 slot中写入内容,那外部不使用会使用默认的:
<slot><p>喵喵喵</p></slot>
# greeting.vue <hello-world></hello-world> # HelloWorld.vue <slot><p>喵喵喵</p></slot>

# greeting.vue <p>这是Hello-world子组件</p> # HelloWorld.vue <slot><p>喵喵喵</p></slot>

命名插槽
# greeting.vue <hello-world> <!--vue2.6之前--> <p slot="part1">这是Hello-world子组件</p> <!--vue2.6之后--> <!--v-slot="part2" 可以缩写为 #part2--> <template v-slot="part2"> <template #part2> <p>这是part2</p> </template> </hello-world> # HelloWorld.vue <slot name="part1"><p>汪汪汪</p></slot> <slot name="part2"><p>咳咳咳</p></slot>

插槽作用域
# greeting.vue <hello-world> <!--vue2.6之前--> <p slot="part4" slot-scope="sope"> {{sope.user}}:这是Hello-world子组件 </p> <!--vue2.6之后--> <template #part4="sope"> <p>{{sope.user}}:这是part4</p> </template> <!--简写--> <template #part4="{user}"> <p>{{user}}:这是part4</p> </template> </hello-world> # HelloWorld.vu <slot name="part4" :user="username"></slot>
